Mechanical Prototyping
Weeks 1 to 4, and still going
Learn how the team turns a concept into a working mechanism by prototyping the robot intake, from the first belt idea to a tested compression system.
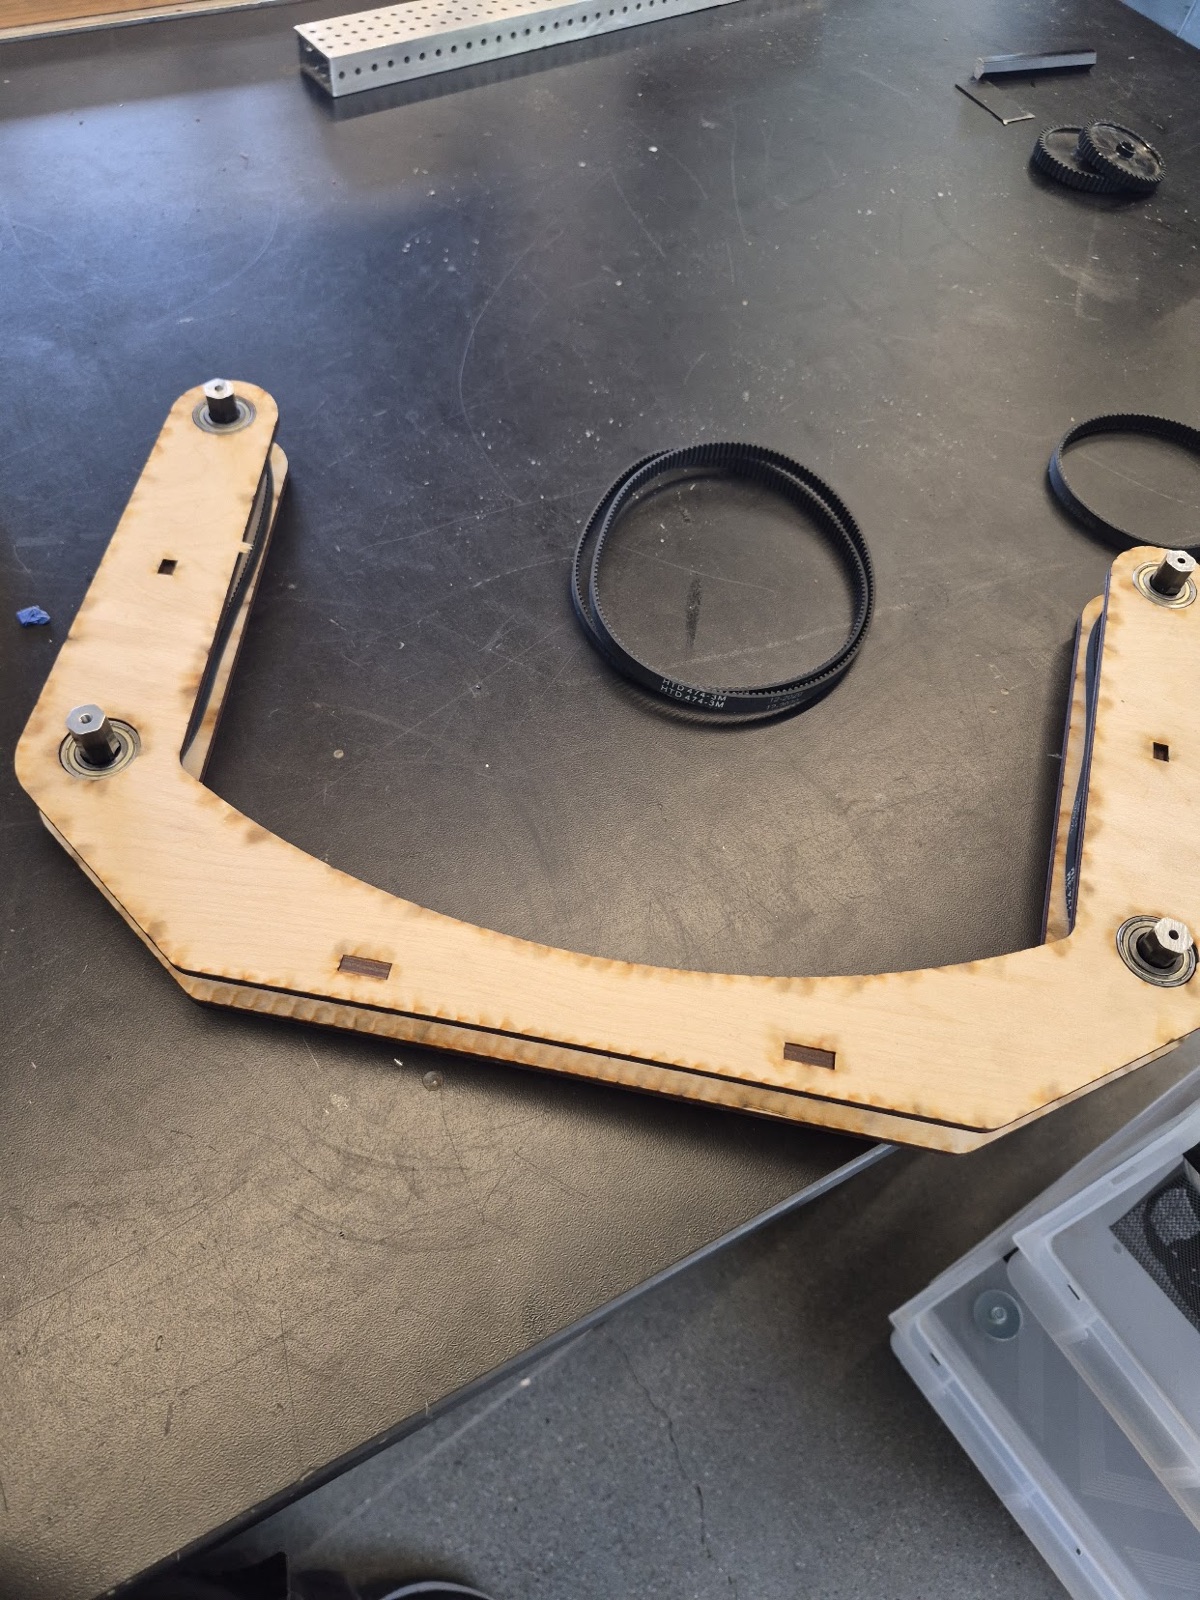
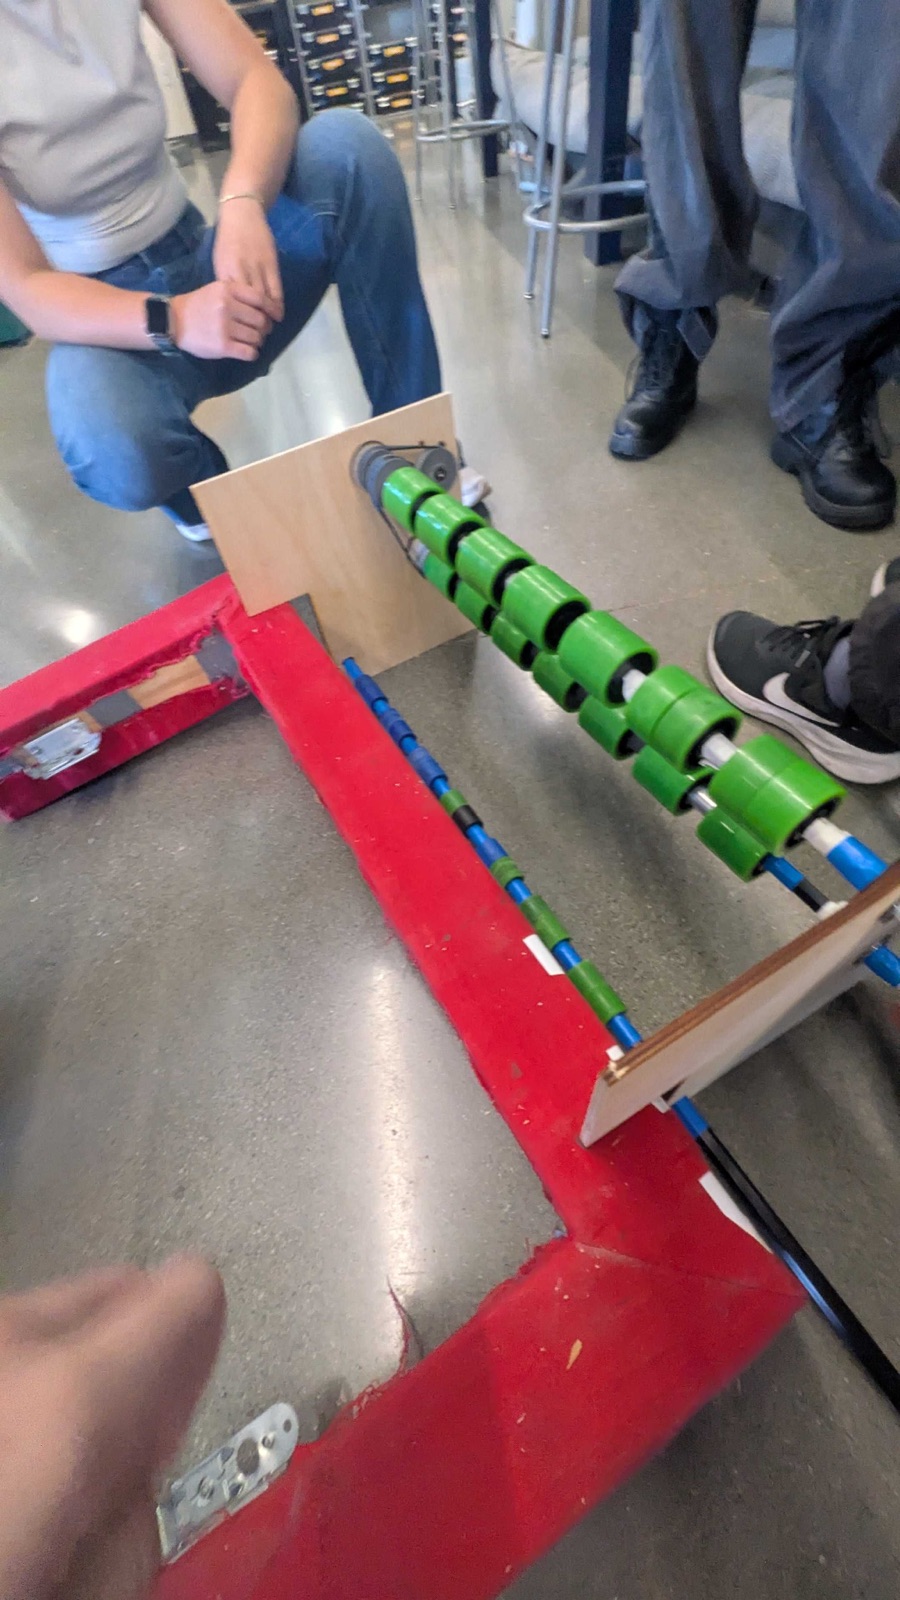
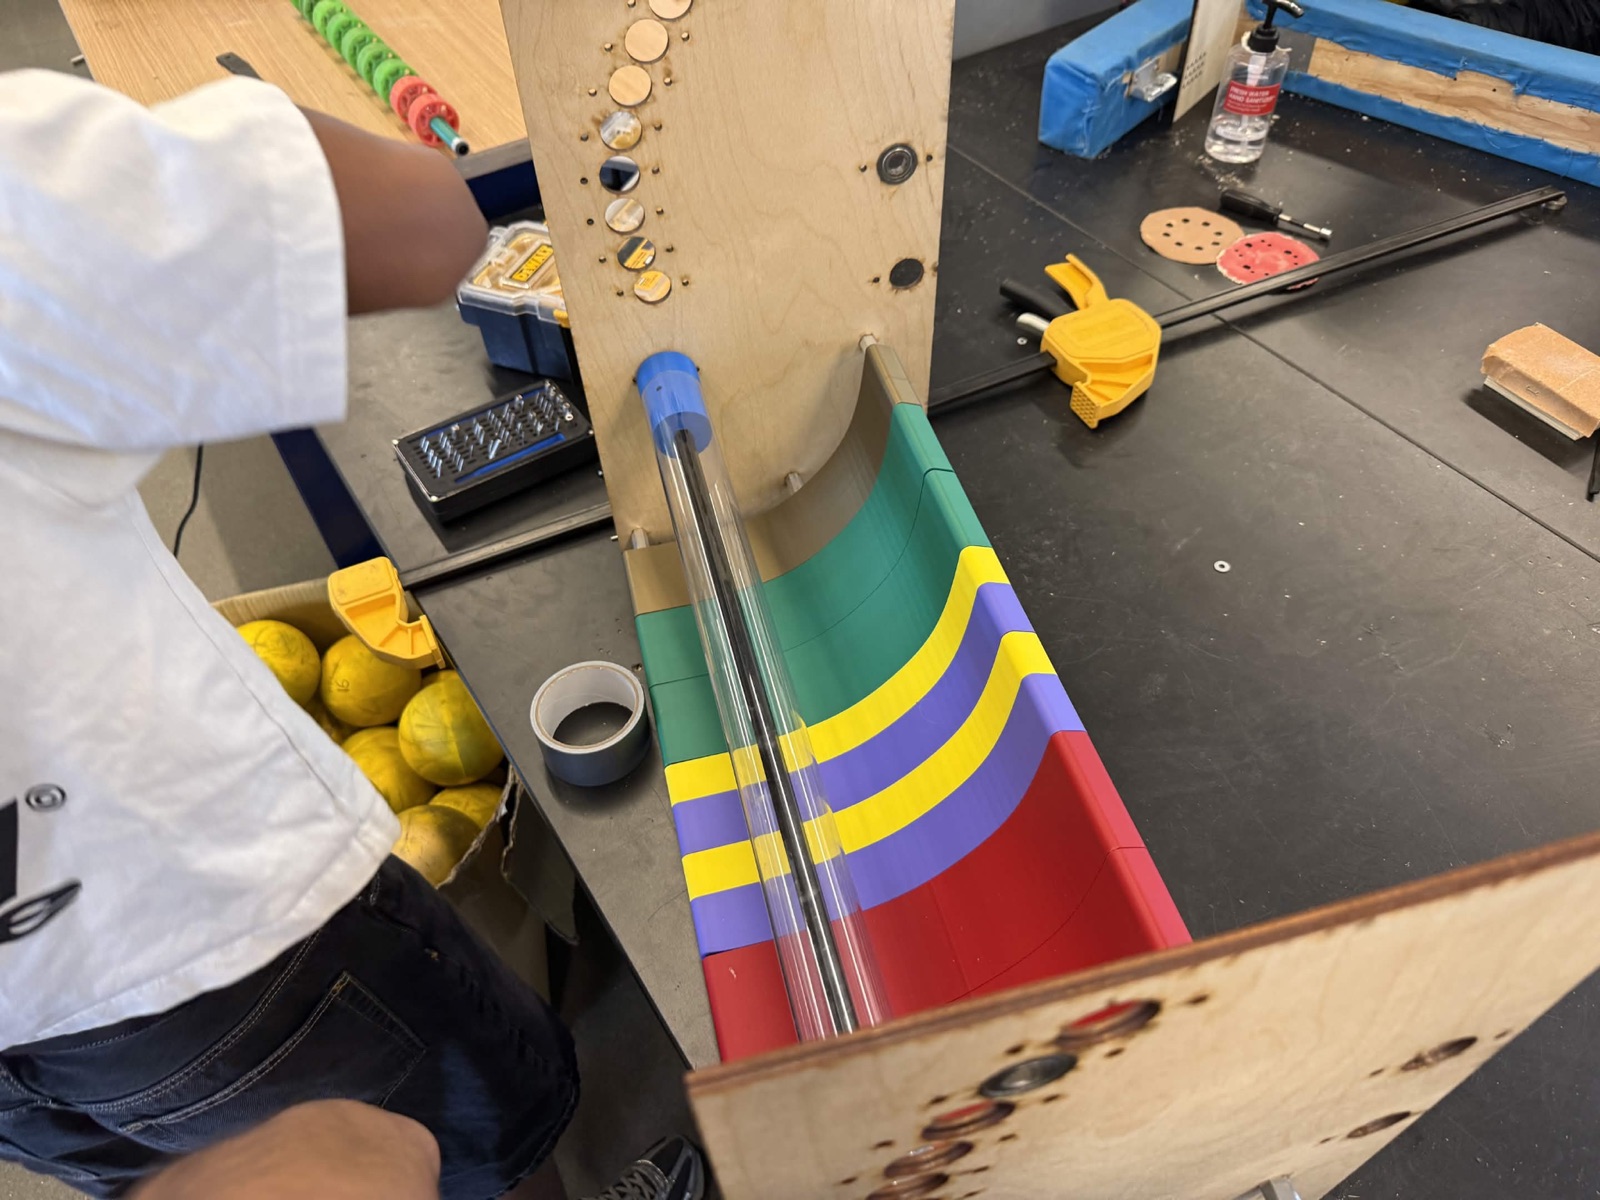
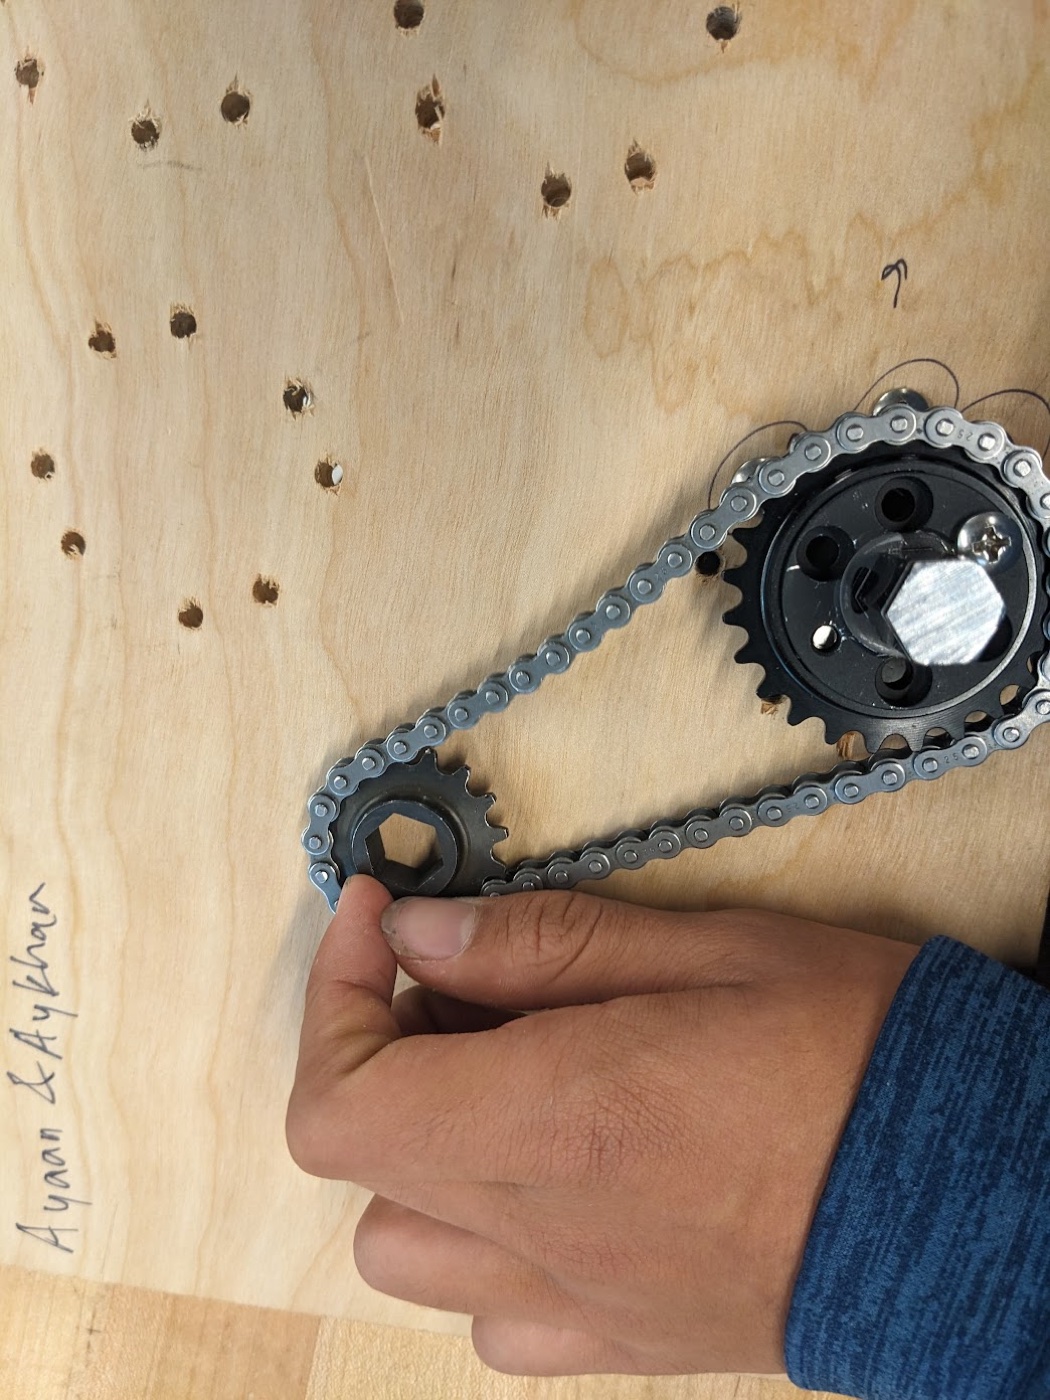
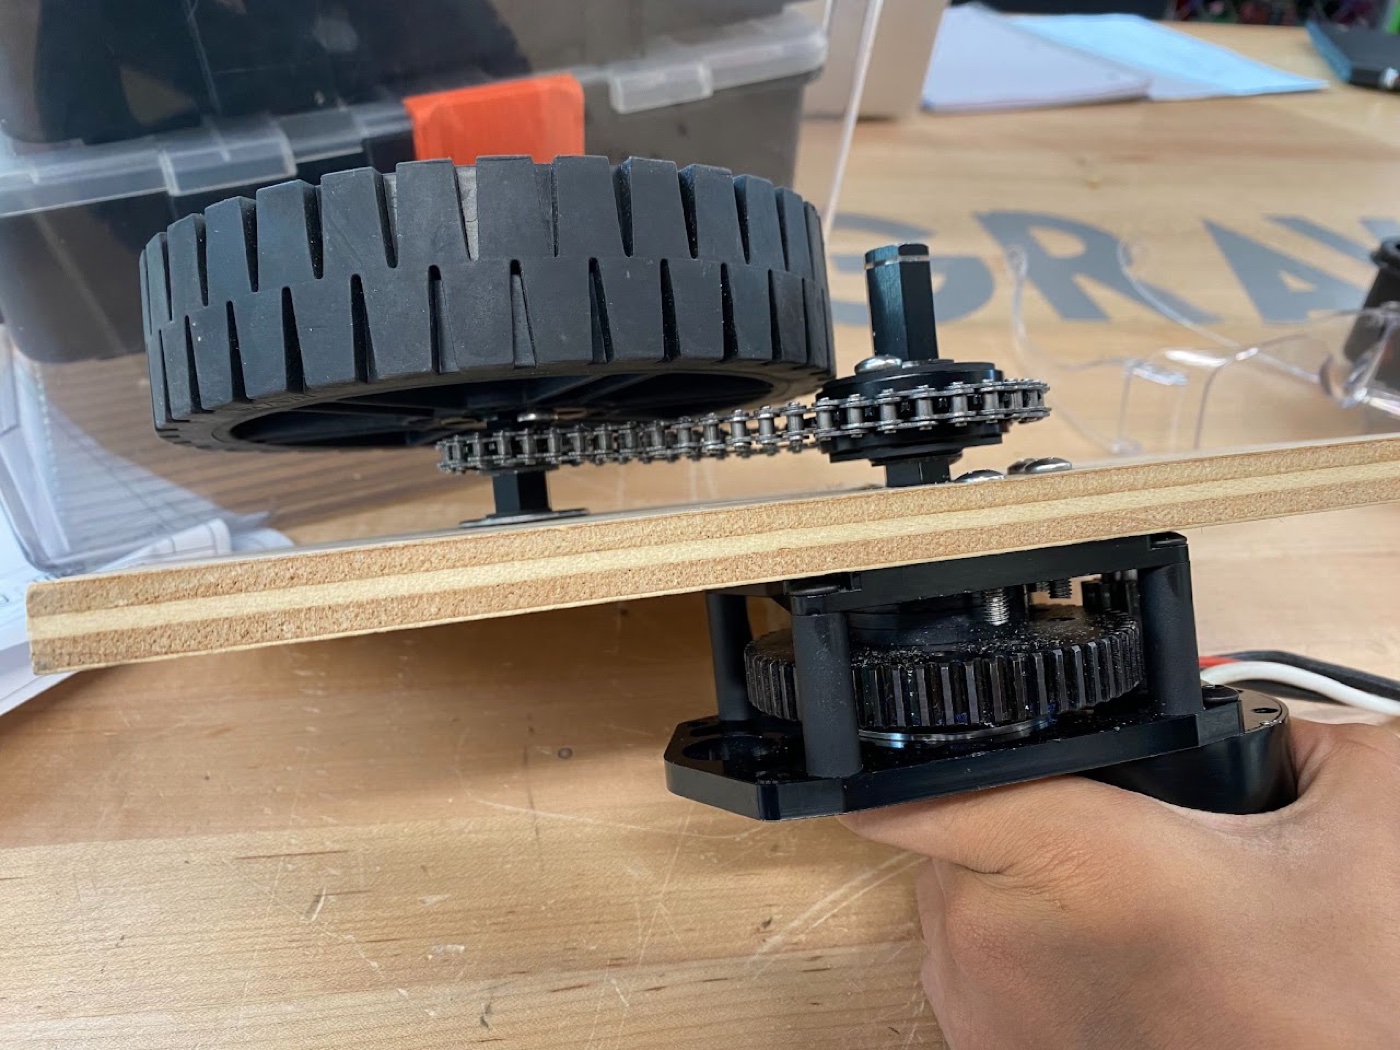
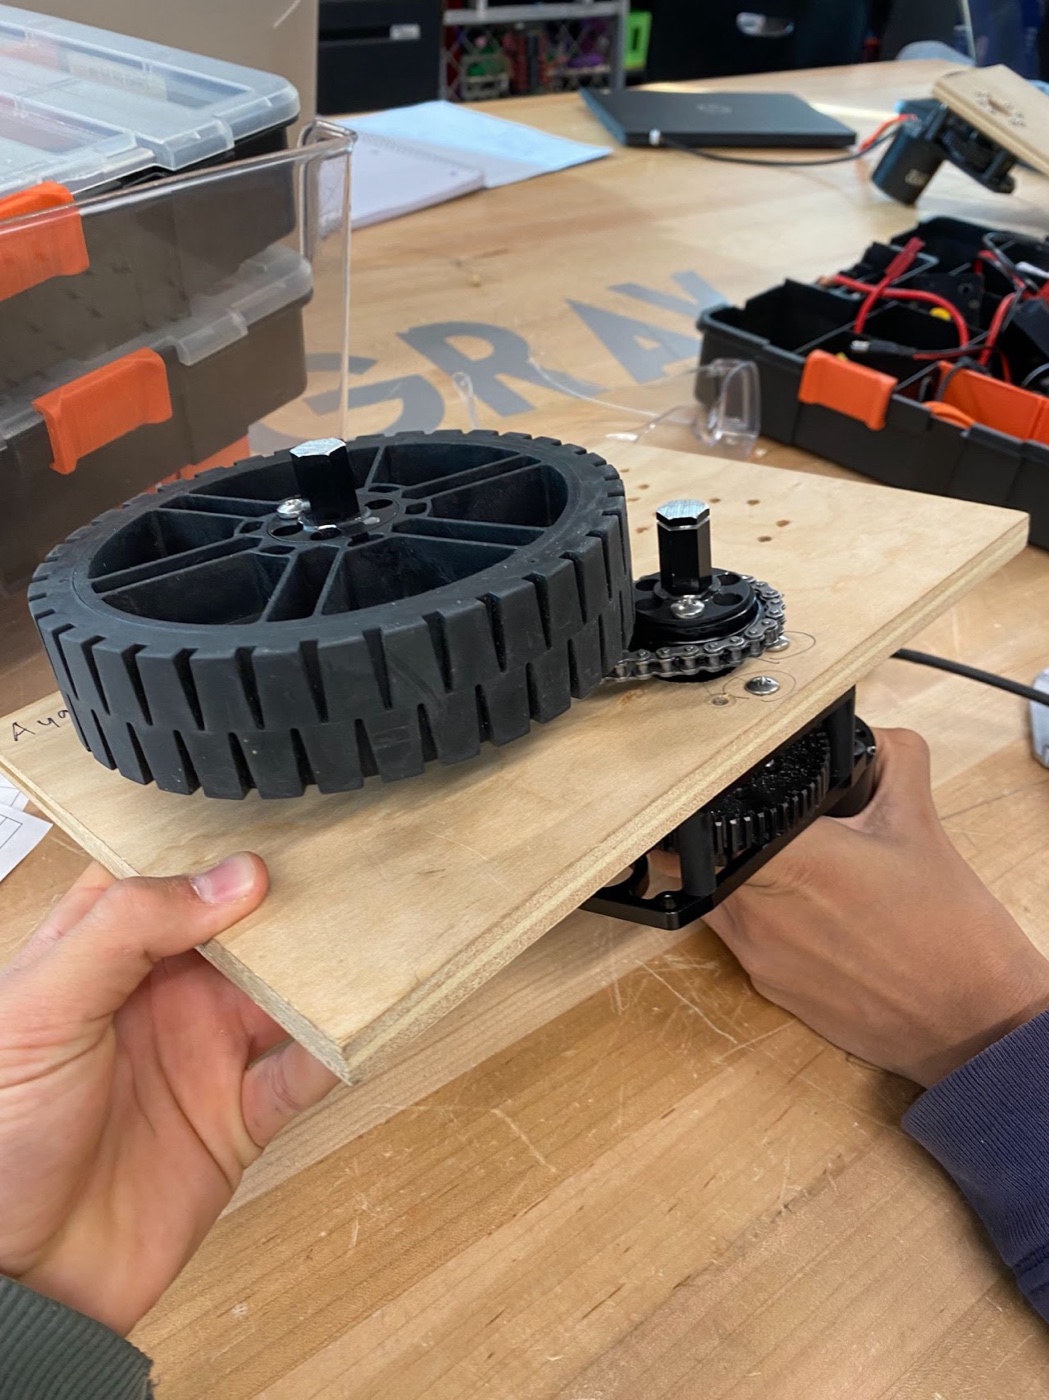
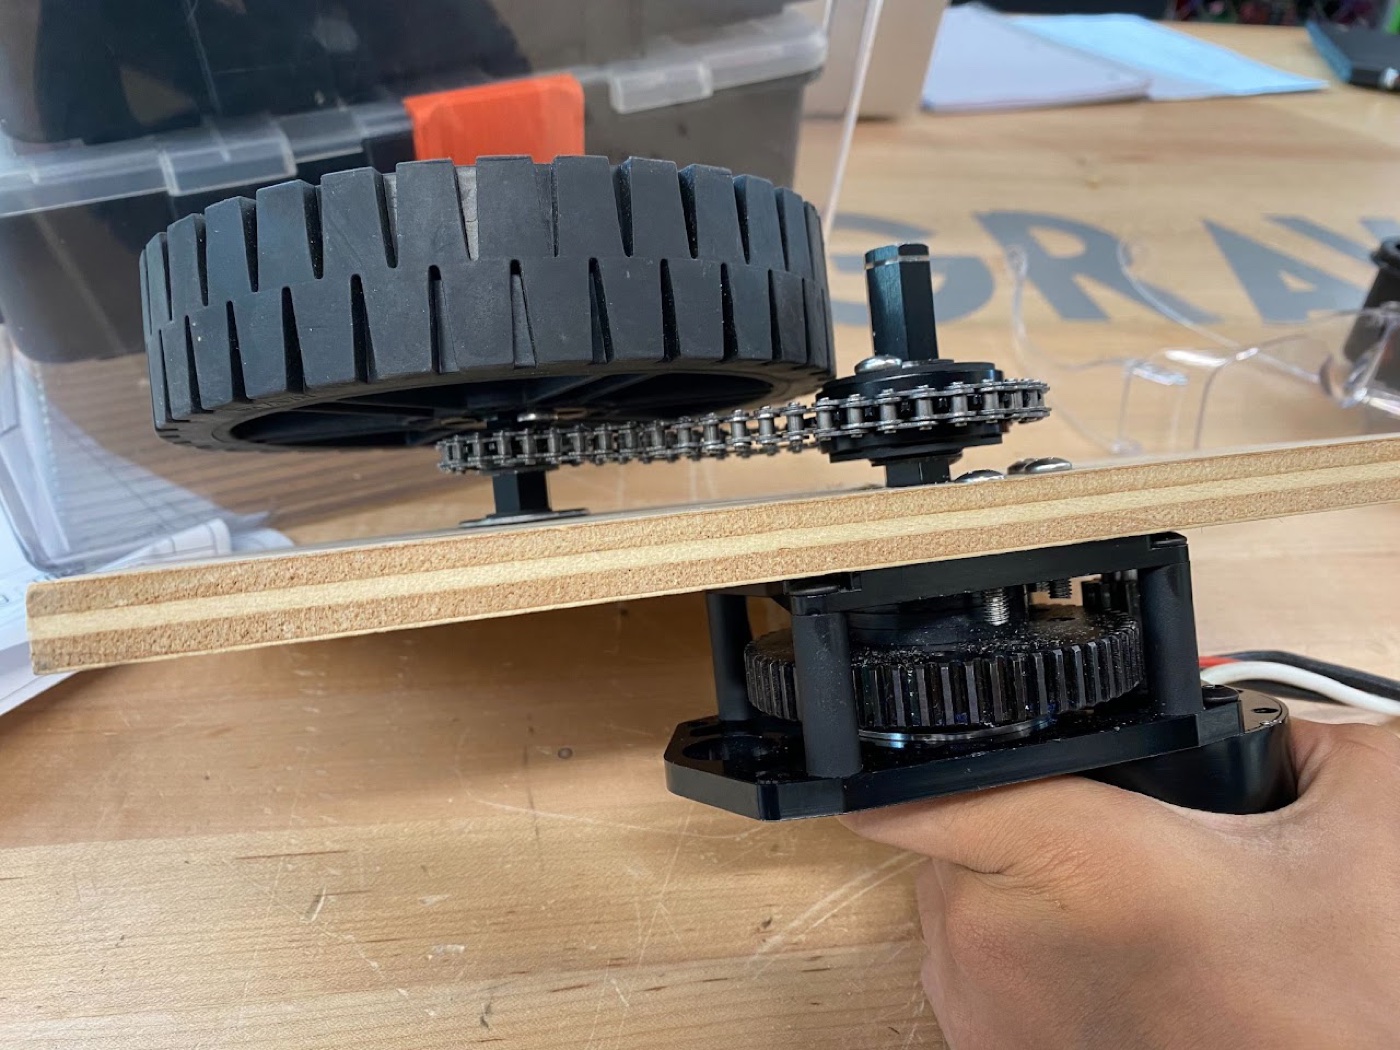
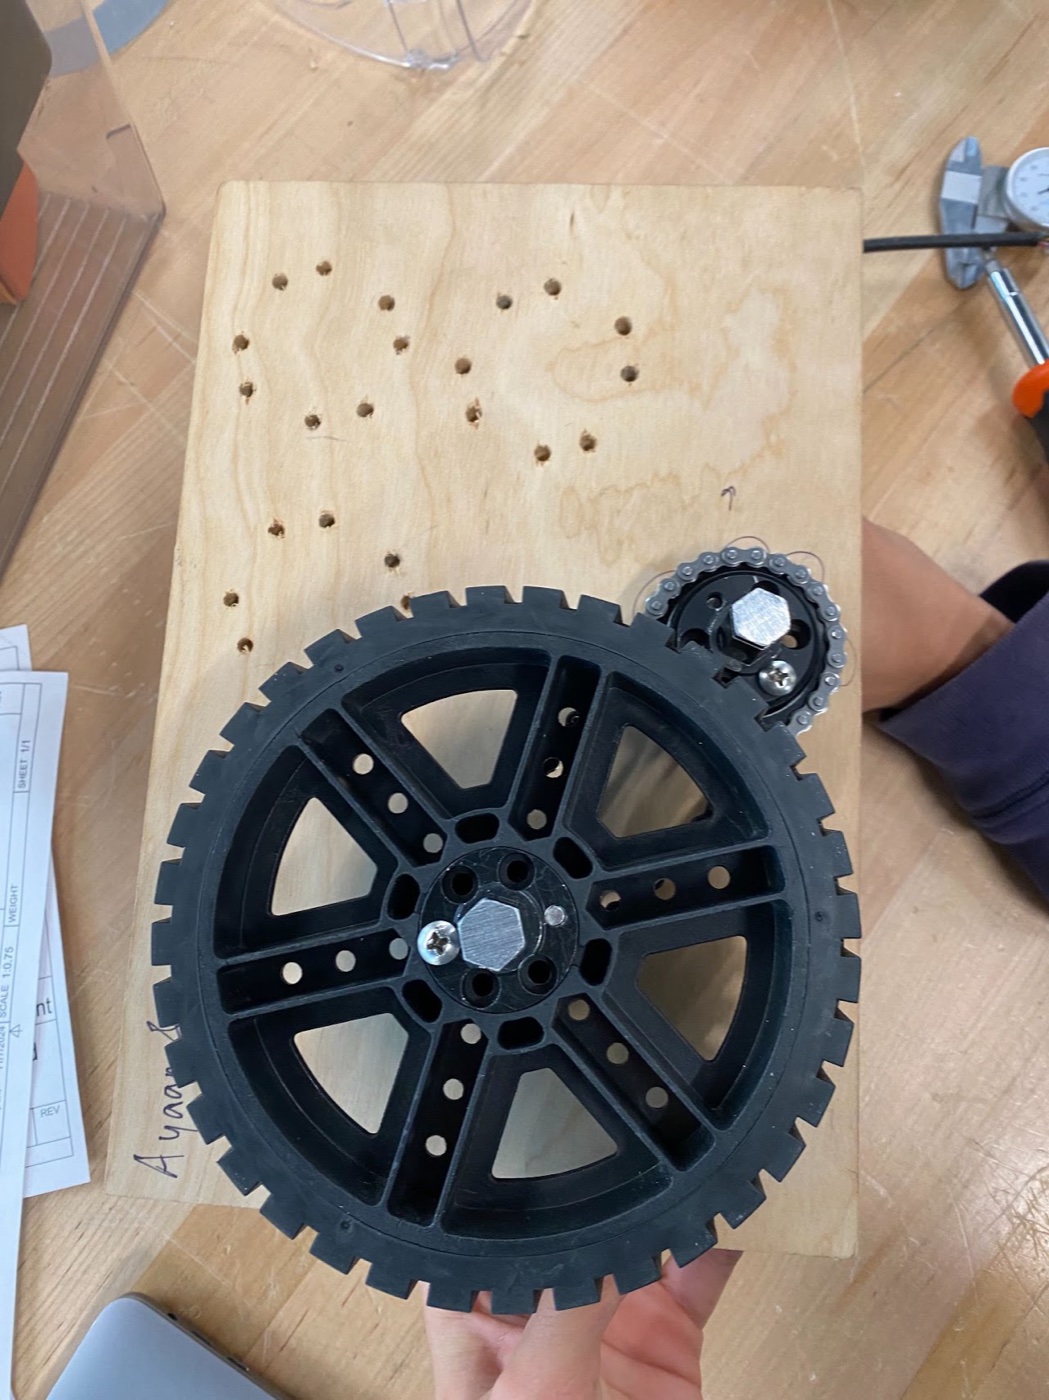
- Built and improved the robot belt prototype. After fixing frame flex the intake moved 8 balls per second in testing. A video of it running is linked below.
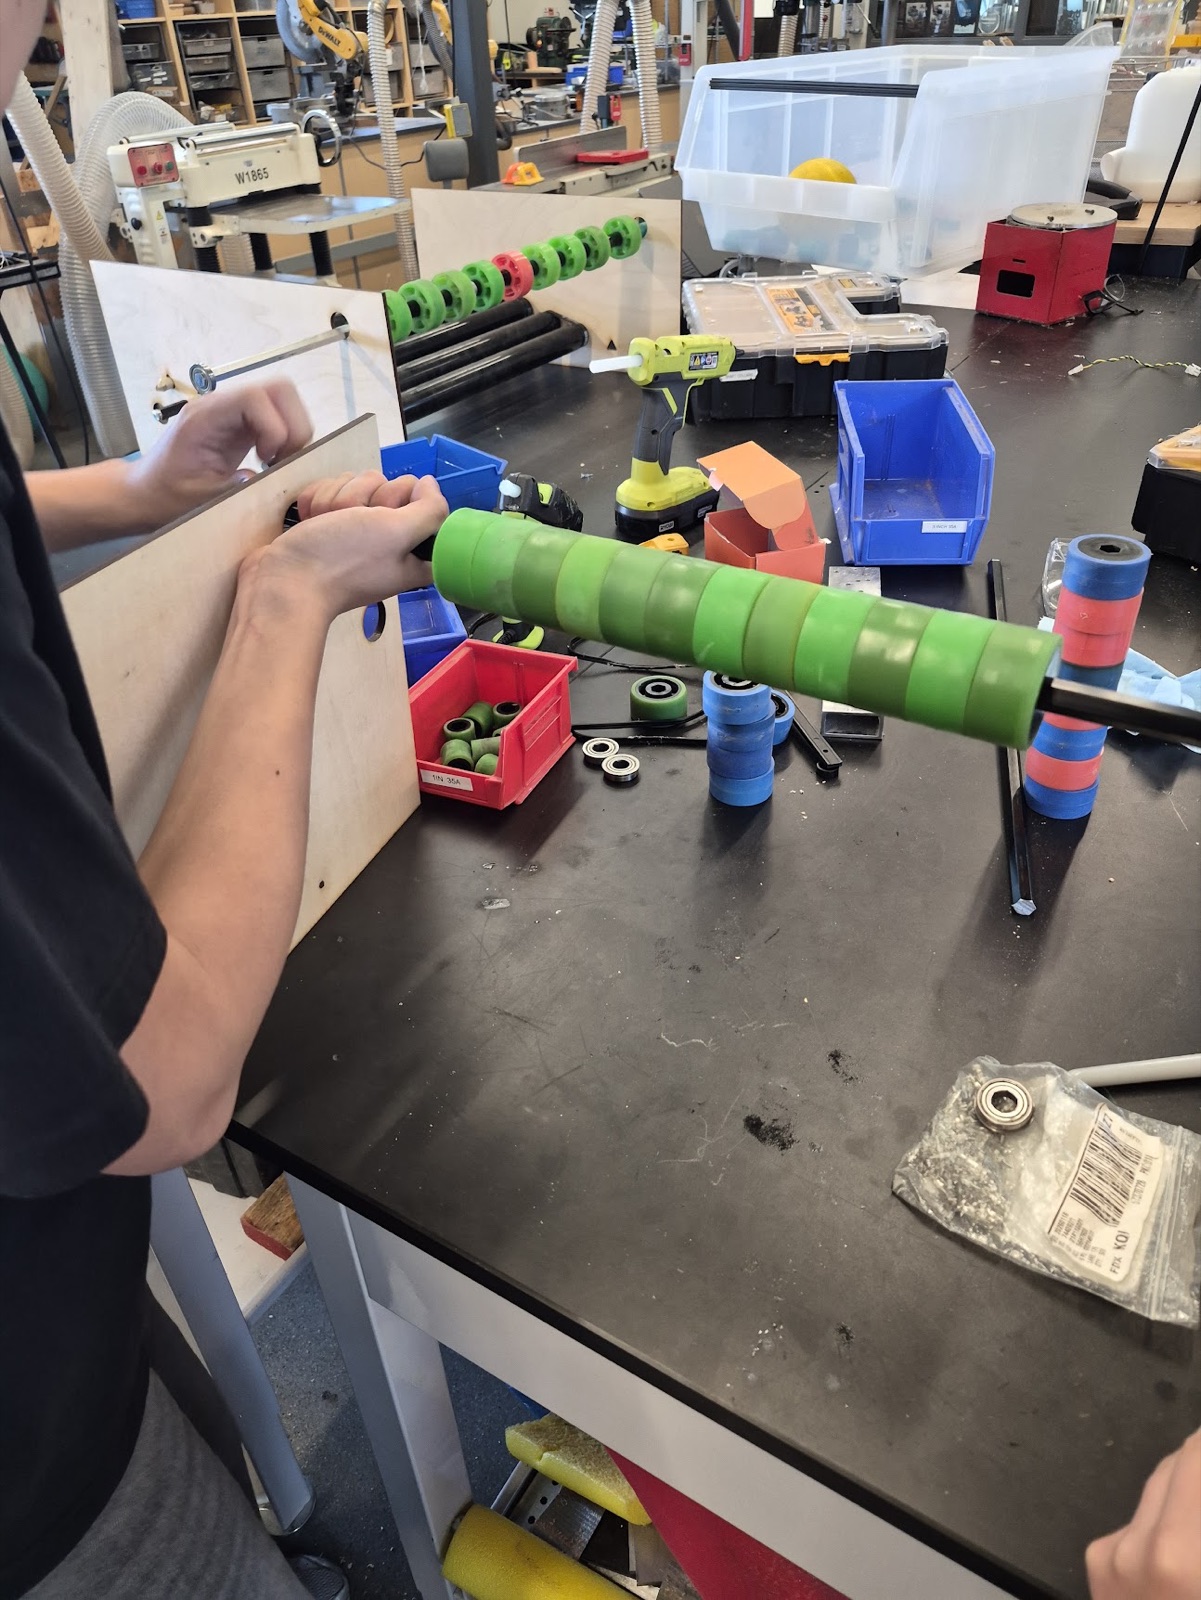
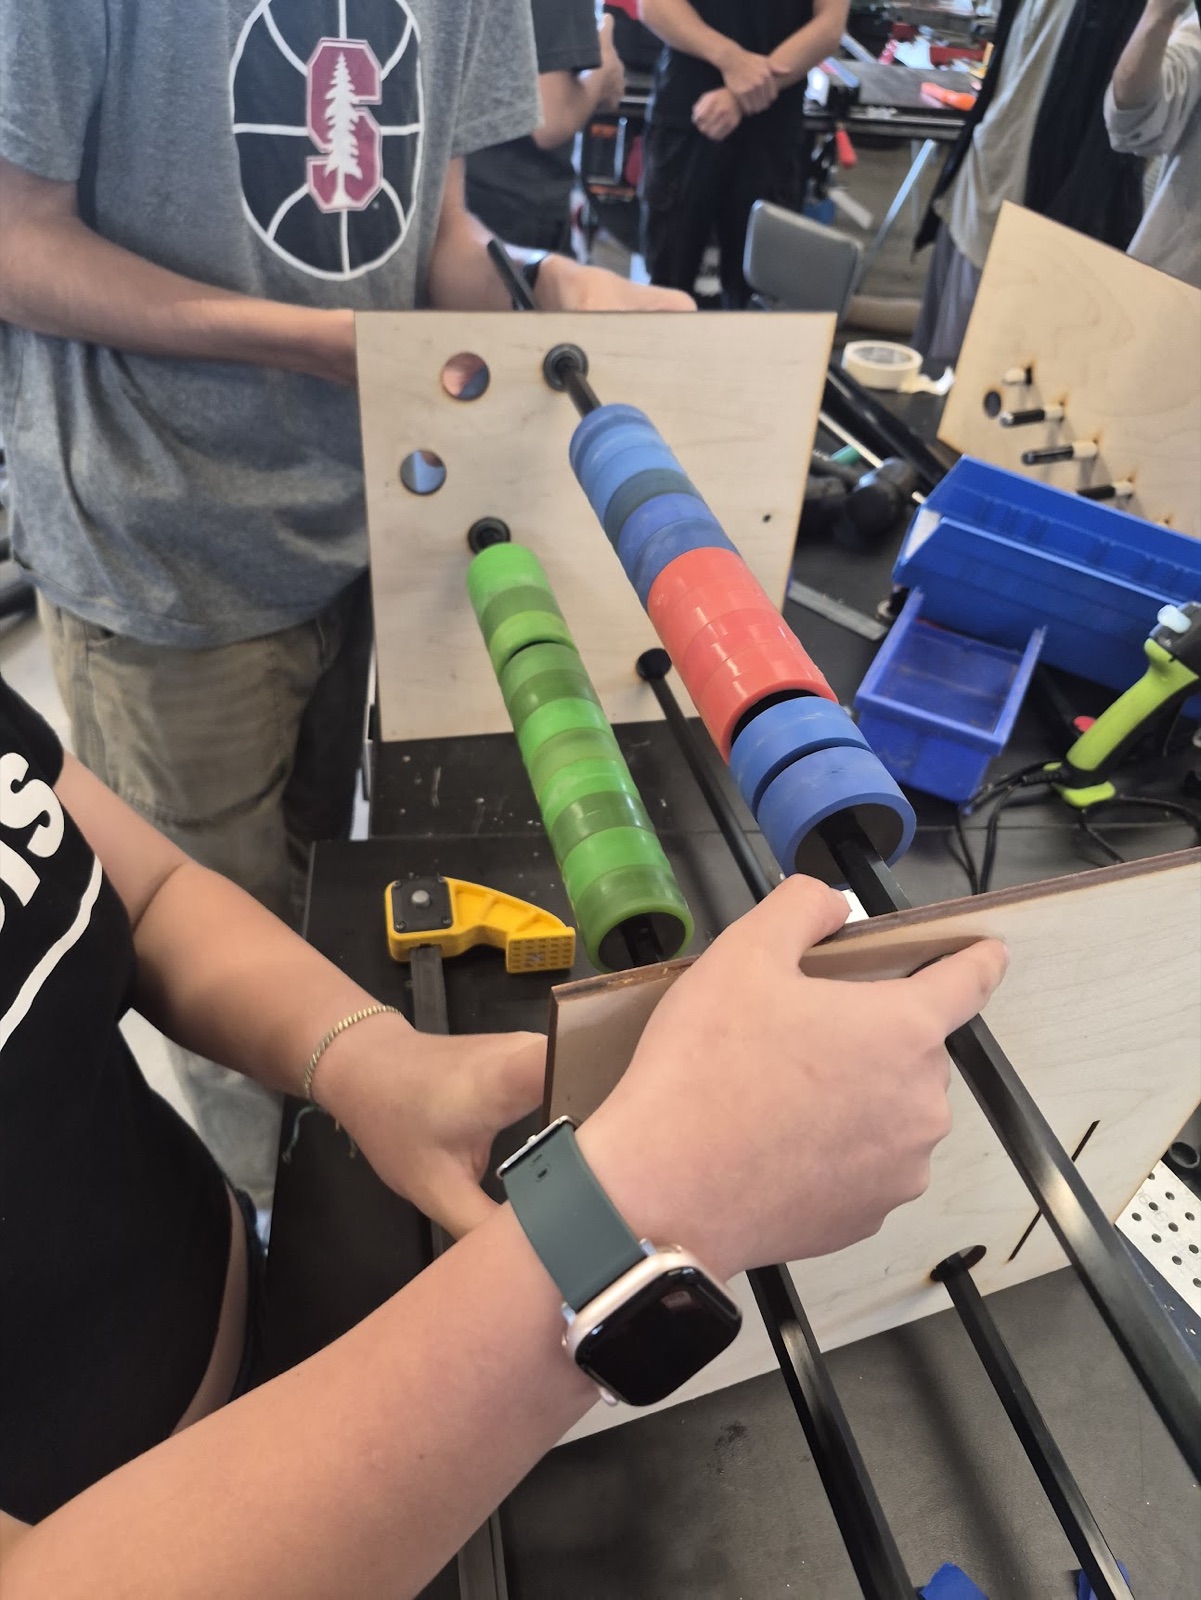
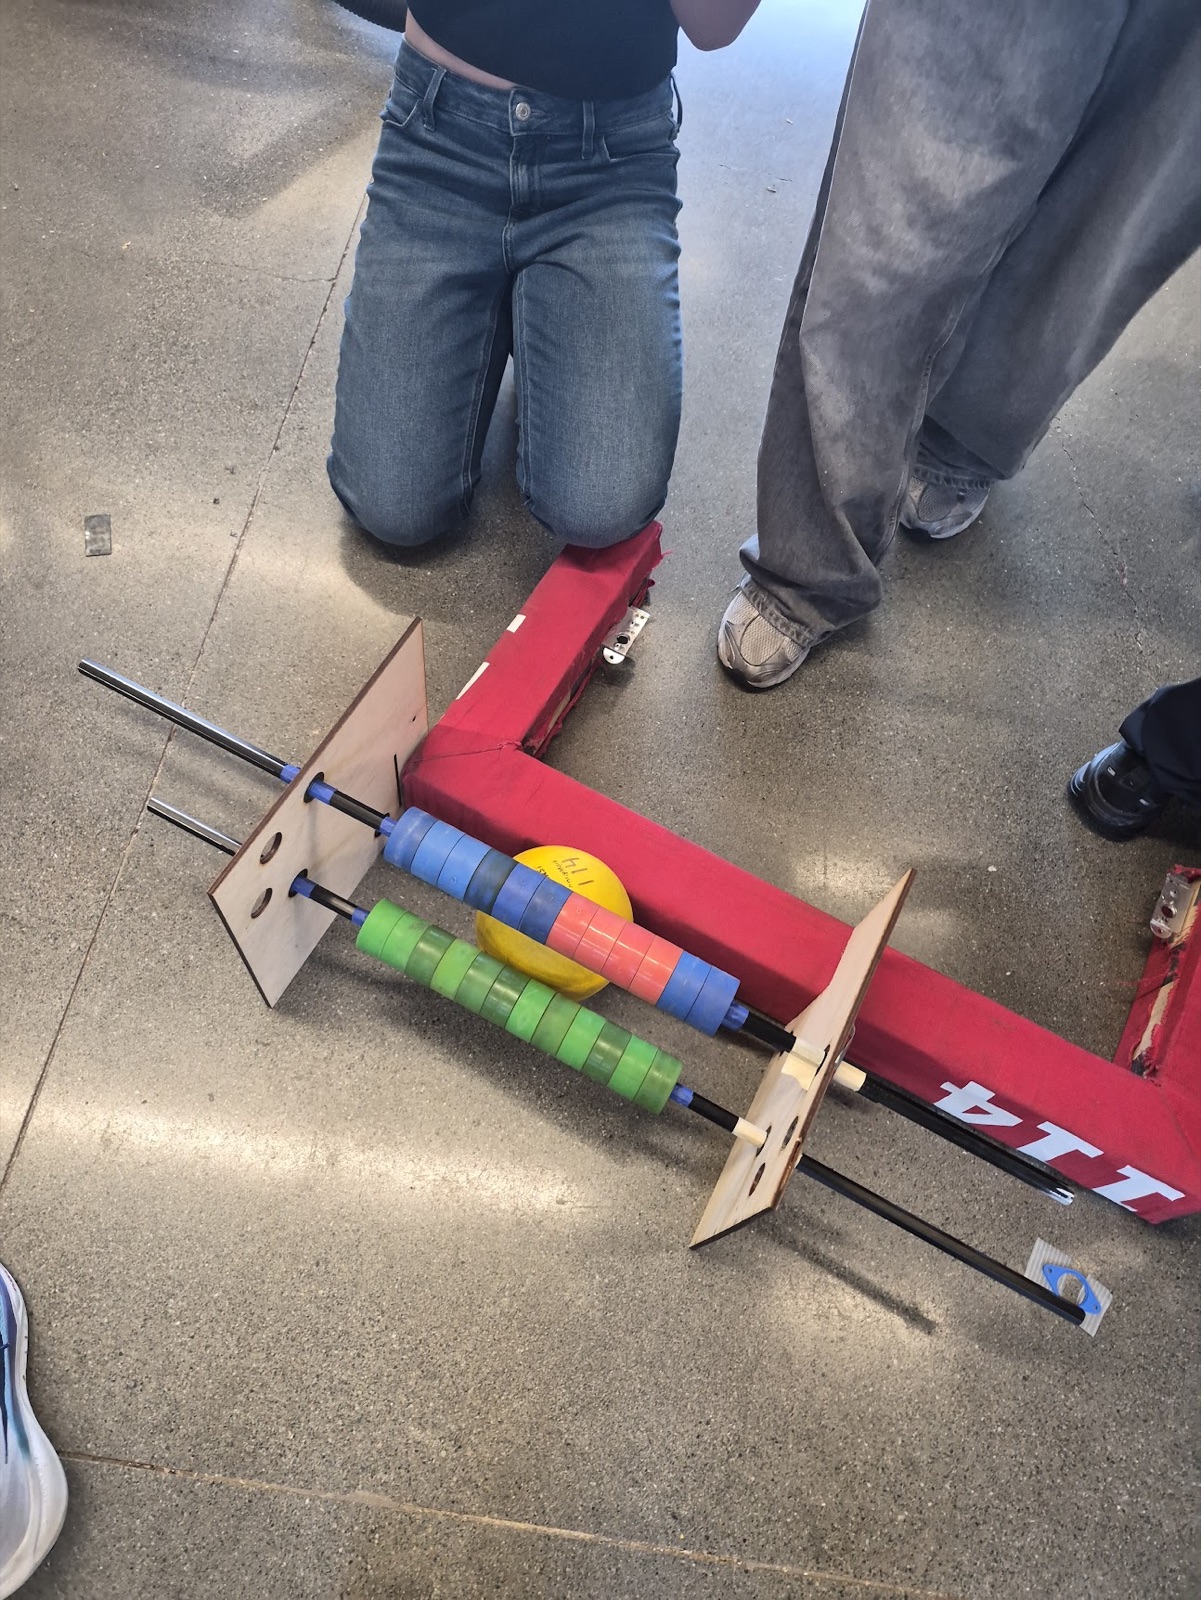
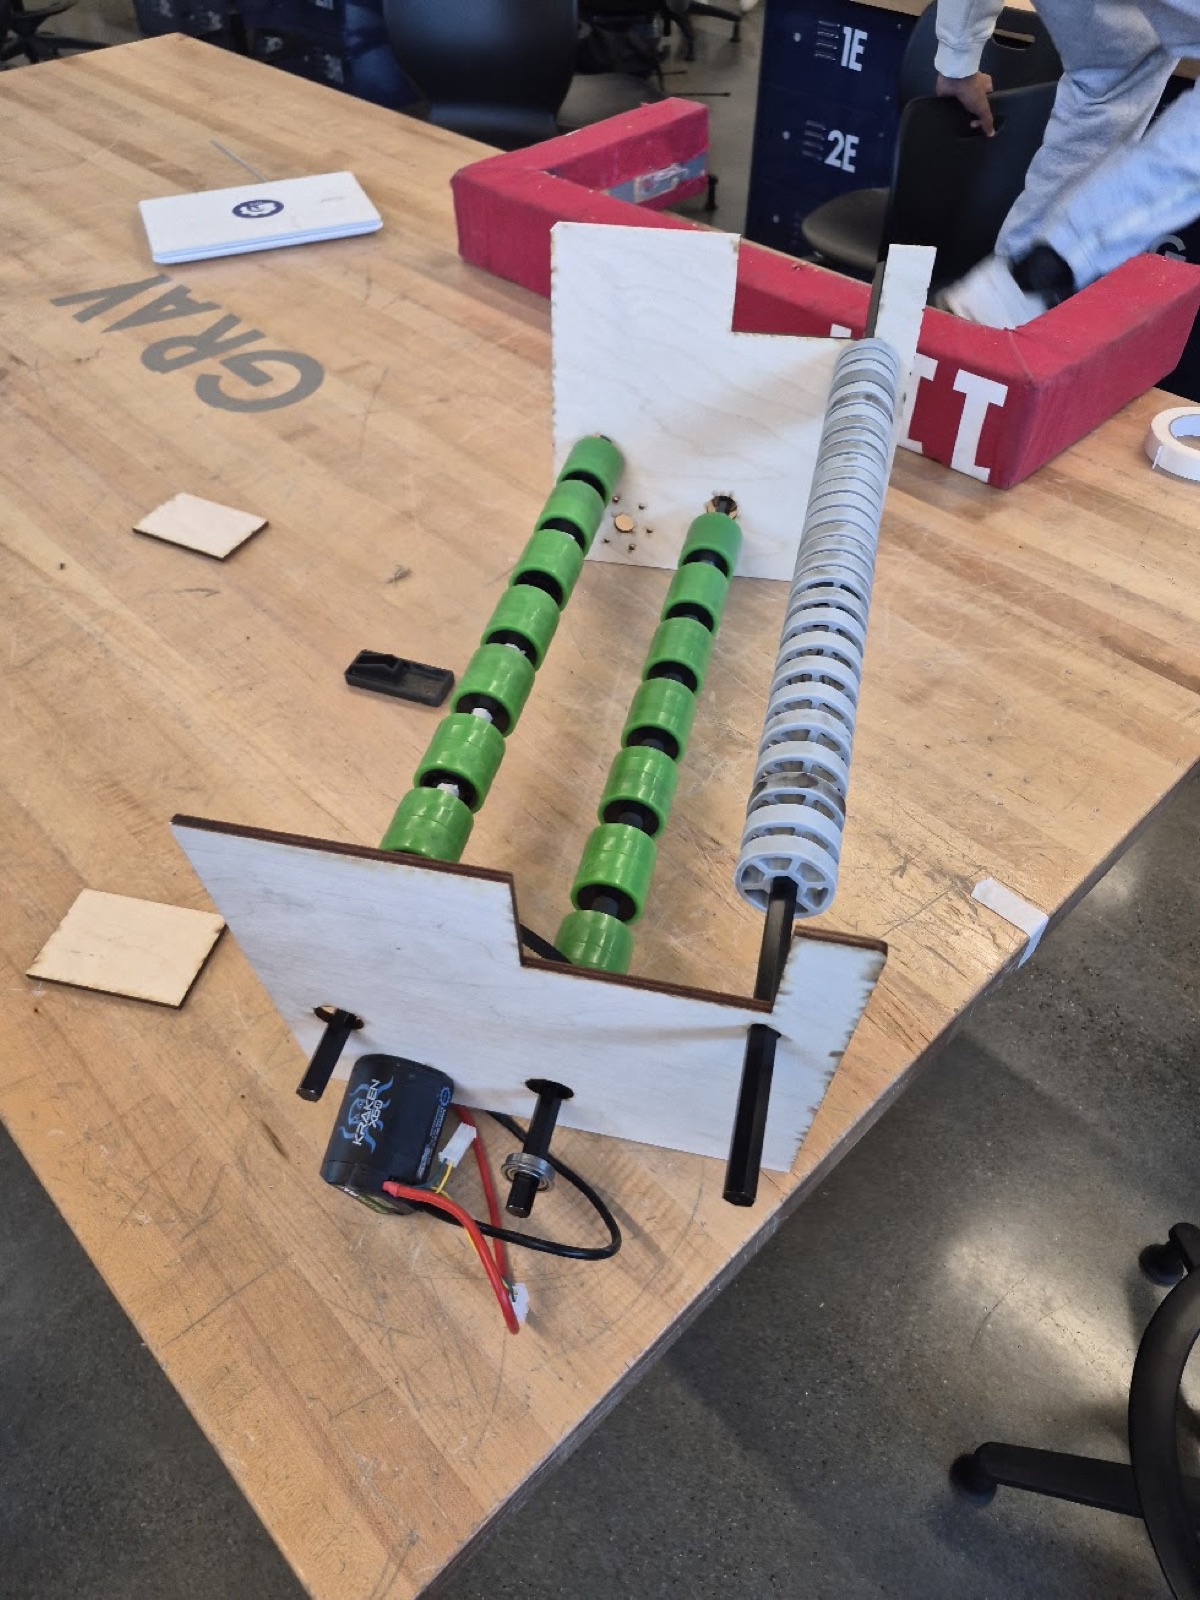
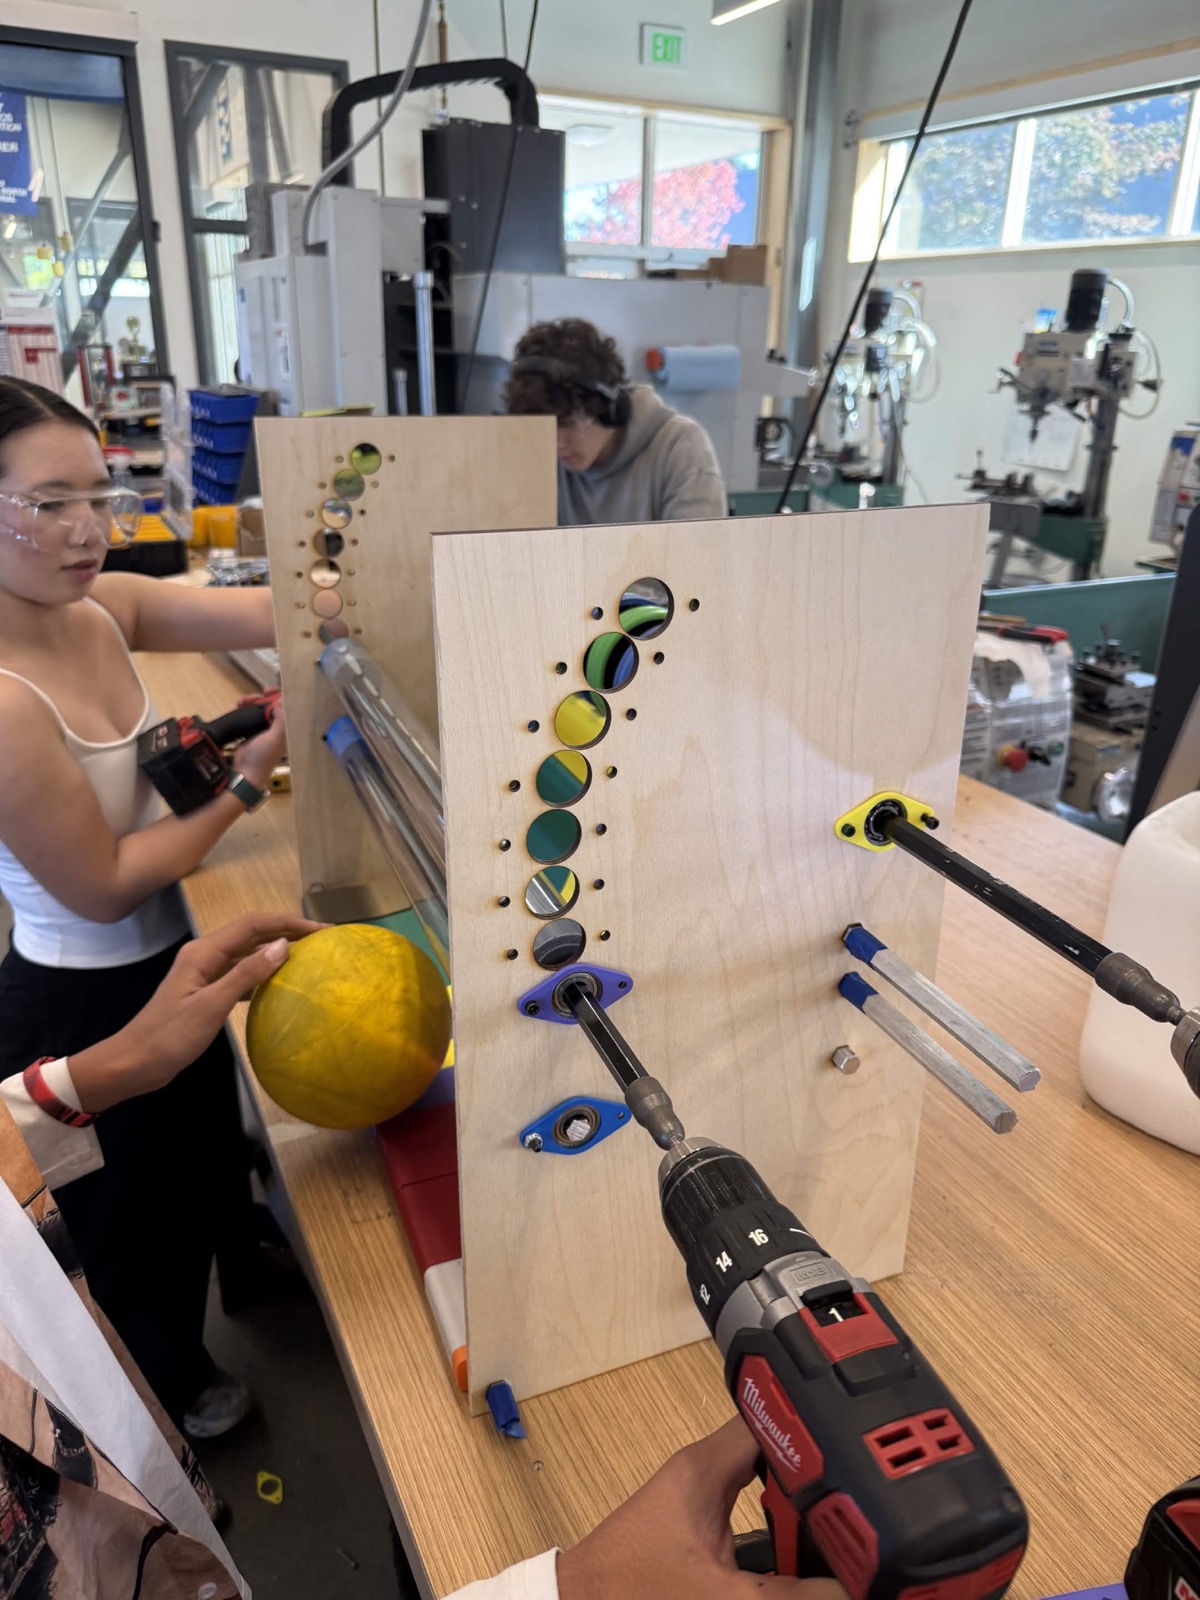
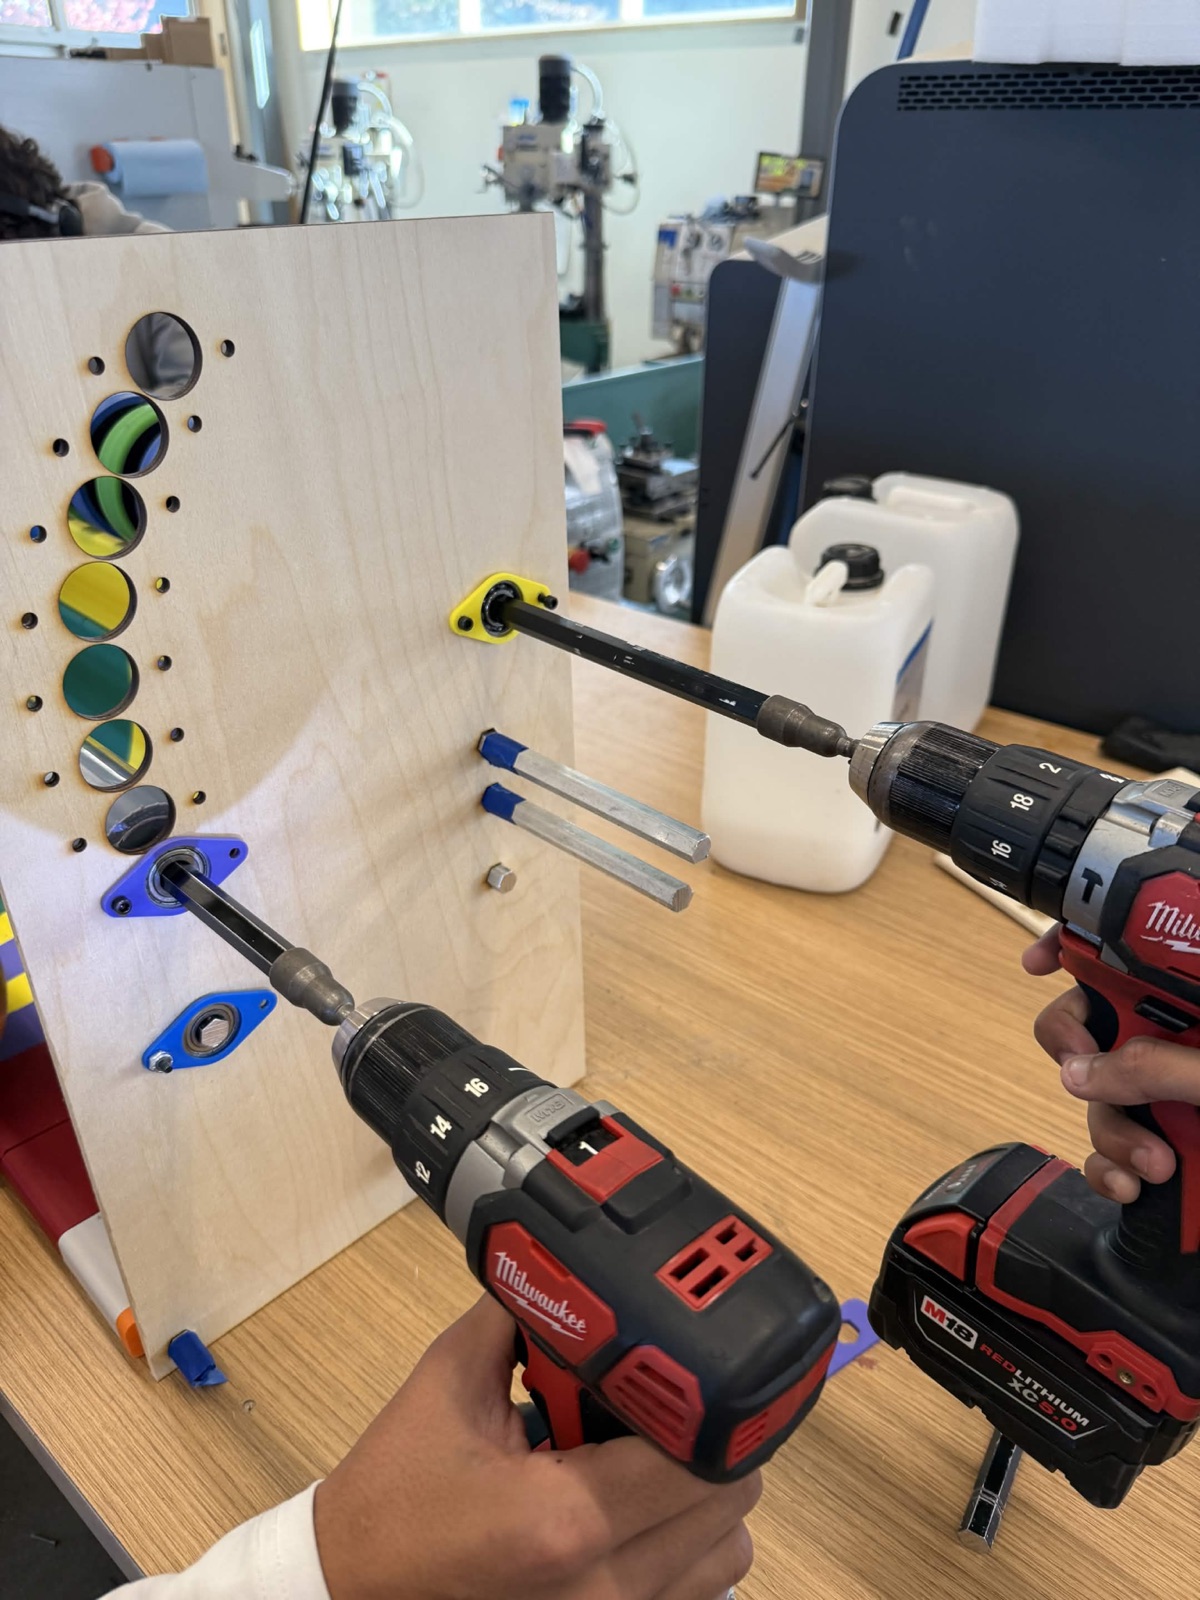
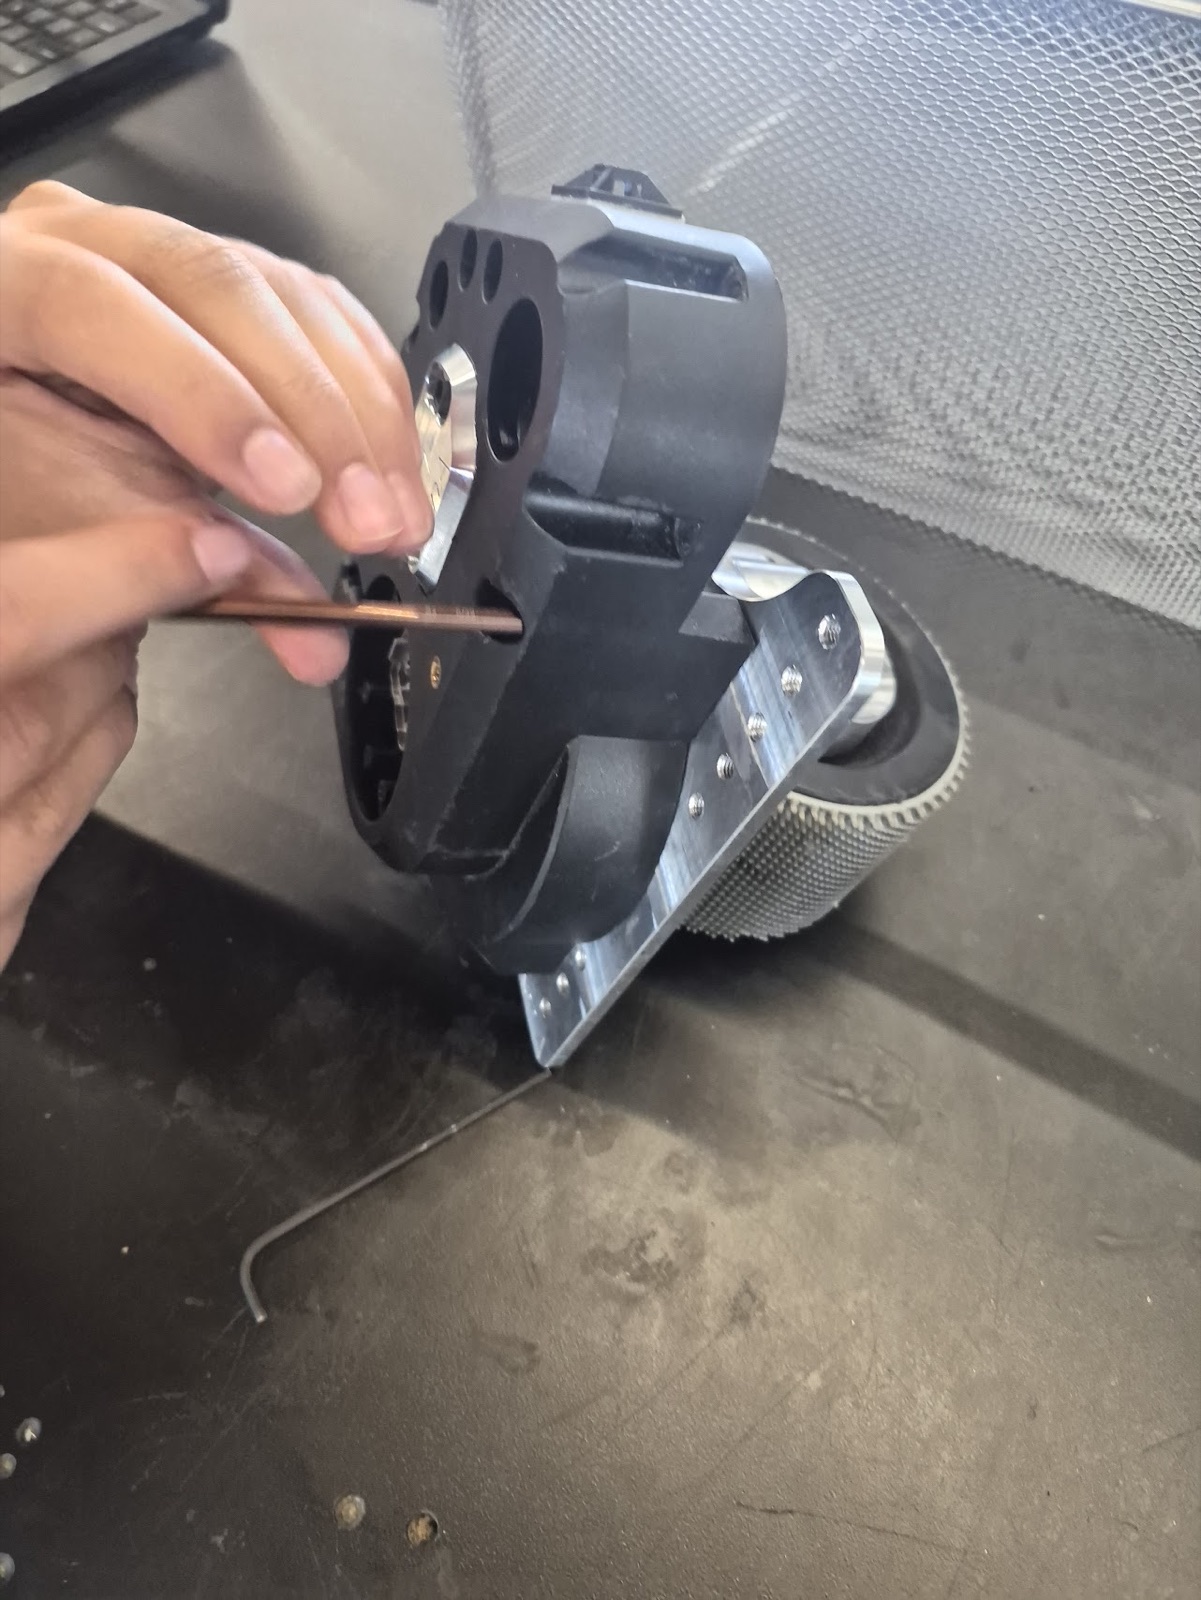
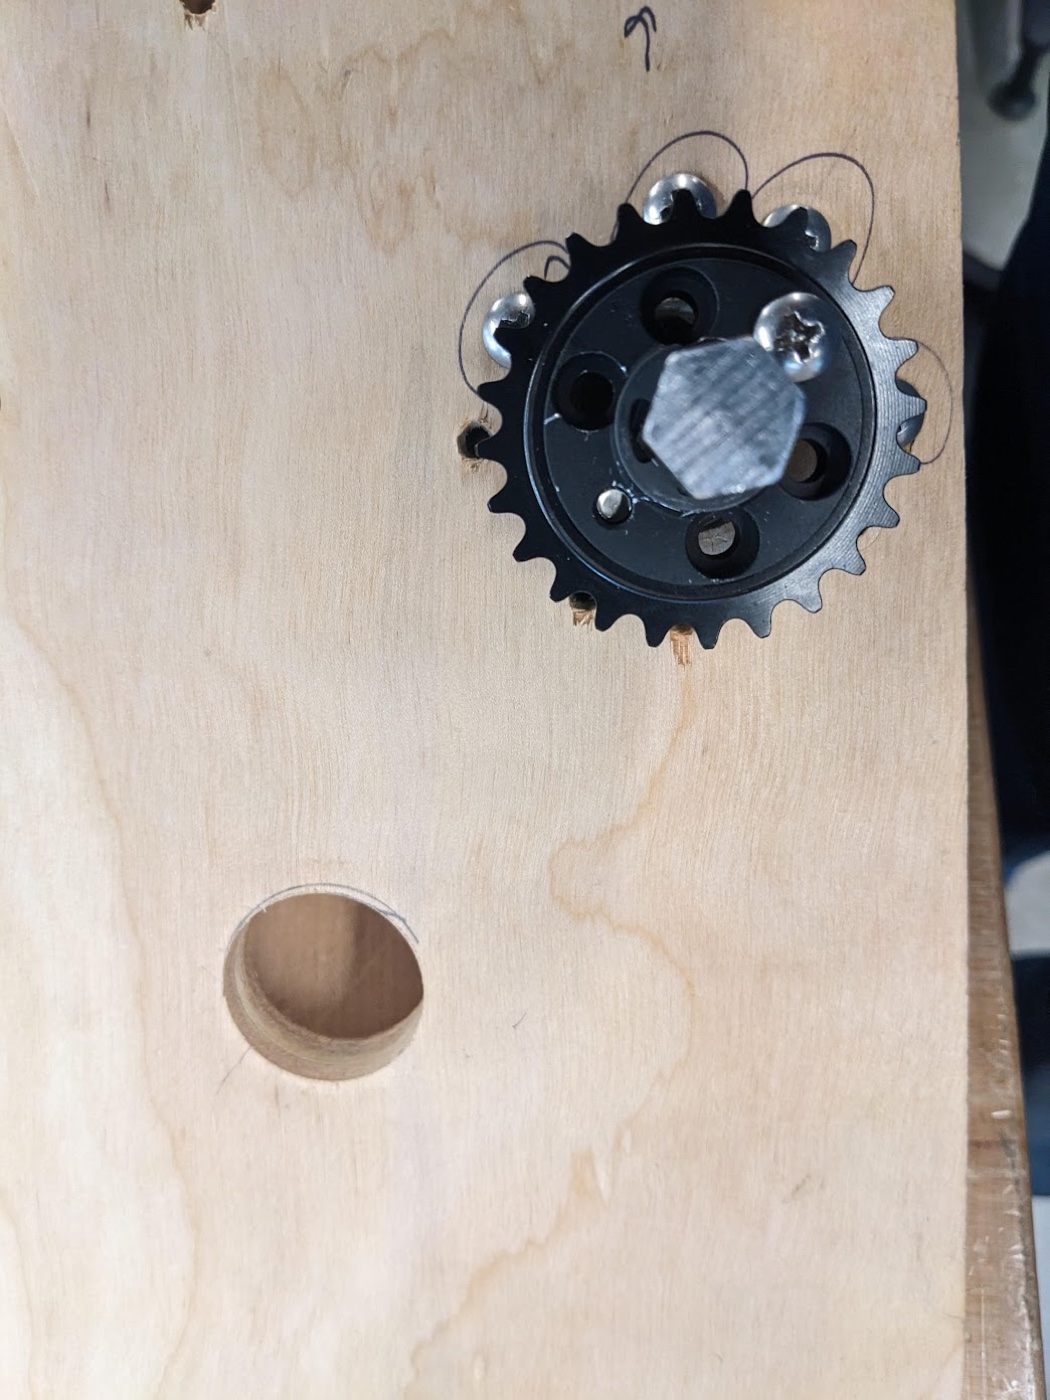
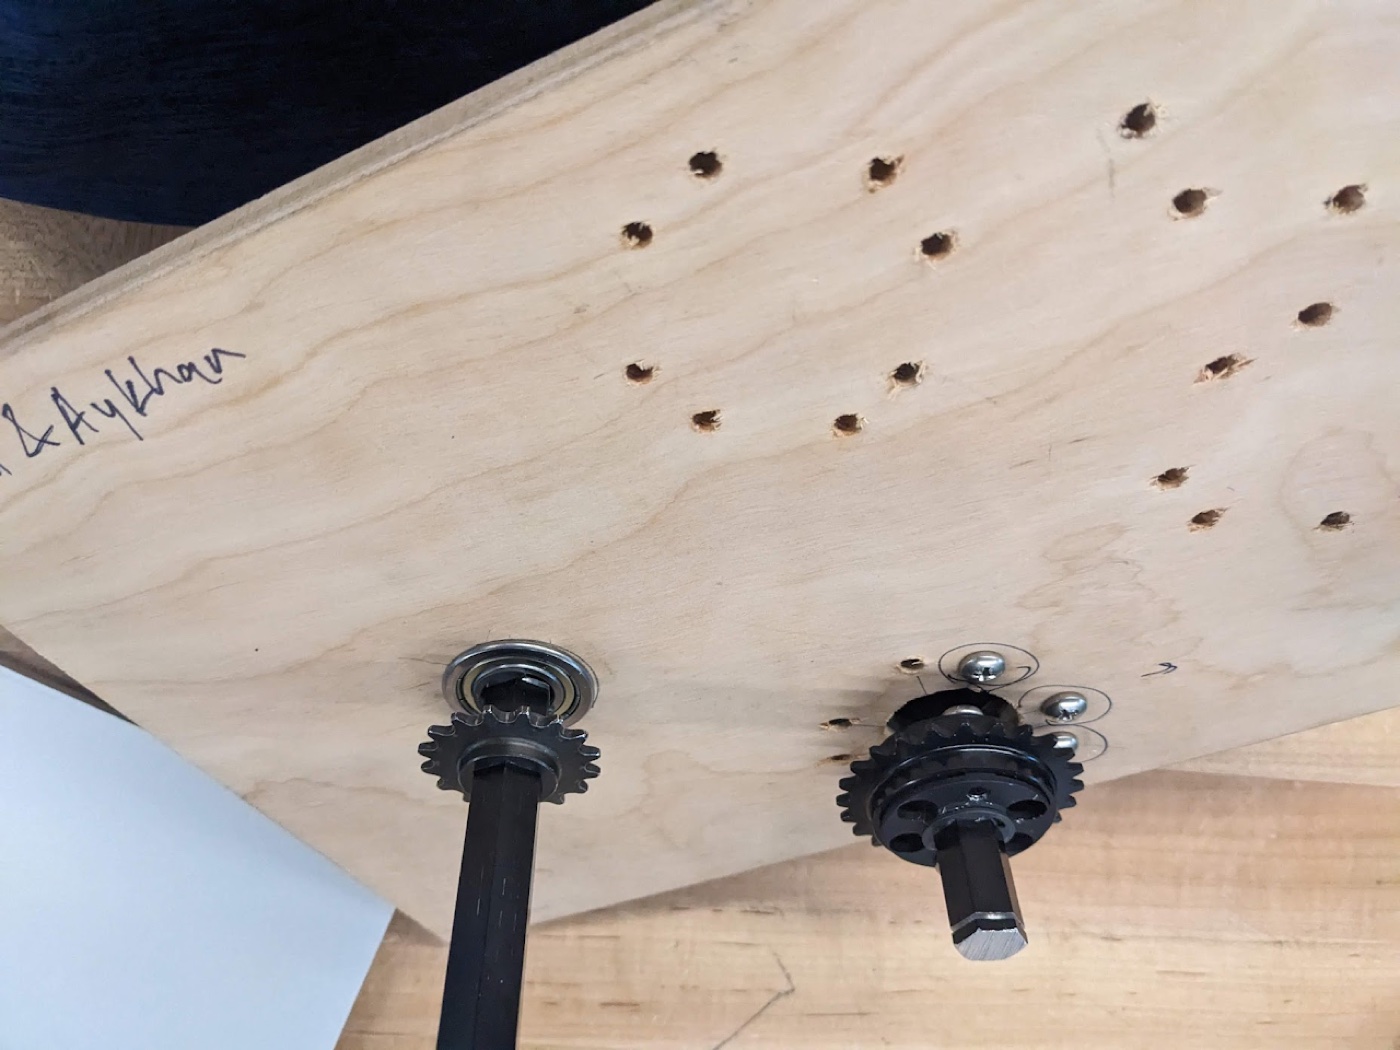
- Designed the gripper prototype, then built intake versions with bearing retention and bumper clearance fixes.
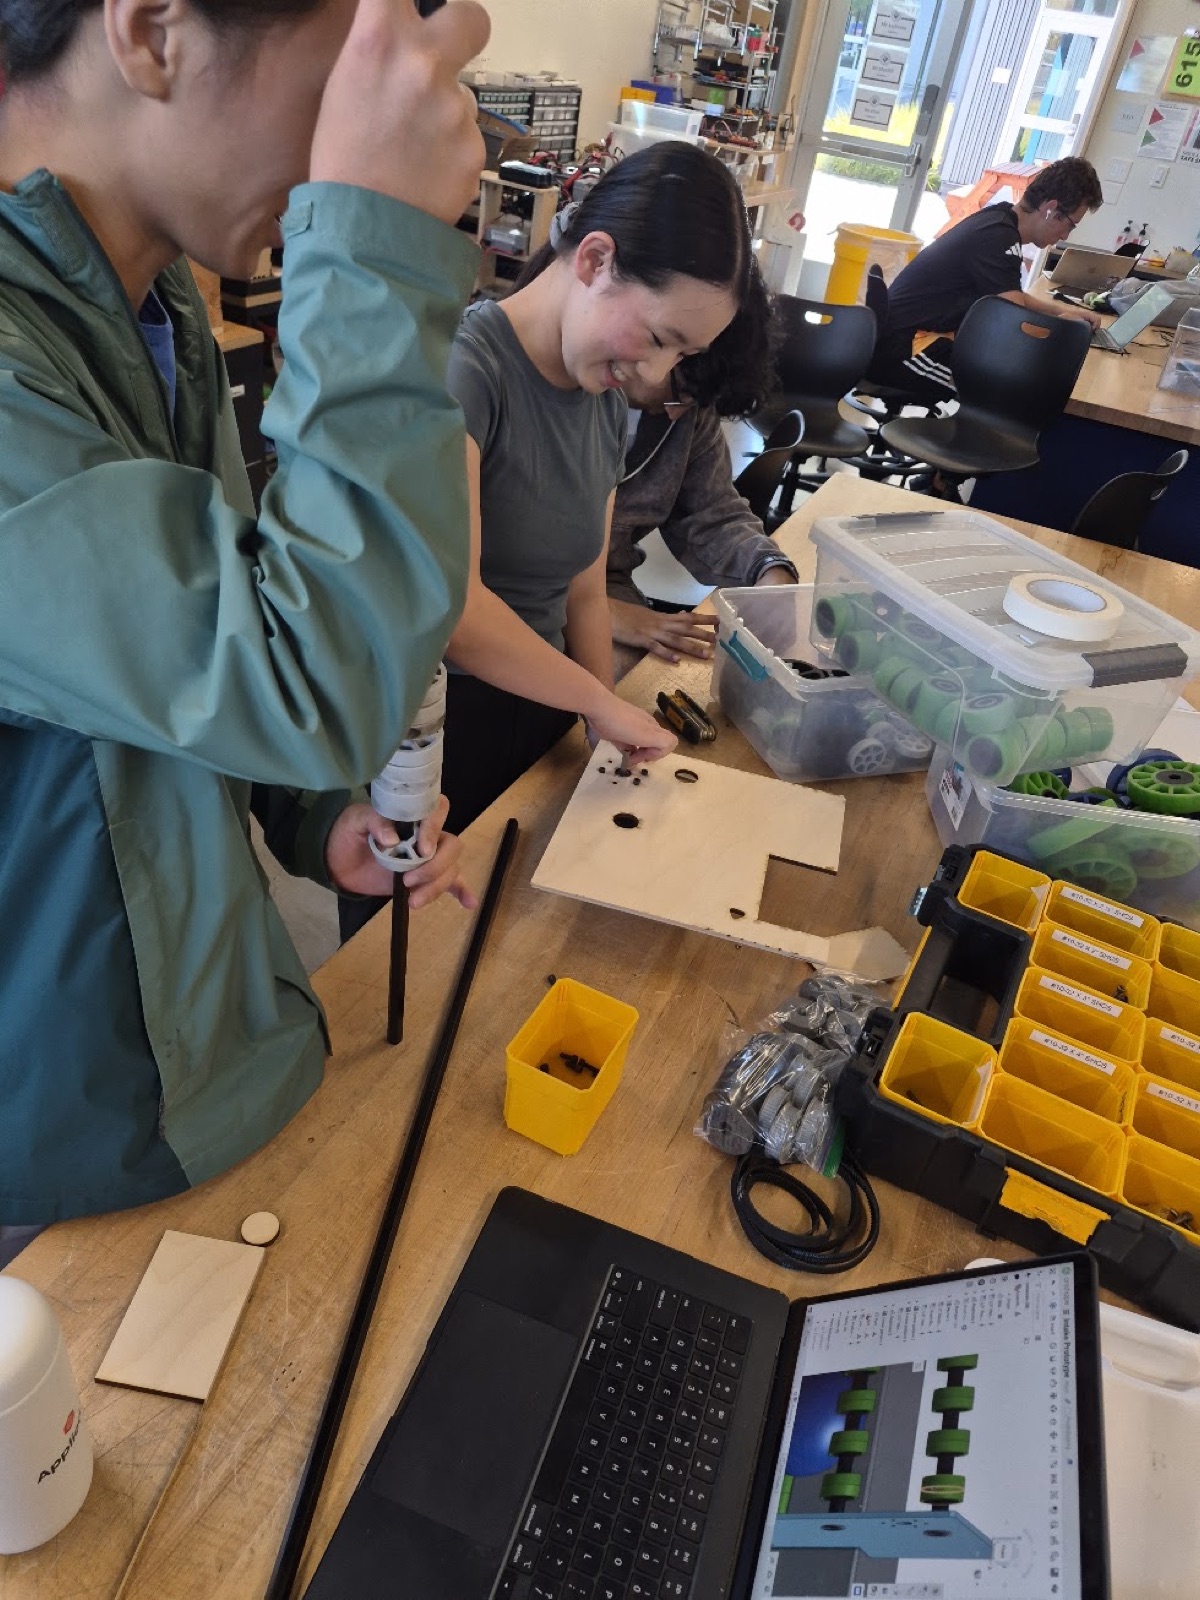
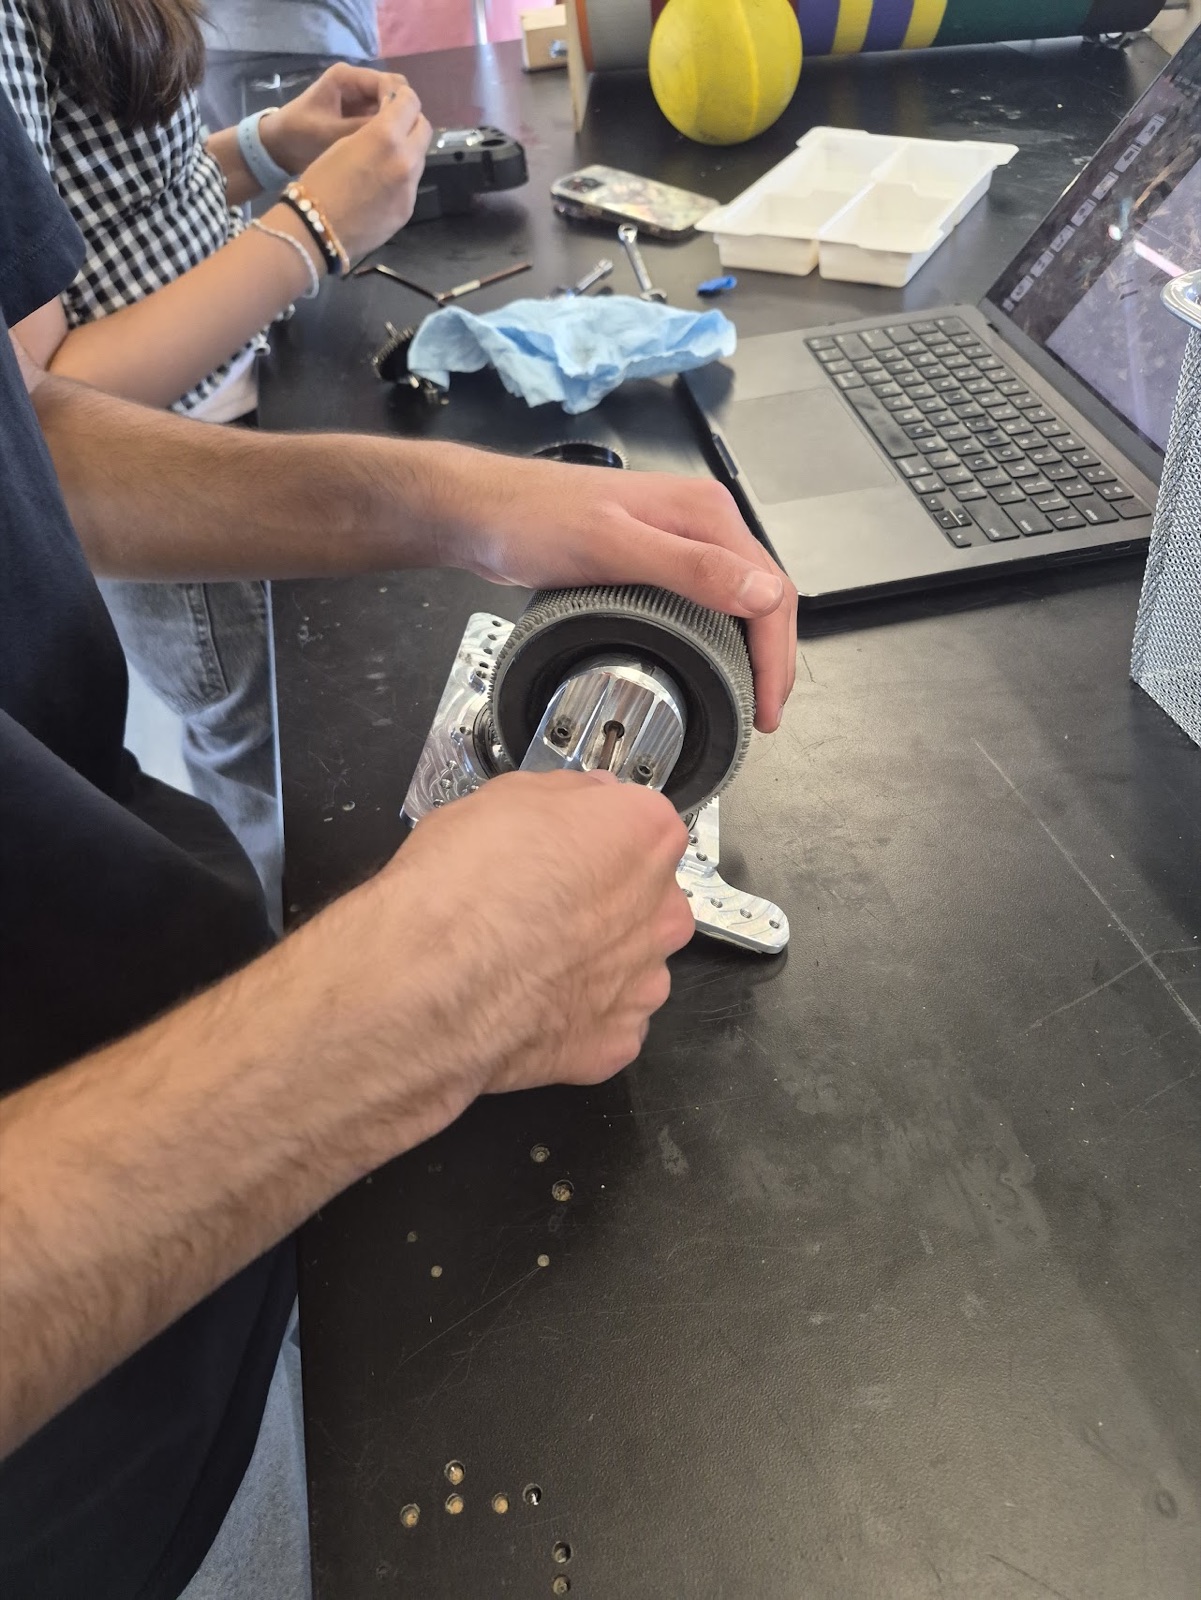
- Assembled the intake across several weeks and set its compression by testing. It went from loose and inconsistent to a repeatable grip.
- Ran intake checks alongside the CAD rotation in the last week of the quarter.
Video of the belt prototype running ↗
Prototypes fail on measurement, not on ideas. Belt tension, bearing fit and compression distance all needed numbers before the design came together.
CNC and Fusion 360
Week 3
Learn CNC workflow and Fusion 360 well enough to go from a model to a cut part.
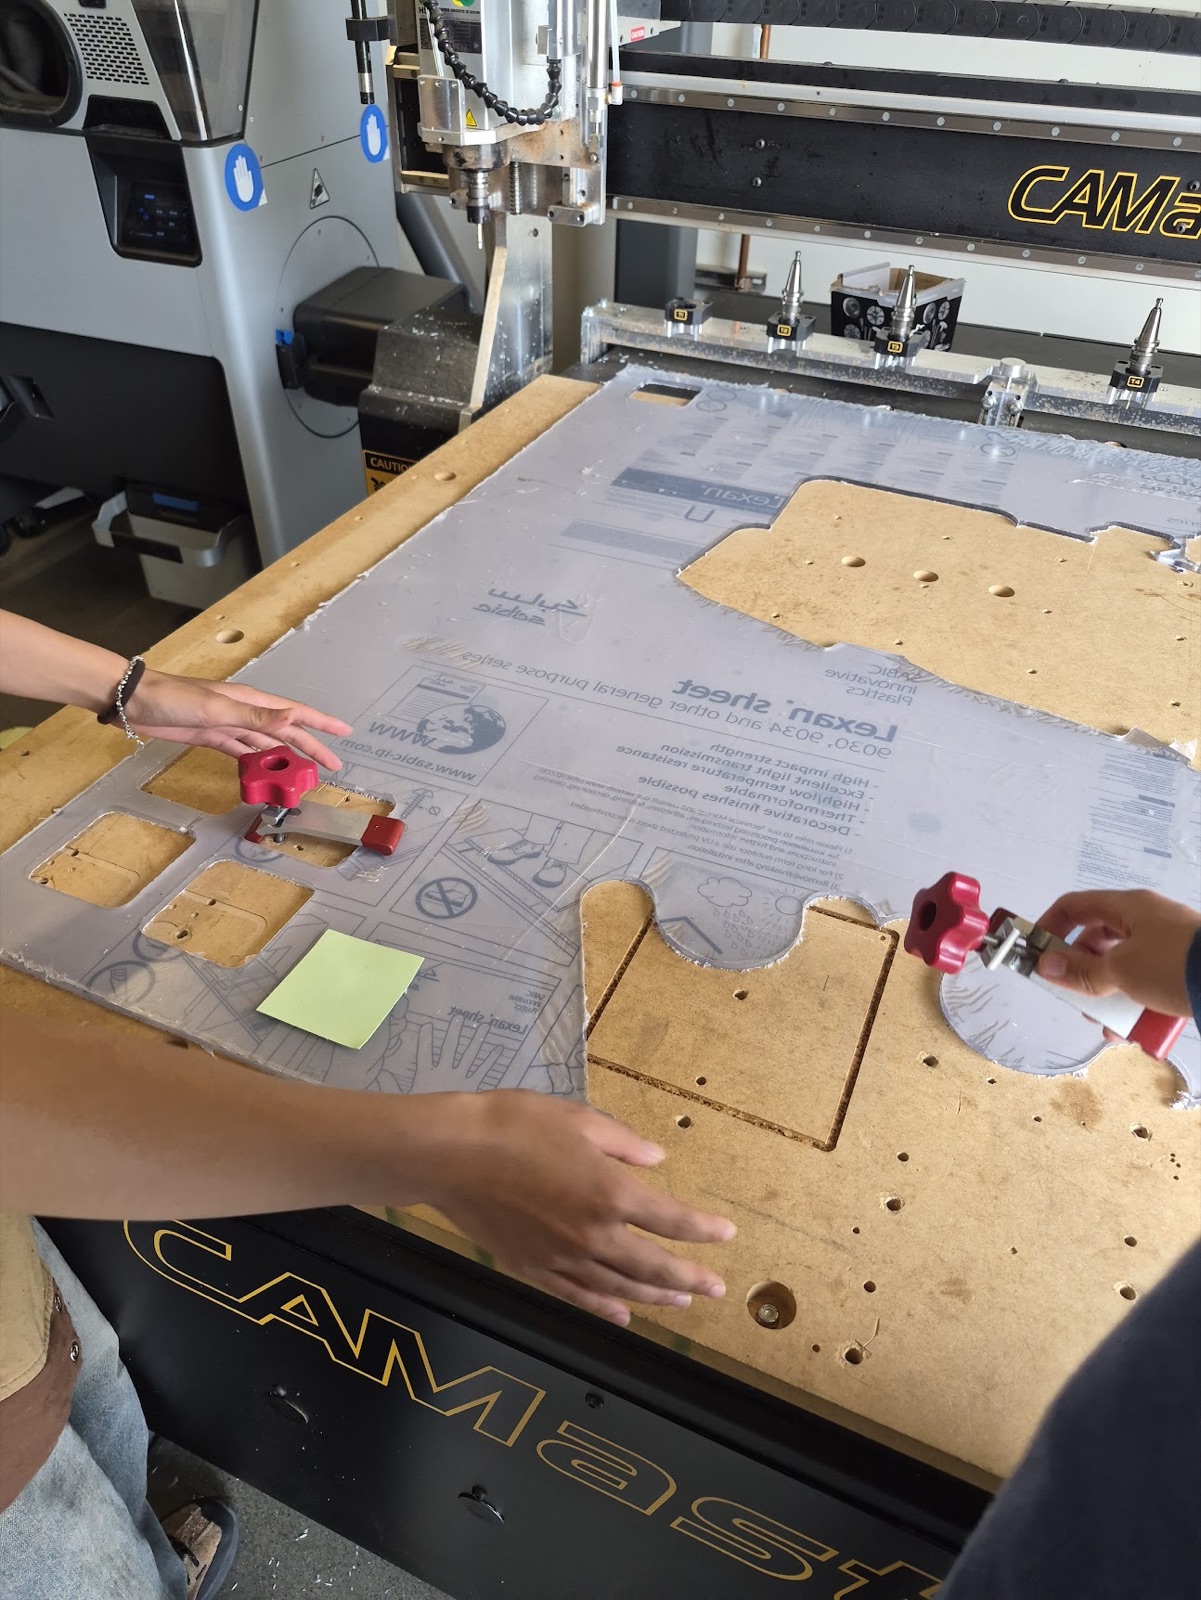
- Practiced CAM setup and toolpaths in Fusion 360, then cut parts on the CNC.
- Hit a CNC setup problem mid week, diagnosed it instead of dropping the machine, and moved to cutting time once it was stable.
CAM is where designs get tested against reality. Tolerances and workholding decide whether the part that comes out matches the model.
Electrical
Week 4
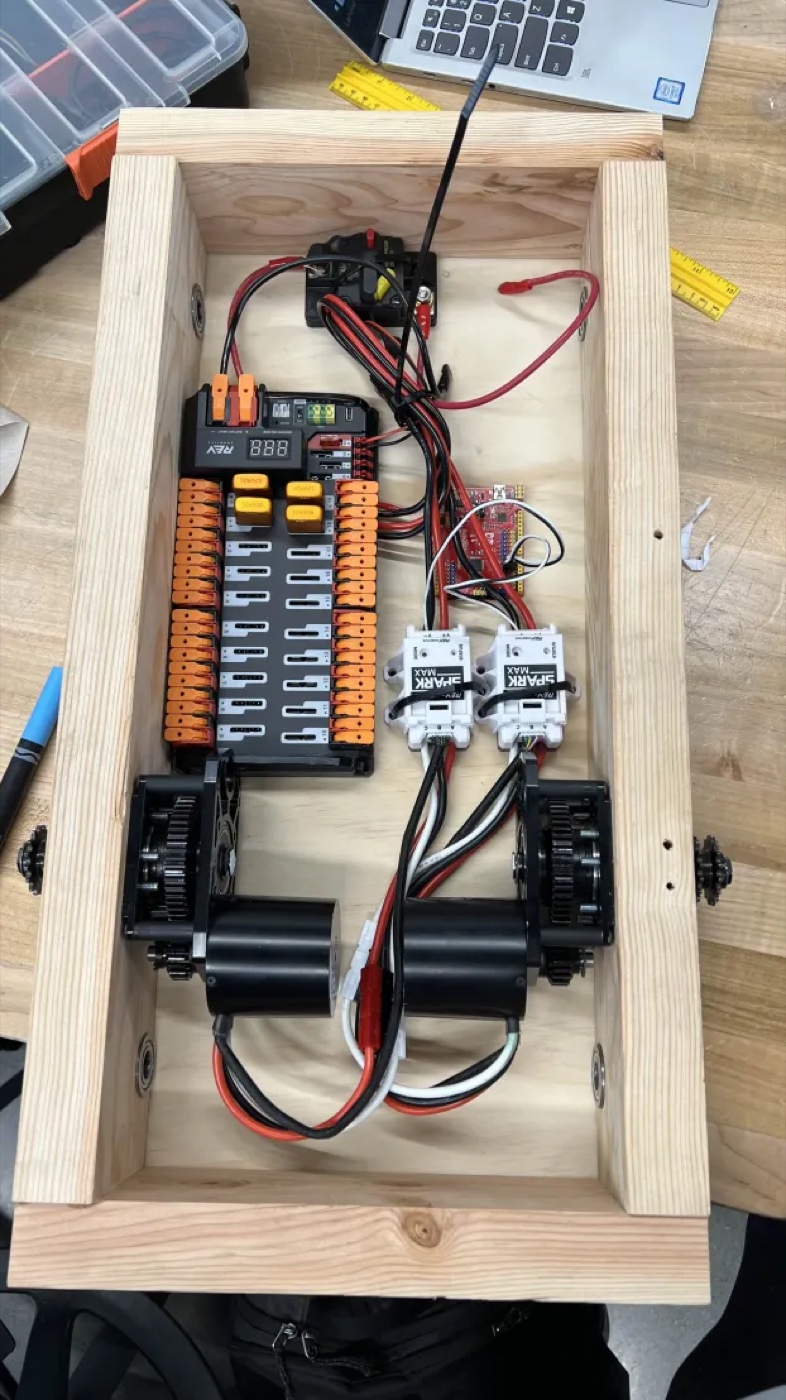
Learn the robot electrical system, CAN bus wiring, and how to trace faults.
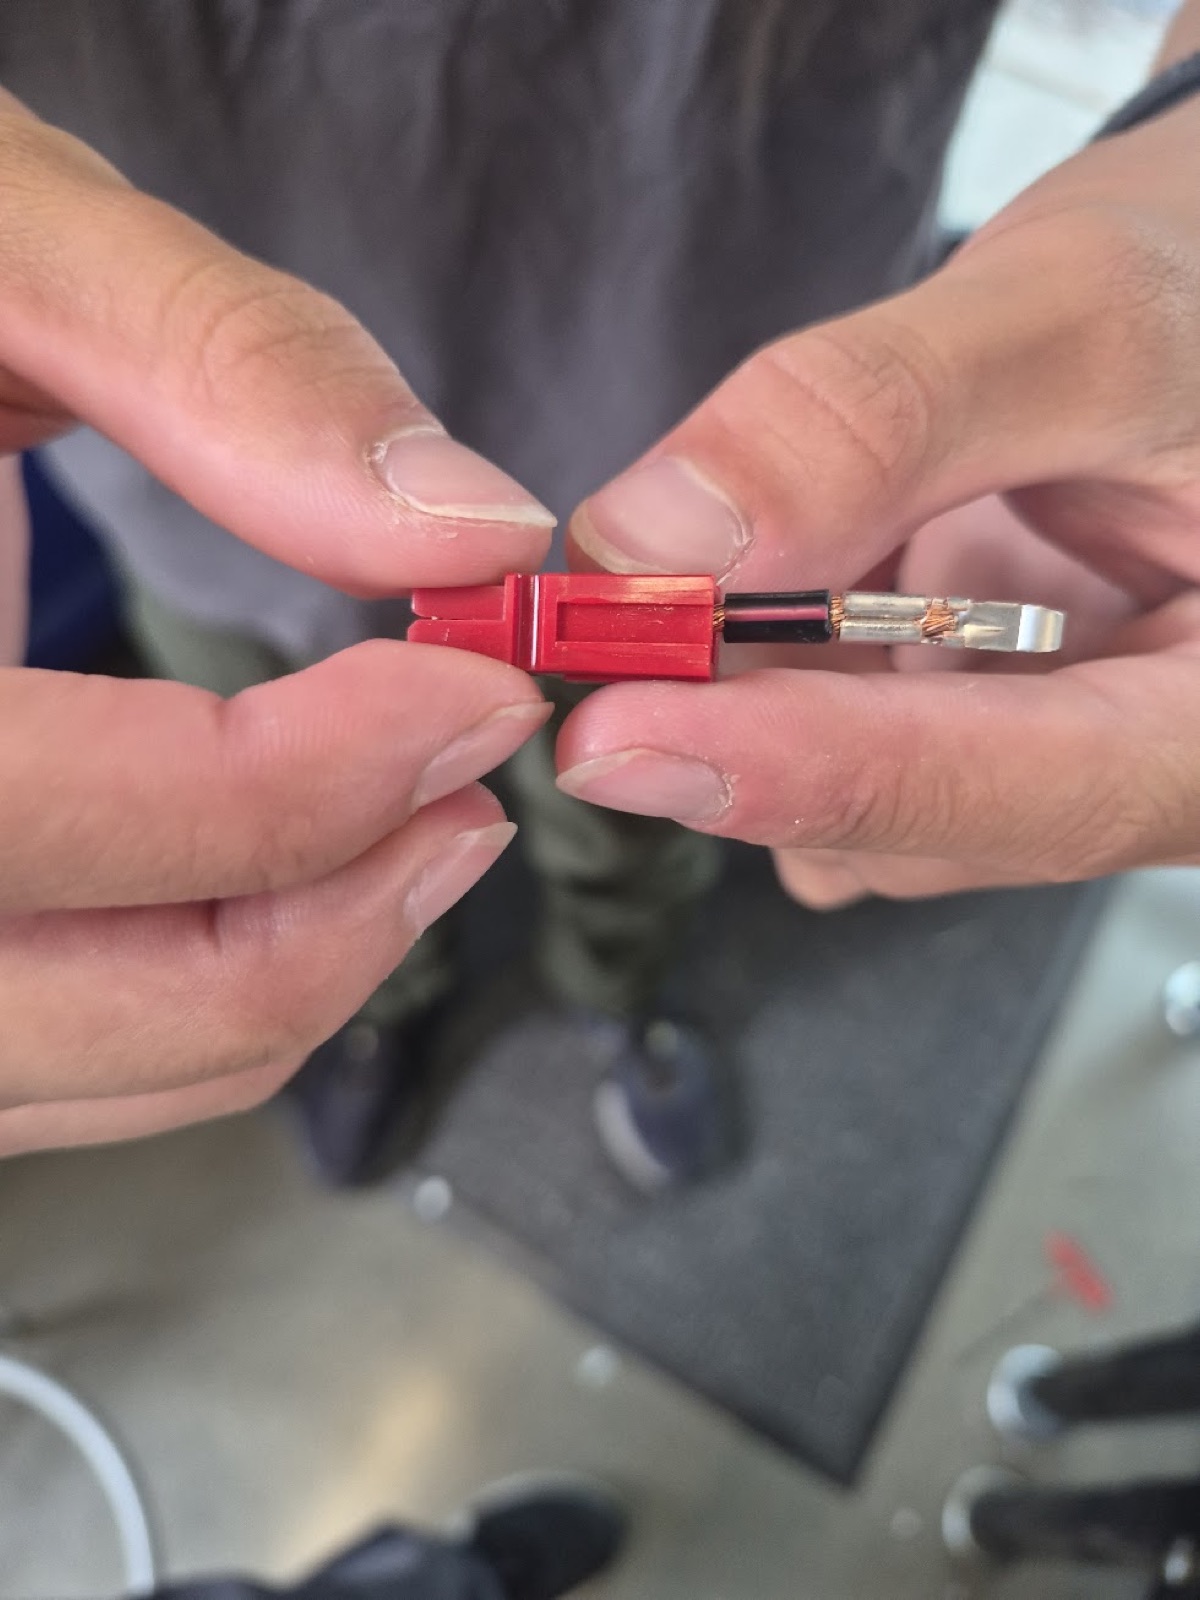
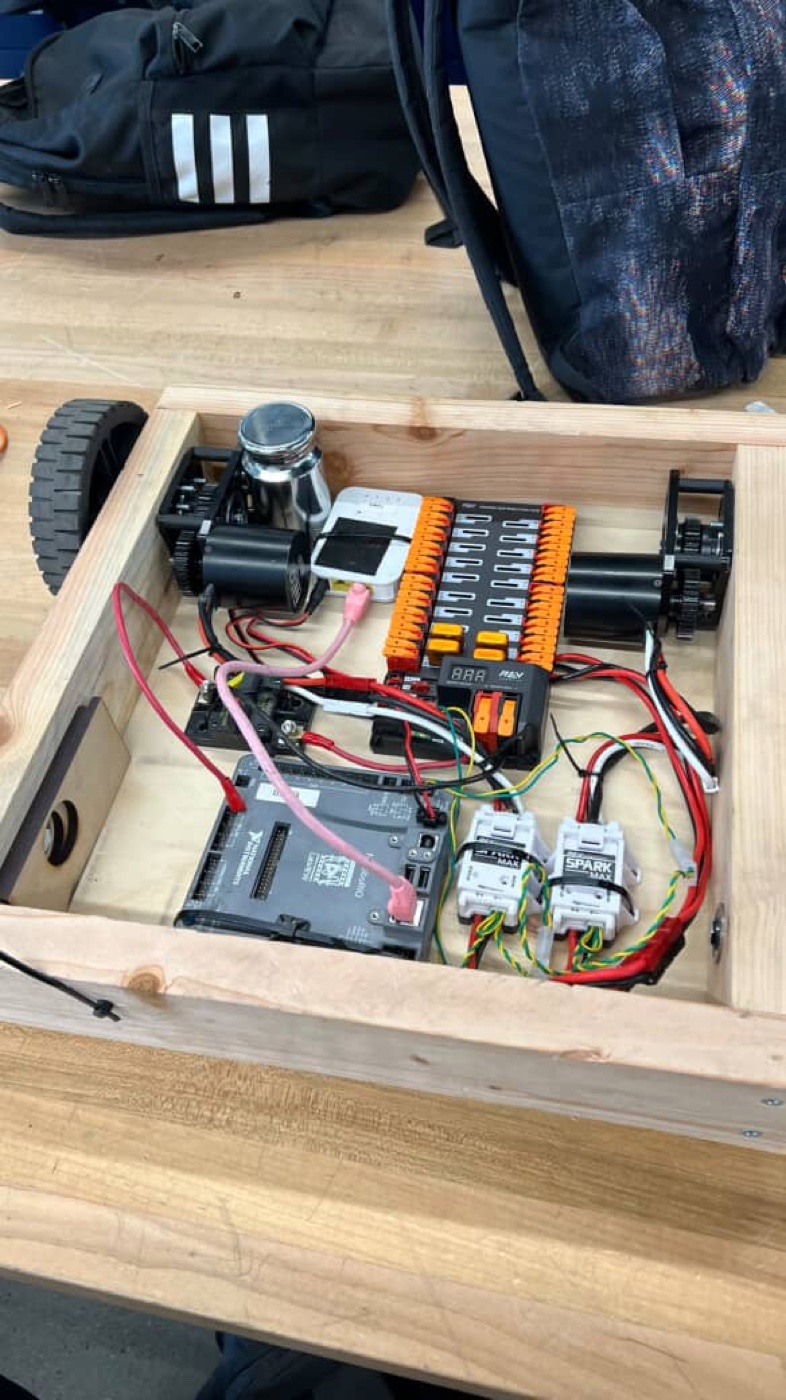
- Wired and checked CAN bus chains with the team.
- Learned fault isolation. When the root cause was not obvious I tested one suspect component at a time instead of swapping parts at random, which found a wiring fault faster.
Electrical problems are process problems. A sequence beats intuition when a chain of devices drops off the bus.
Code
Week 5
Learn the robot software stack, WPILib, PID control, logging, and the team Git workflow.
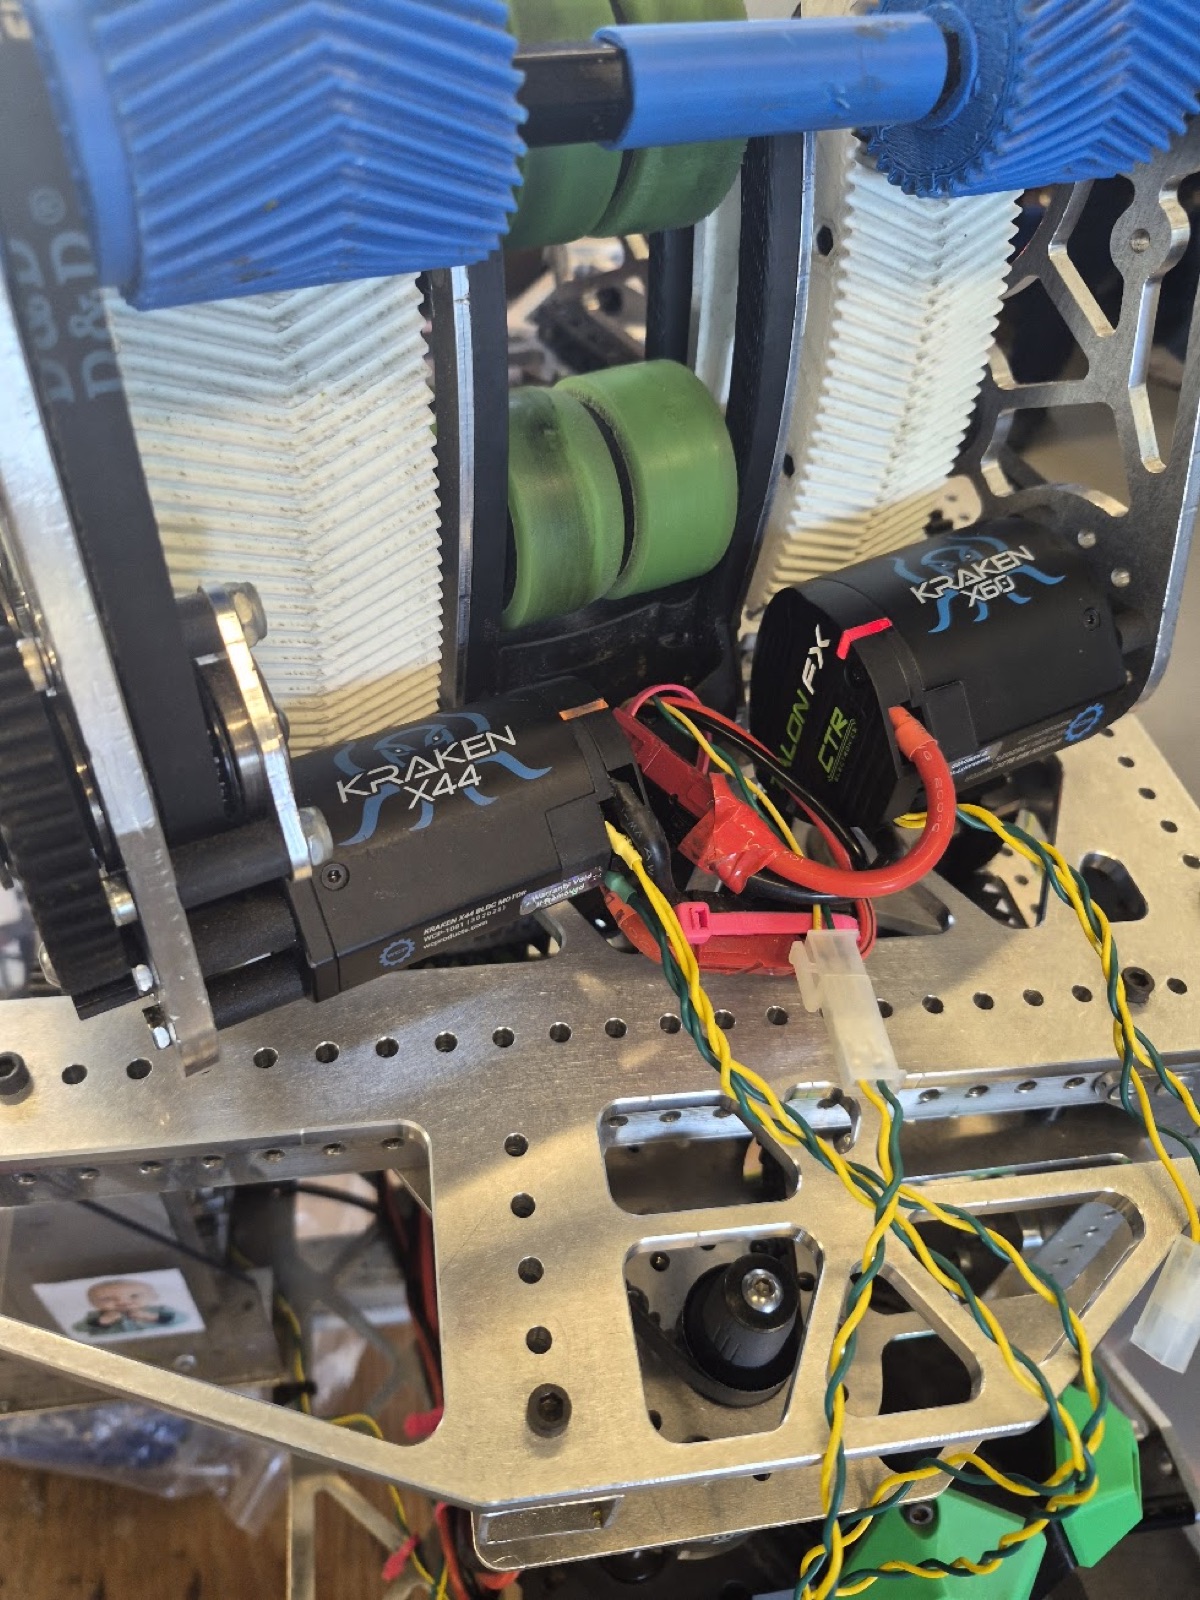
- Implemented PID rotation control and explained why closed loop control differs from open loop on our Kraken x60 drive with its 14 to 81 gear reduction and 3 volt command cap.
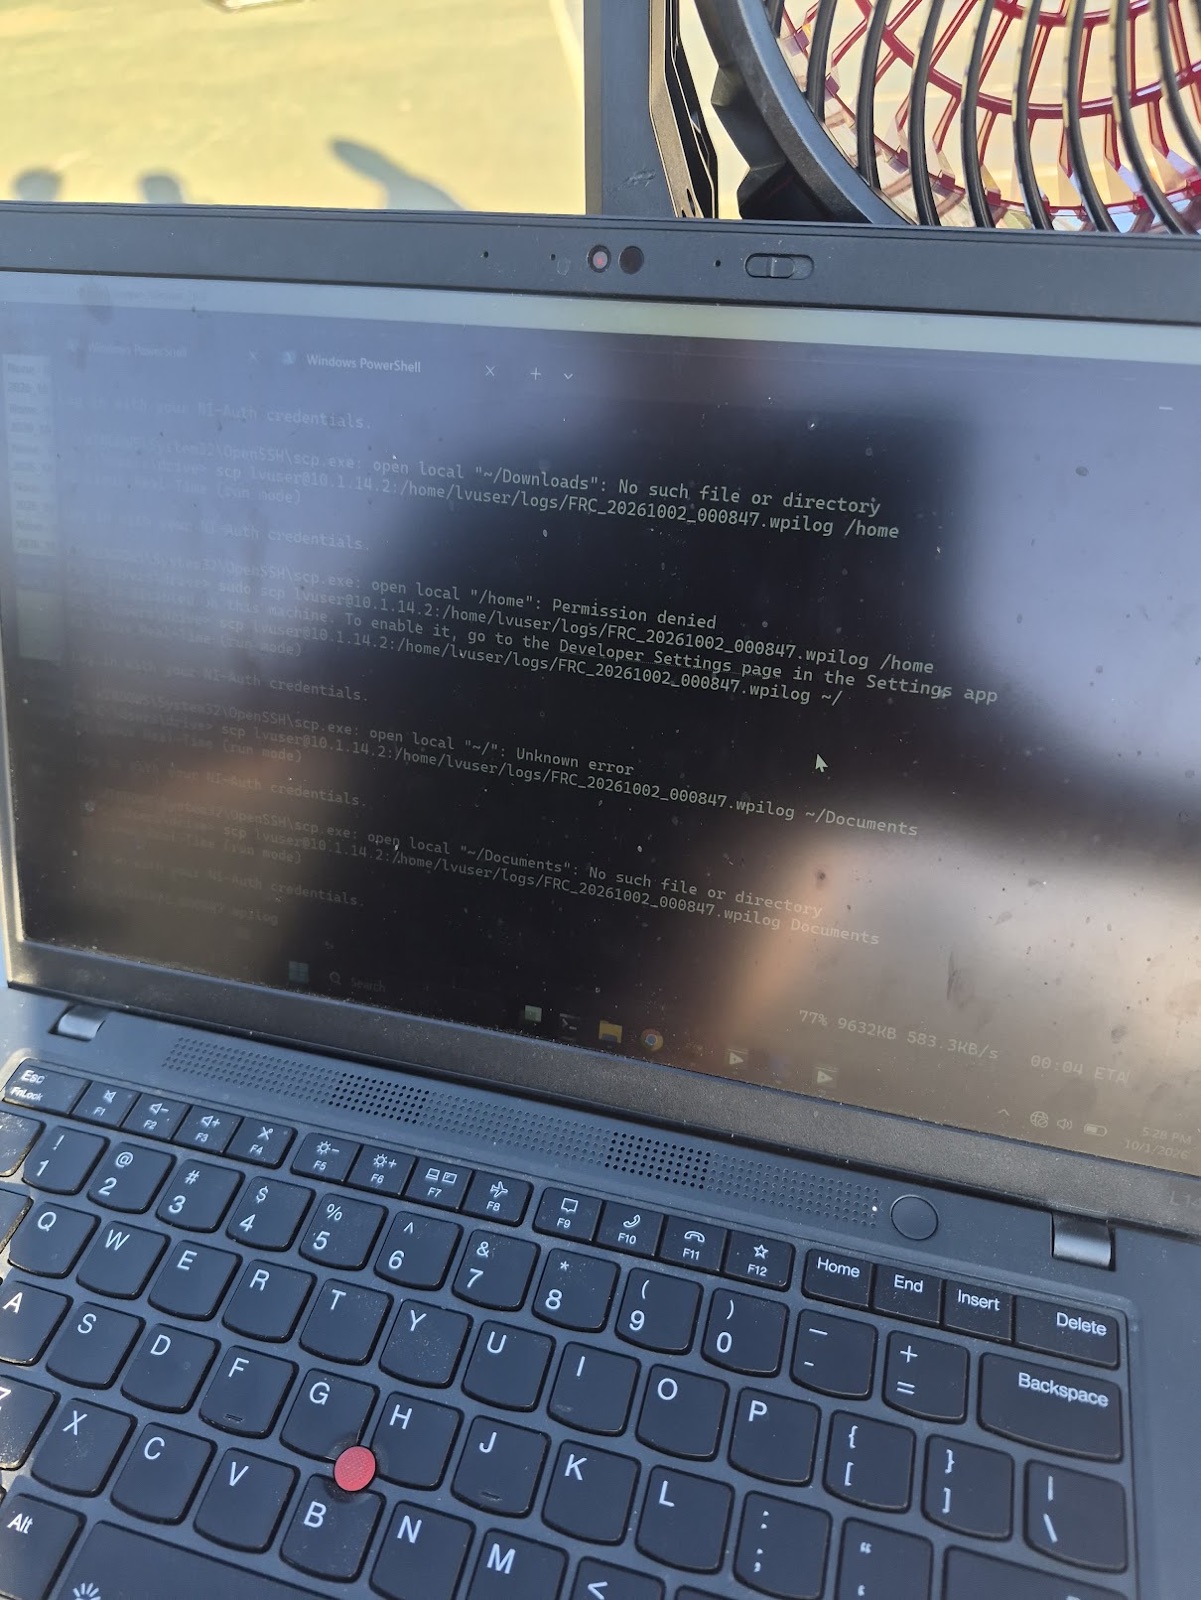
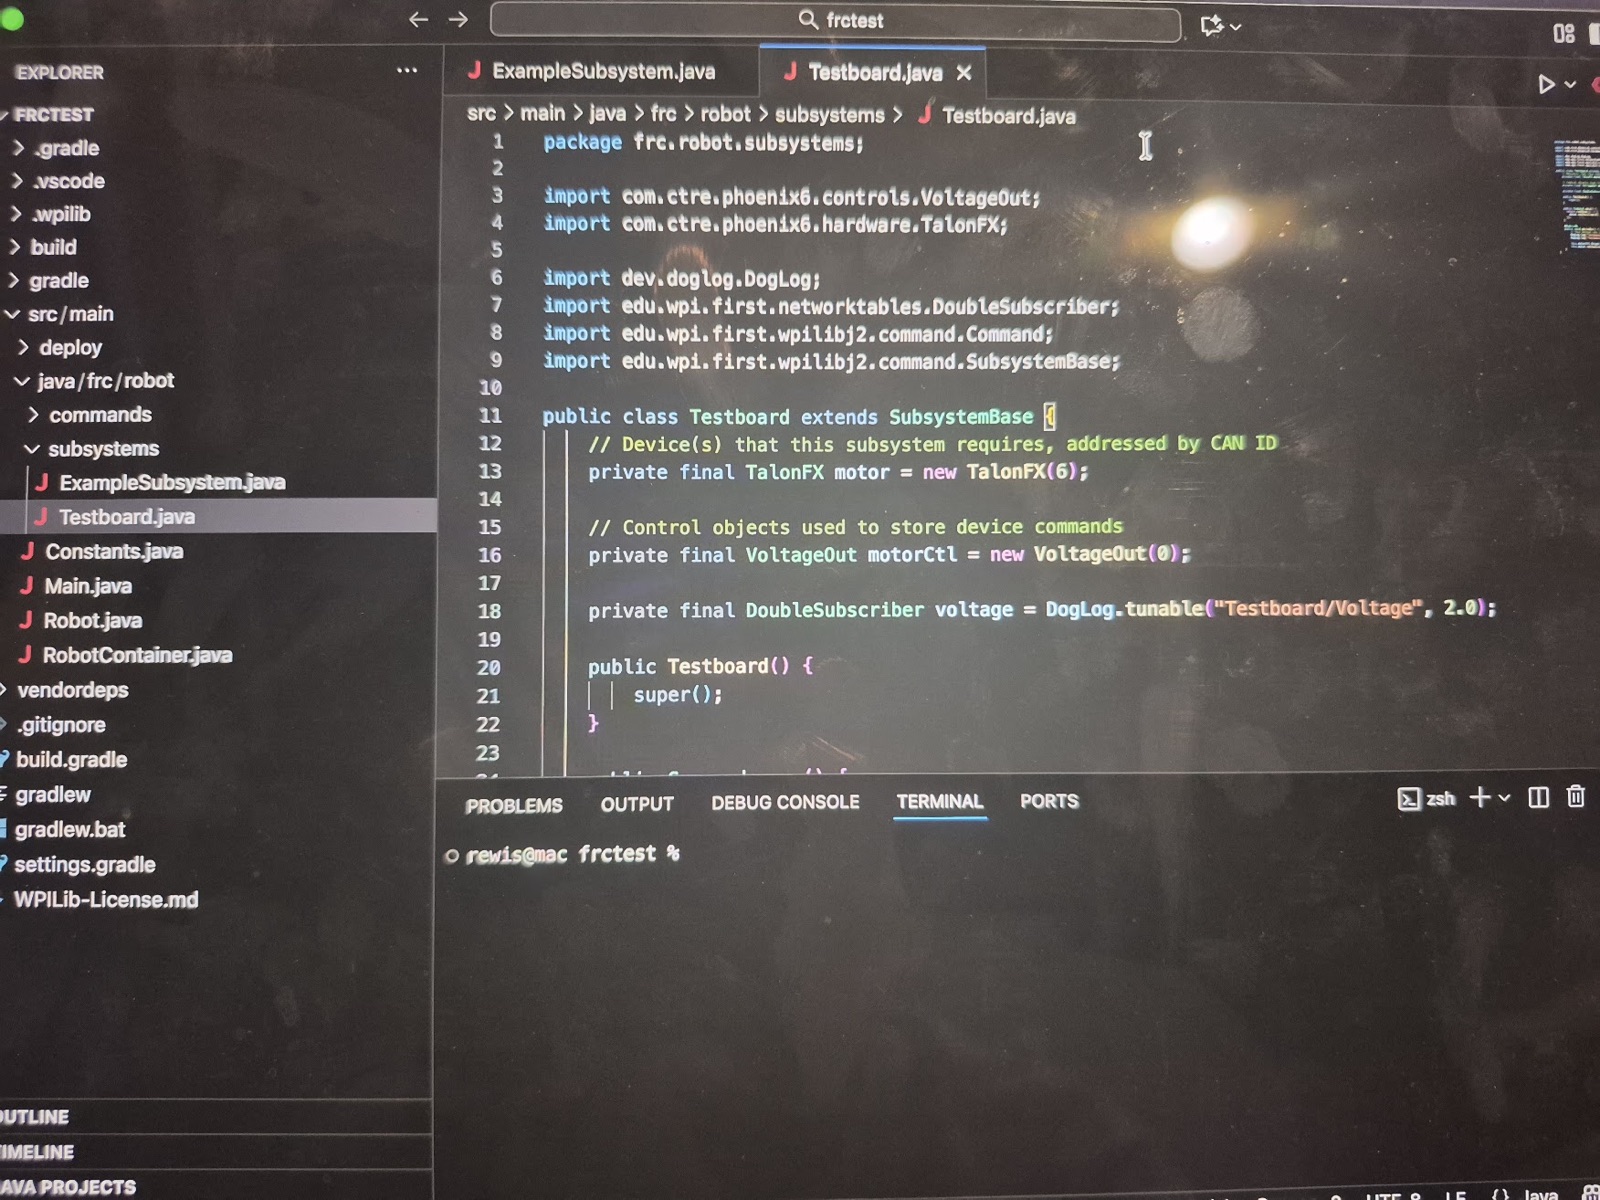
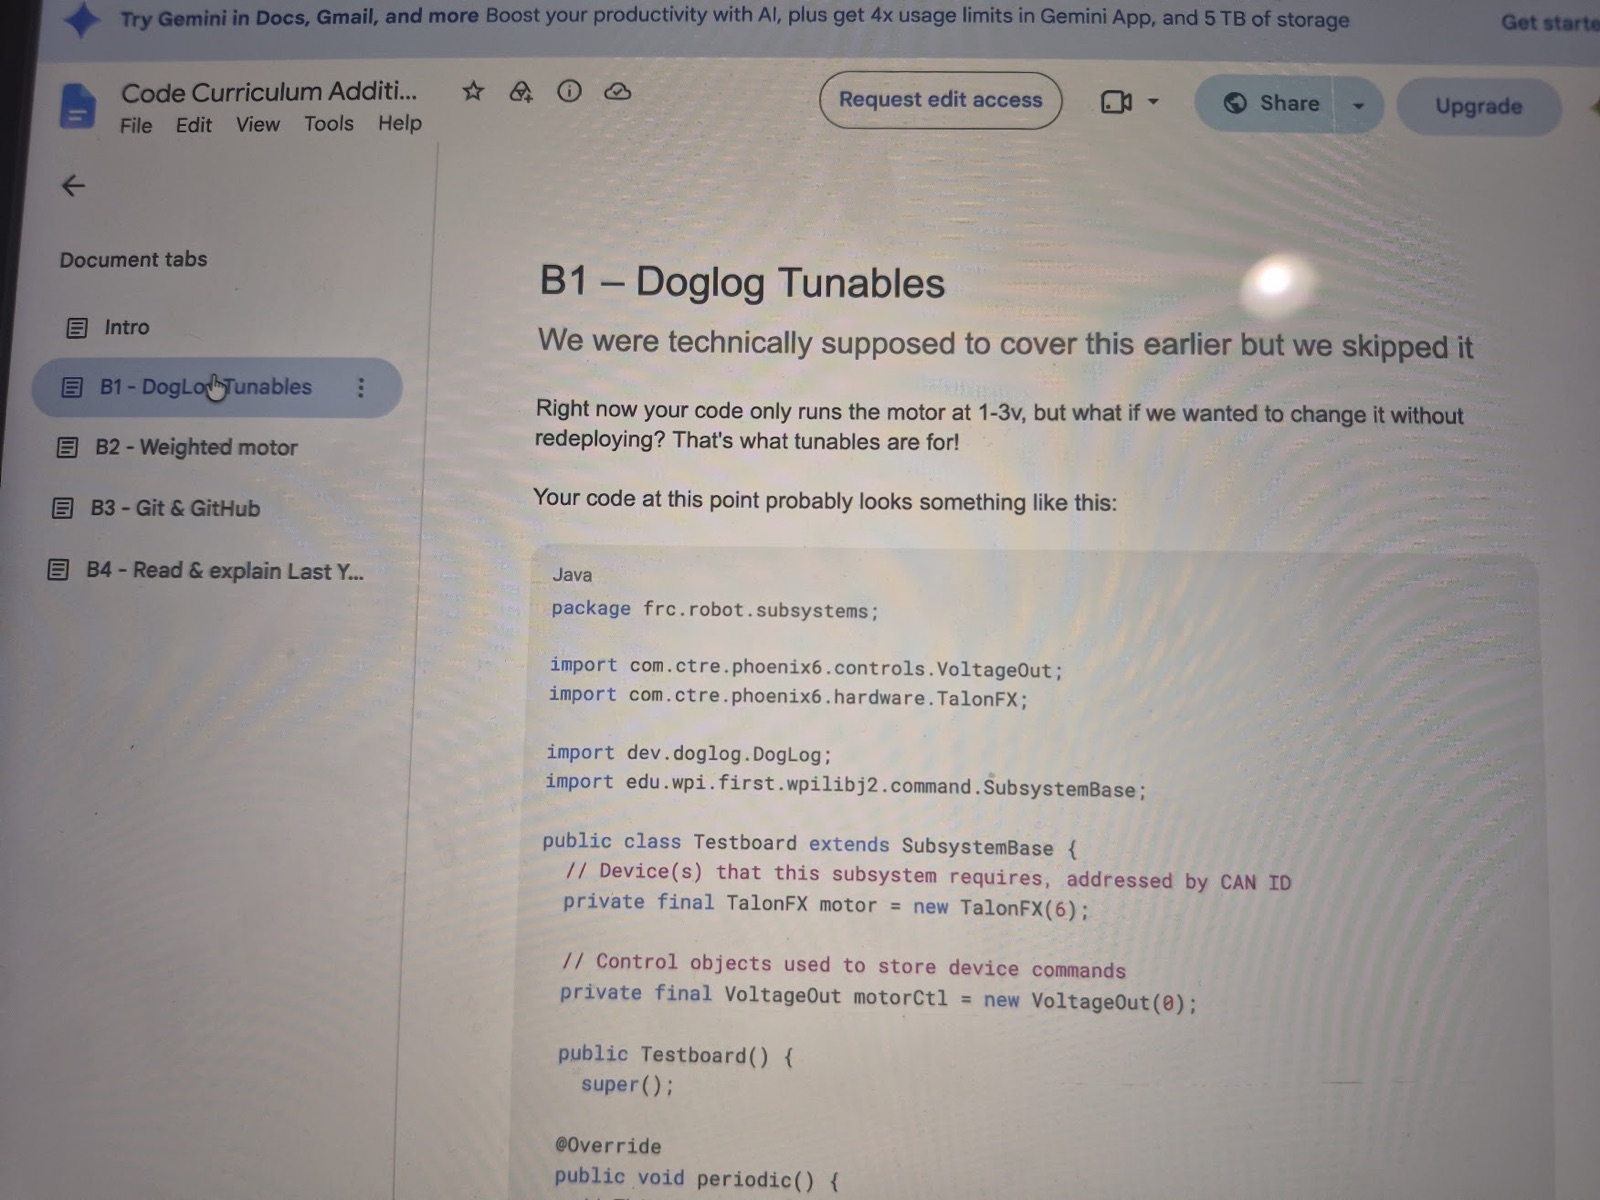
- Set up DogLog tunables so control gains can change without a redeploy, and worked through the team Git workflow for shared code.
Tuning is measurement. Log first, then adjust. That is what makes PID settle instead of wander.
Machining
Week 6
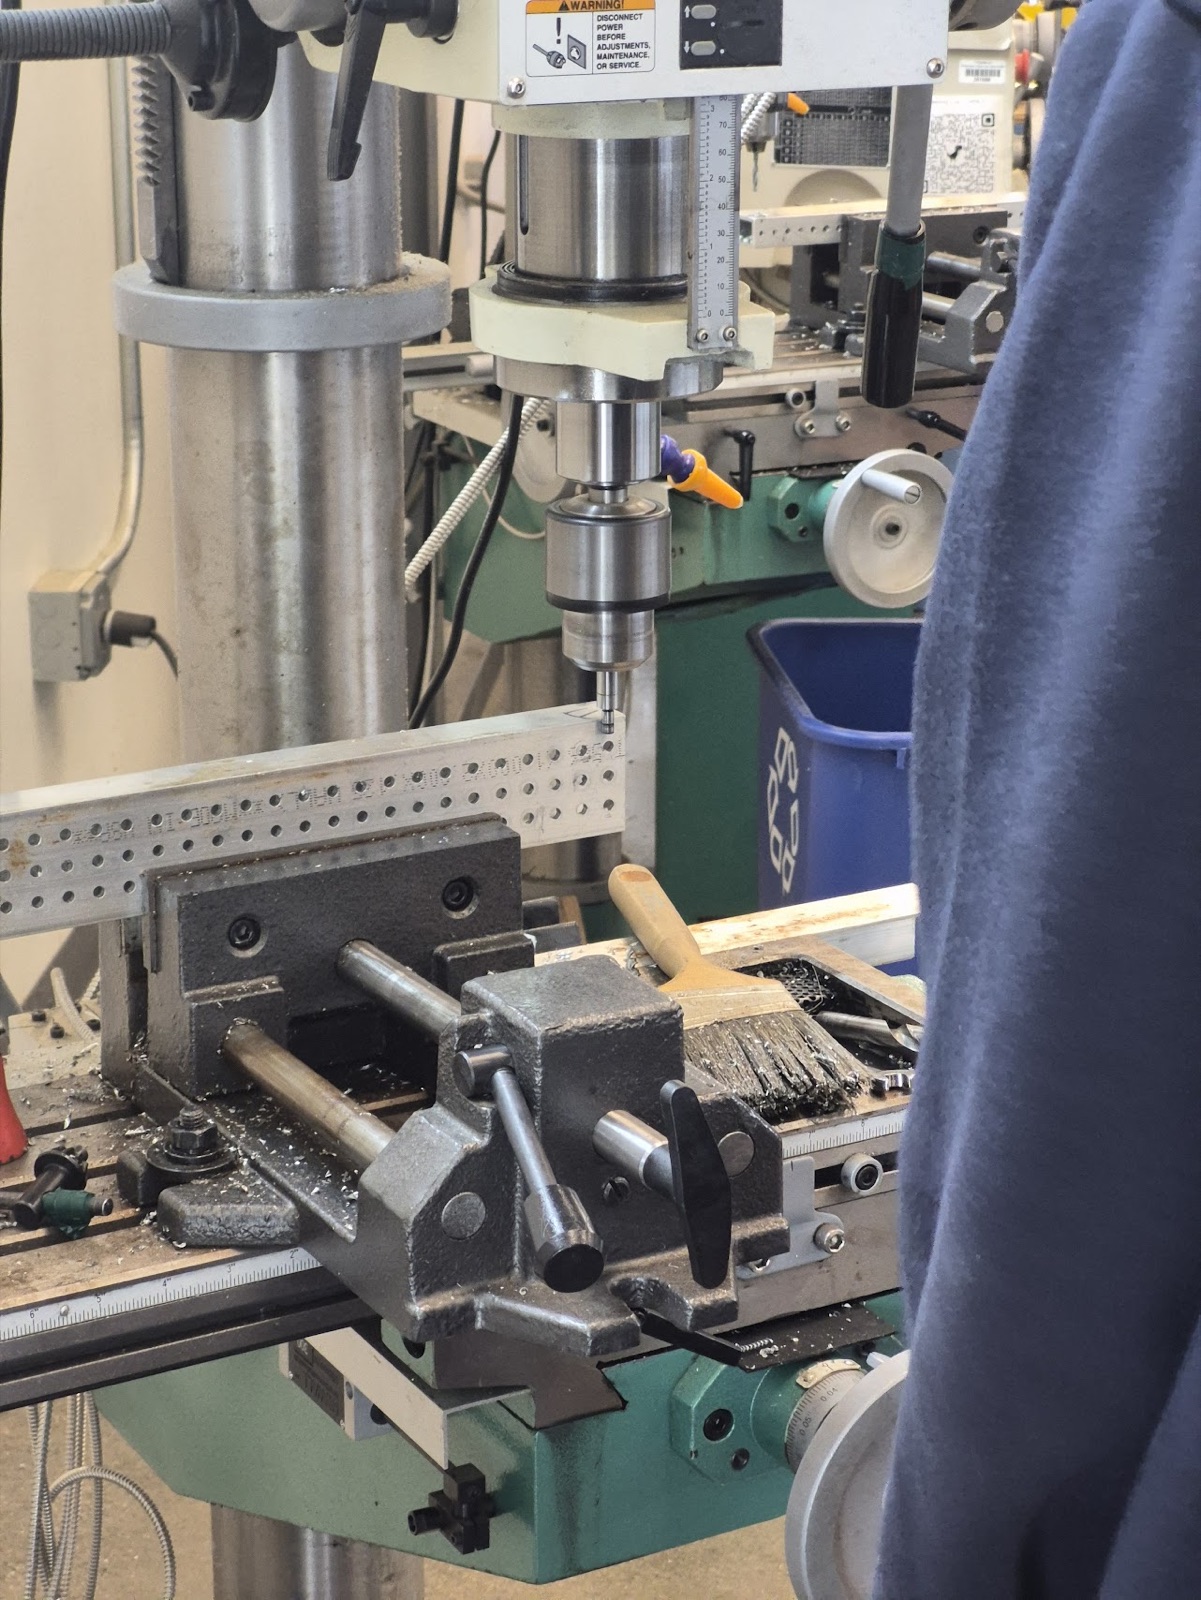
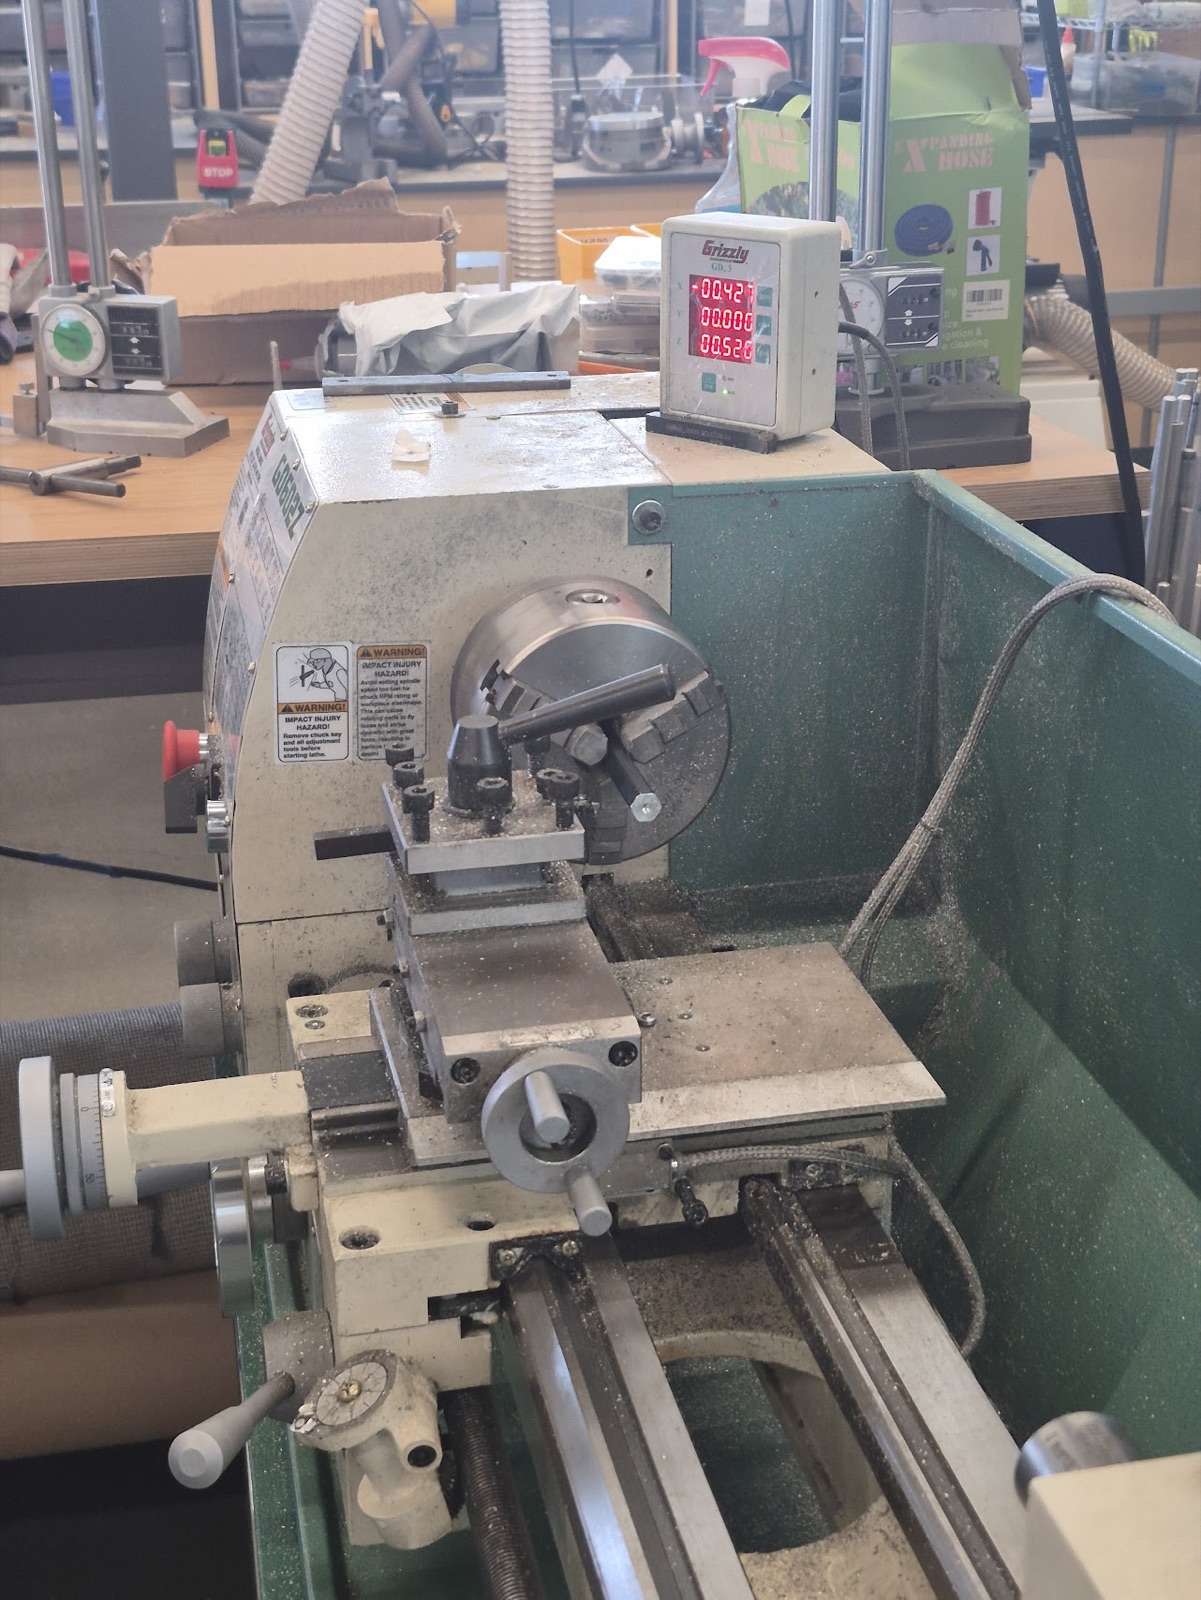
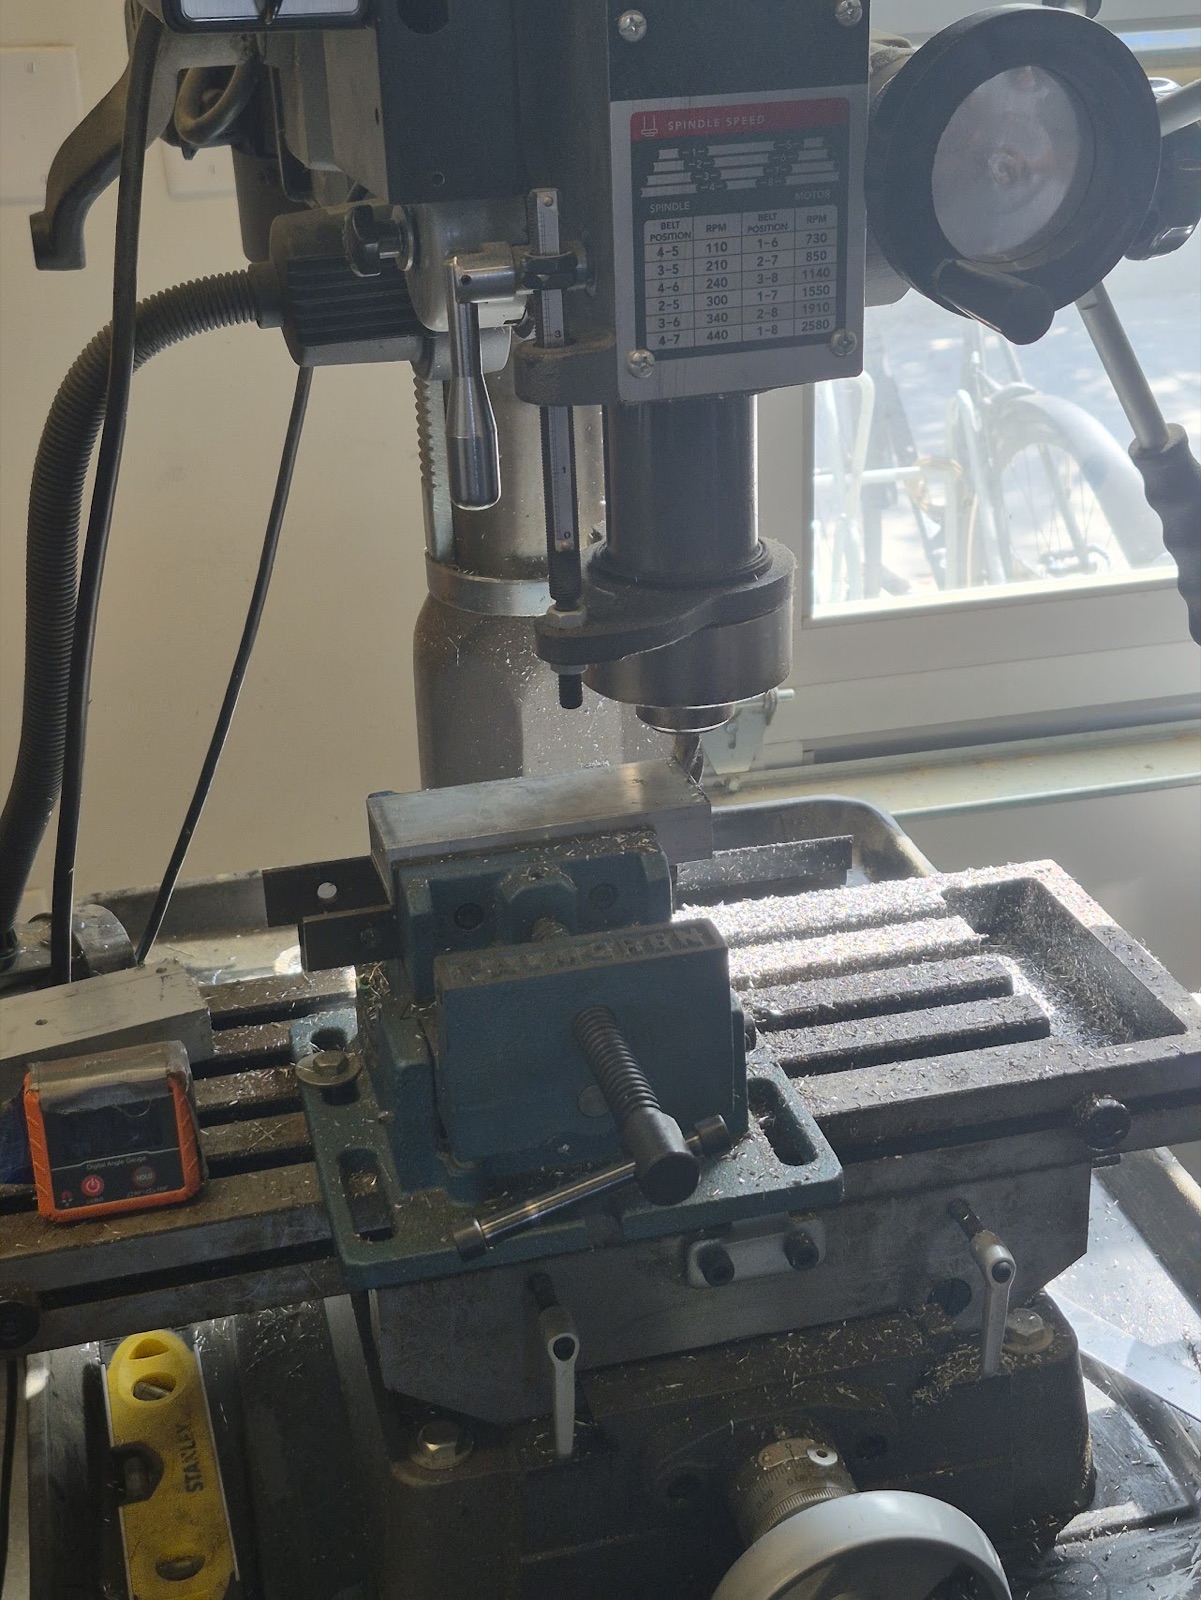
Learn the shop machines, the drill press, the lathe and the horizontal band saw, and the accuracy habits that go with them.
- Used a center finder on the mill and read its oscillation to square up work.
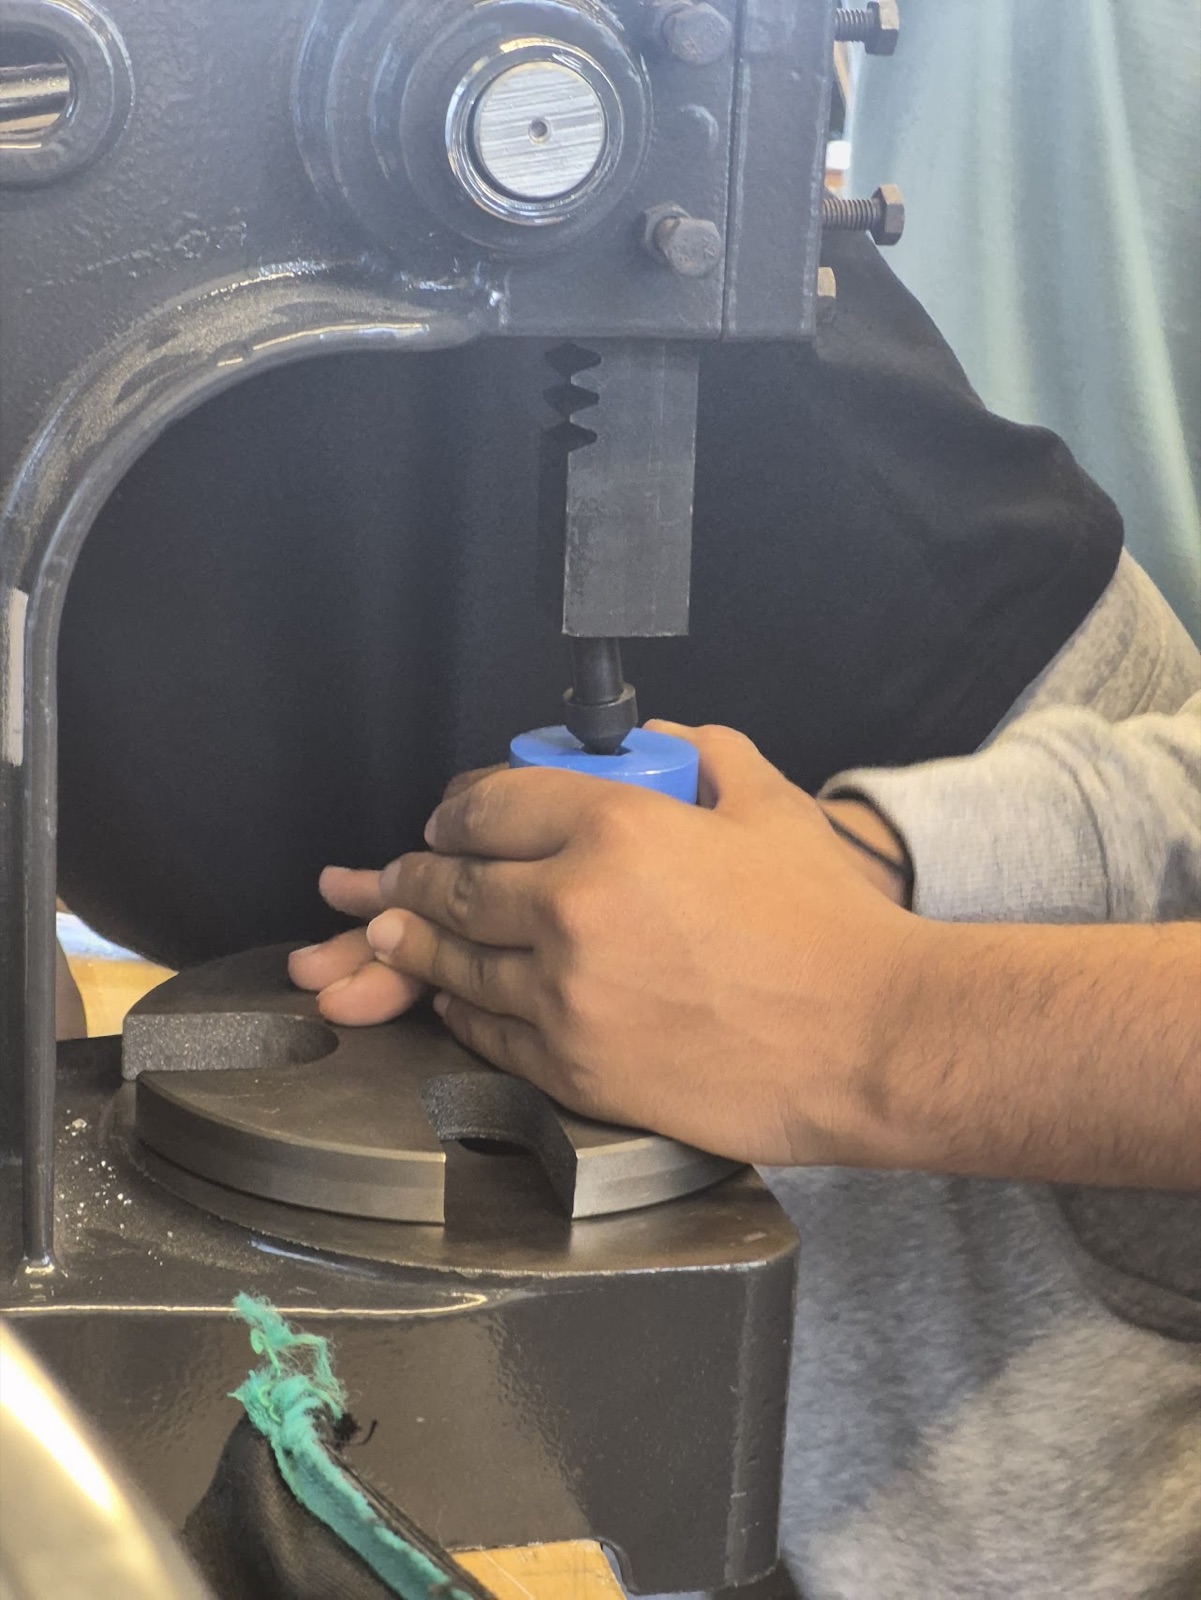
- Used the paper shim method to hit a snug press fit. Both tricks work because they turn an invisible size into a visible reading.
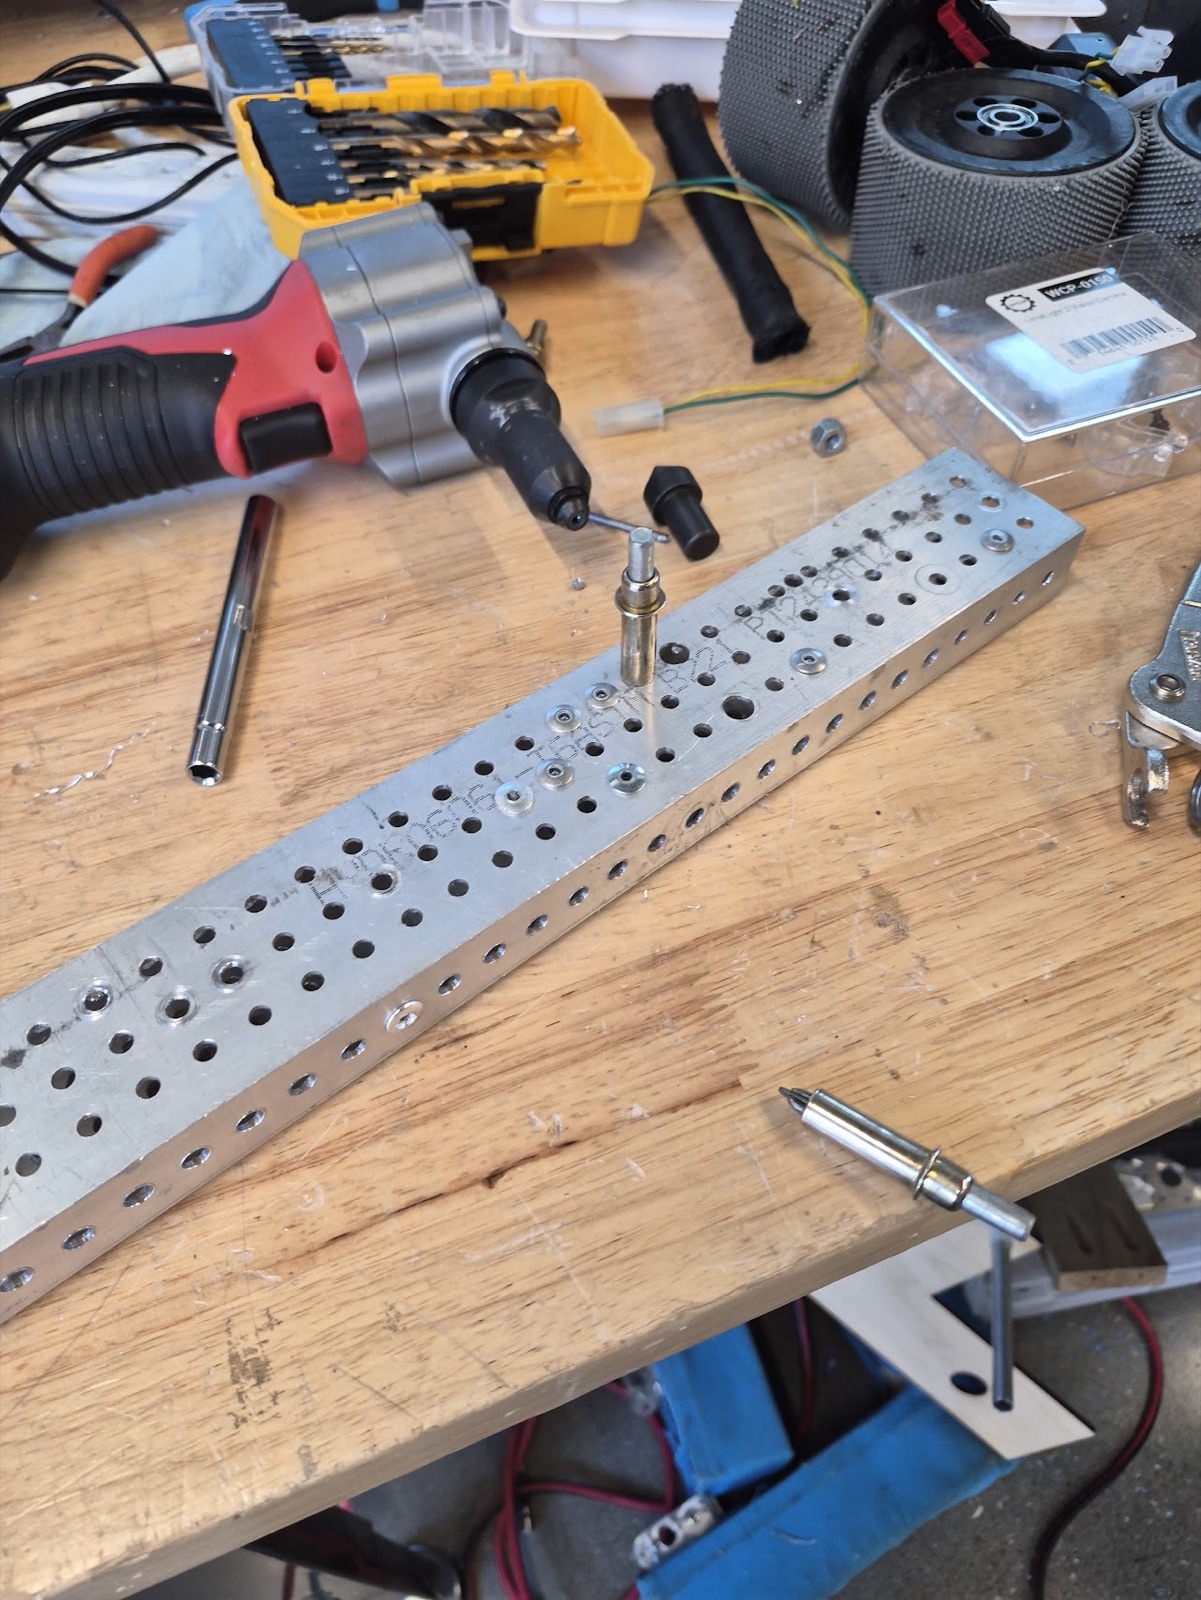
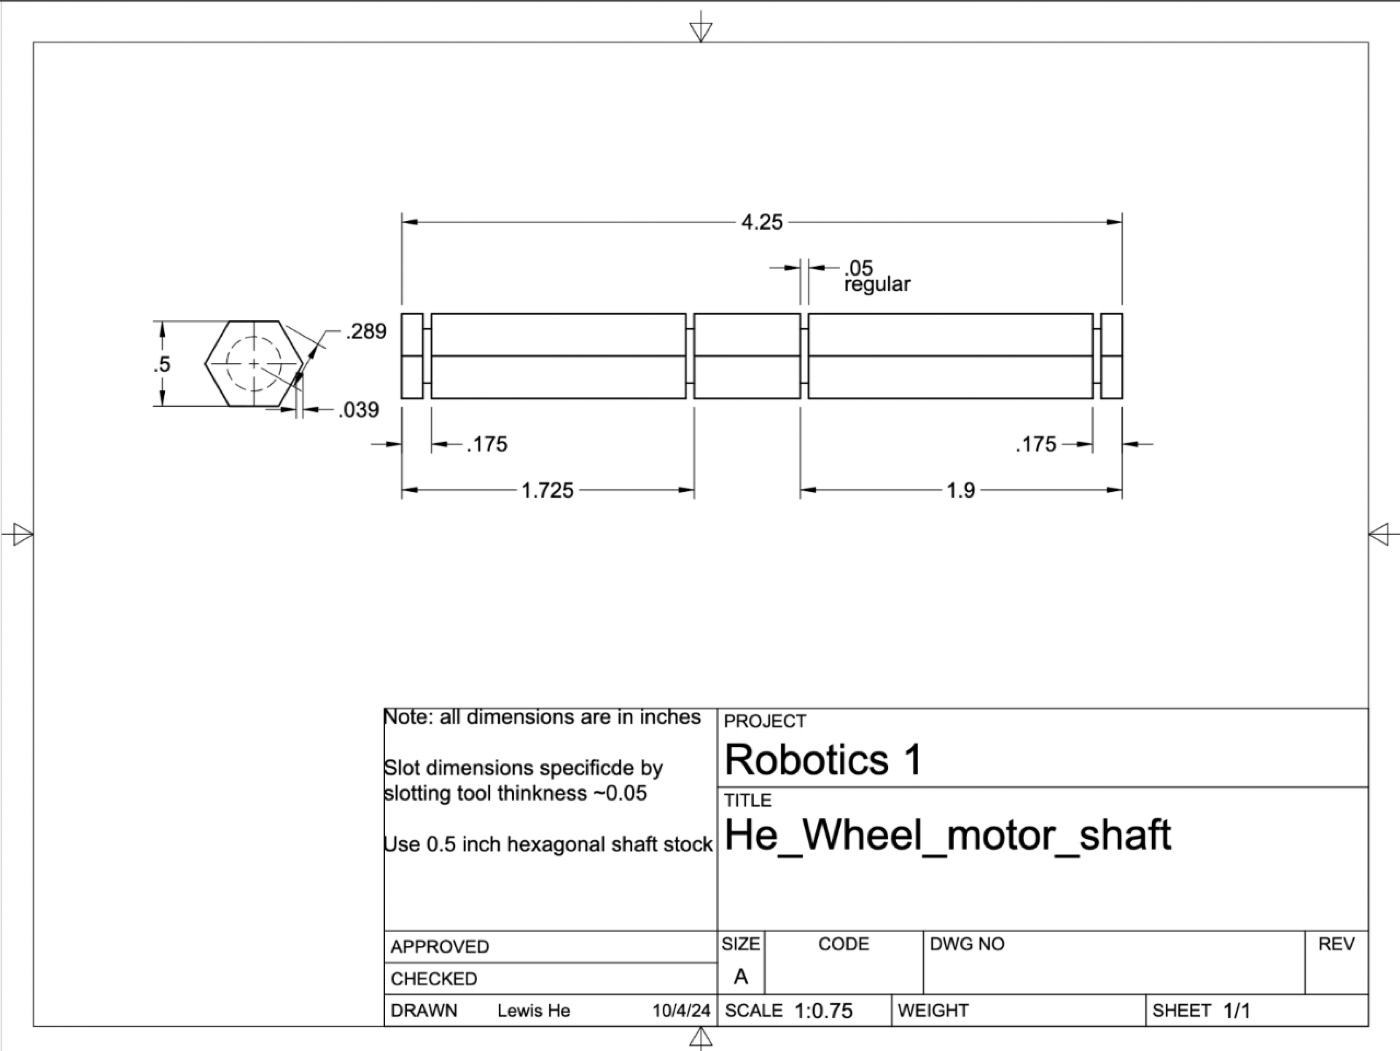
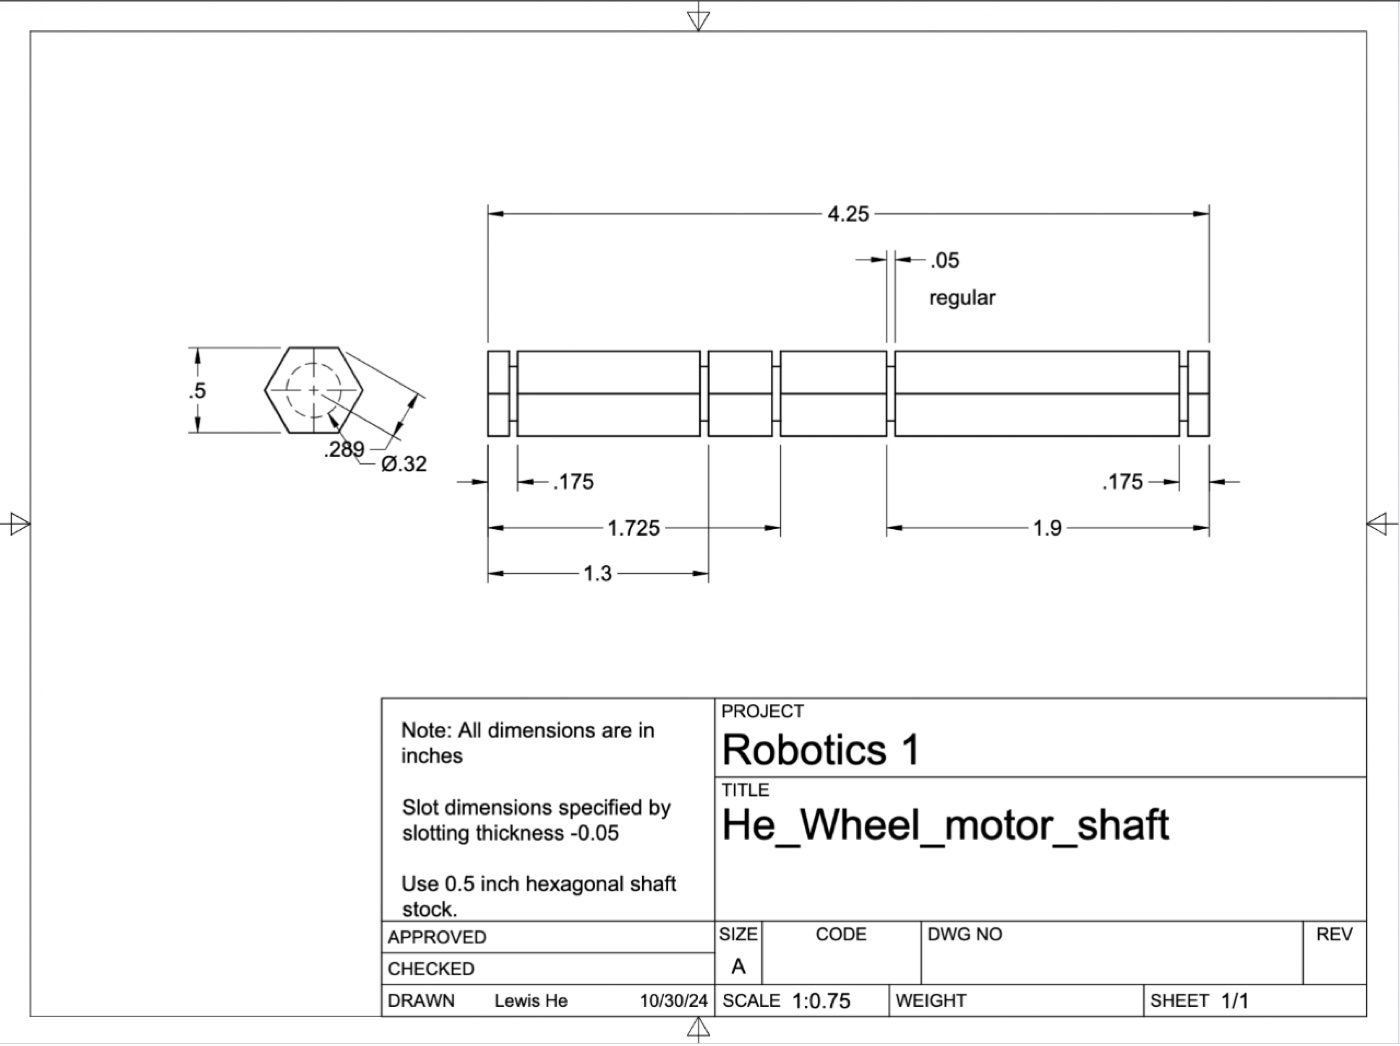
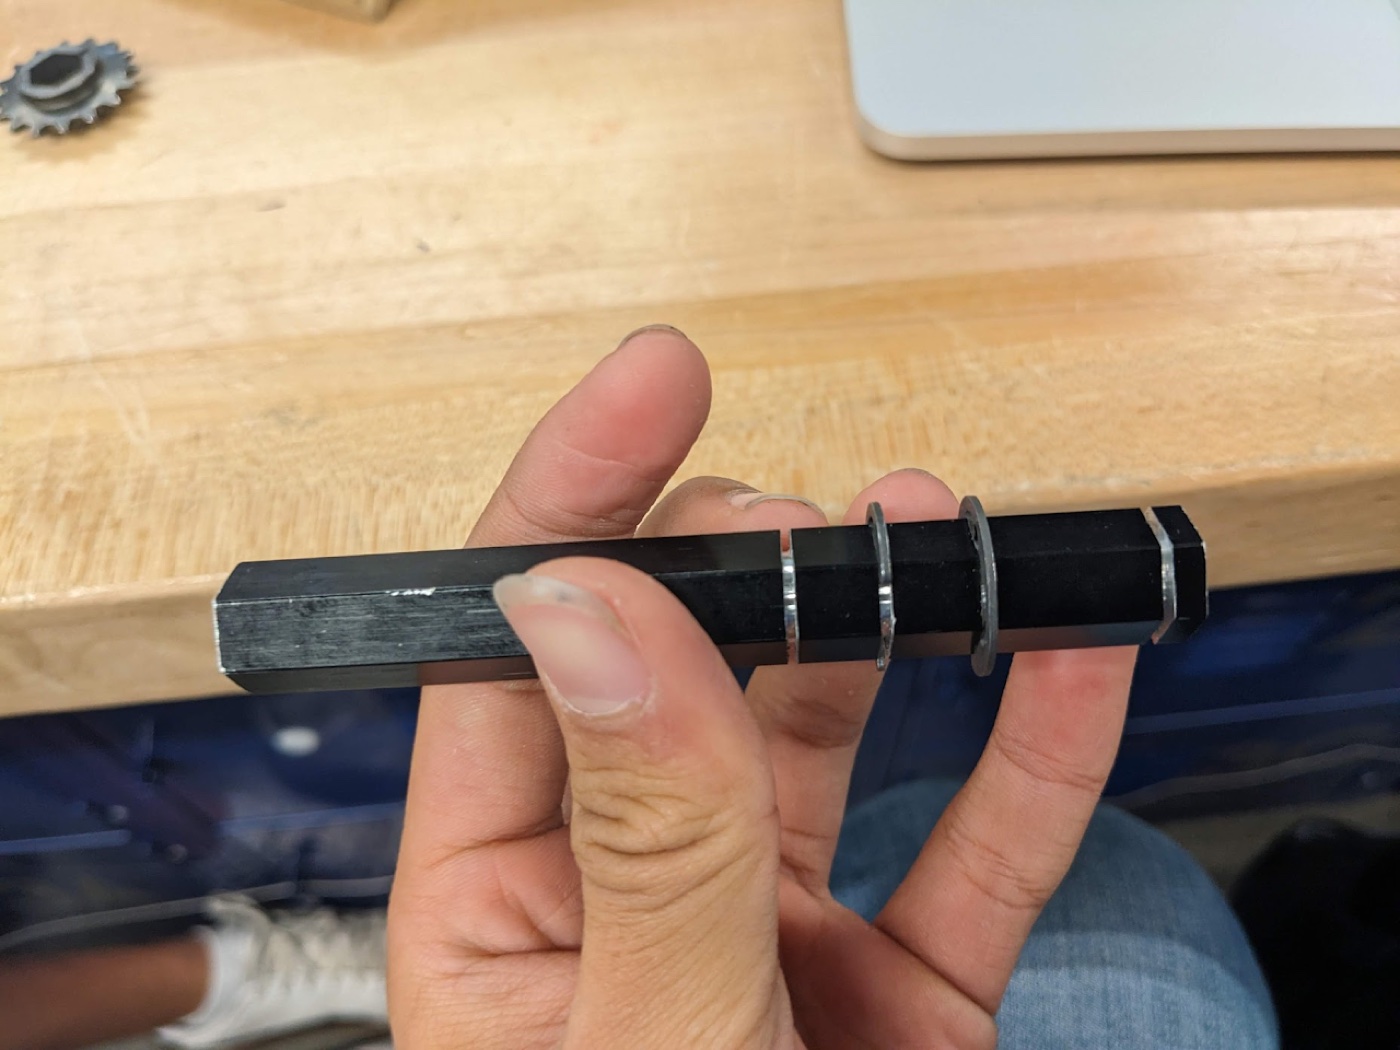
- Machined intake parts to print dimensions for the assembly push that week.
Precision is a habit of checking, not a property of the machine. Every measured cut start beats every guessed one.
Assembly
Week 7
Learn how the team assembles a drivetrain, alignment methods, torque practice and hardware choices.
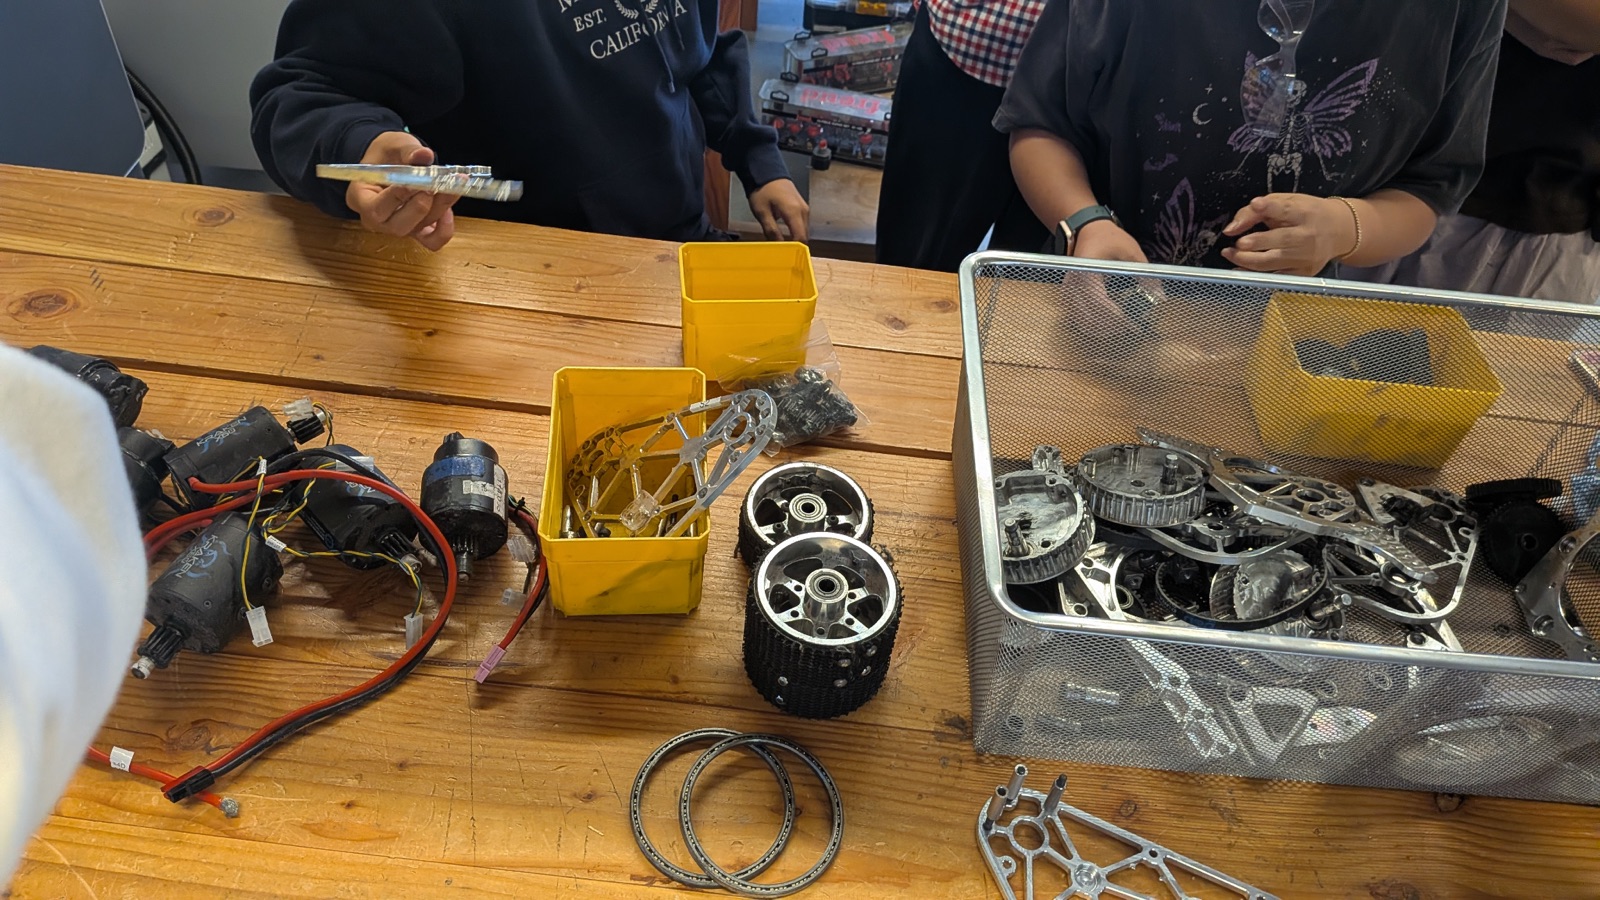
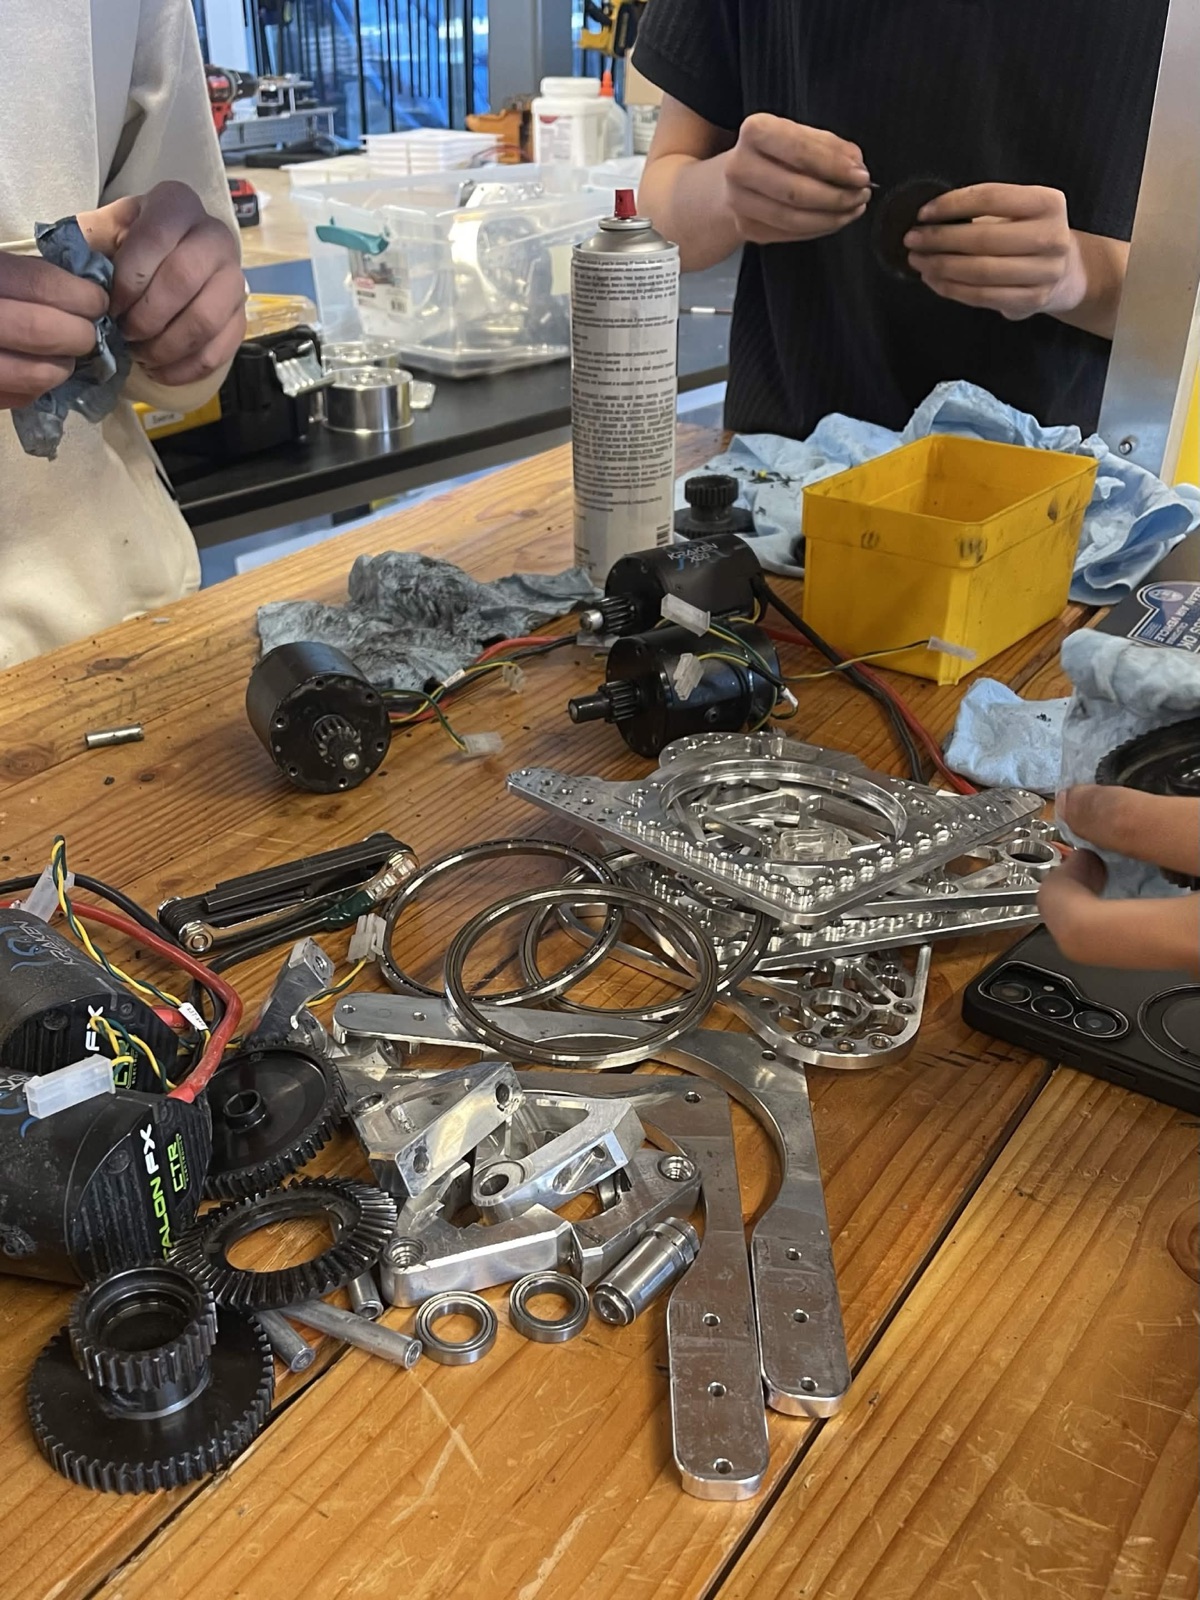
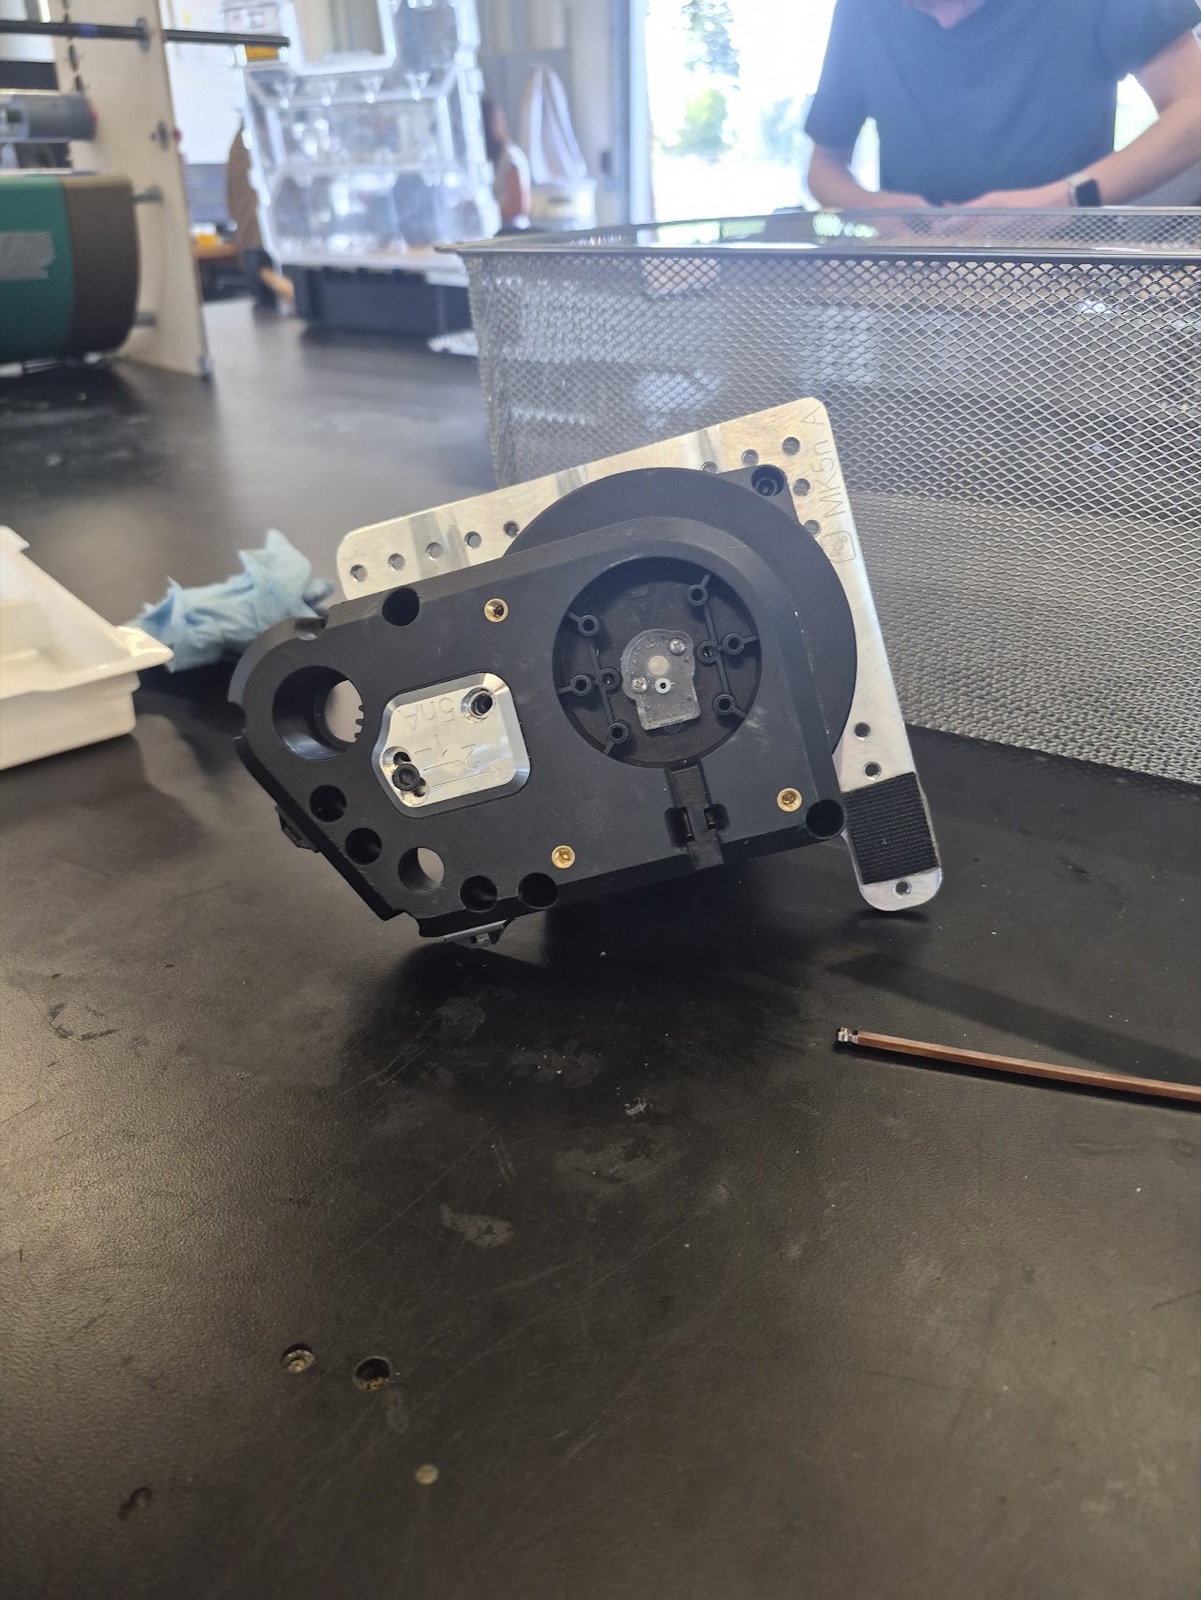
- Rebuilt a swerve drive module with the team, from frame up.
- Learned why assembly order matters. Tighten the chain of fits in sequence rather than each joint in random order.
A rebuild is where design mistakes surface. Assembly feedback went straight back into the intake and drive base designs.
CAD in Onshape
Week 8
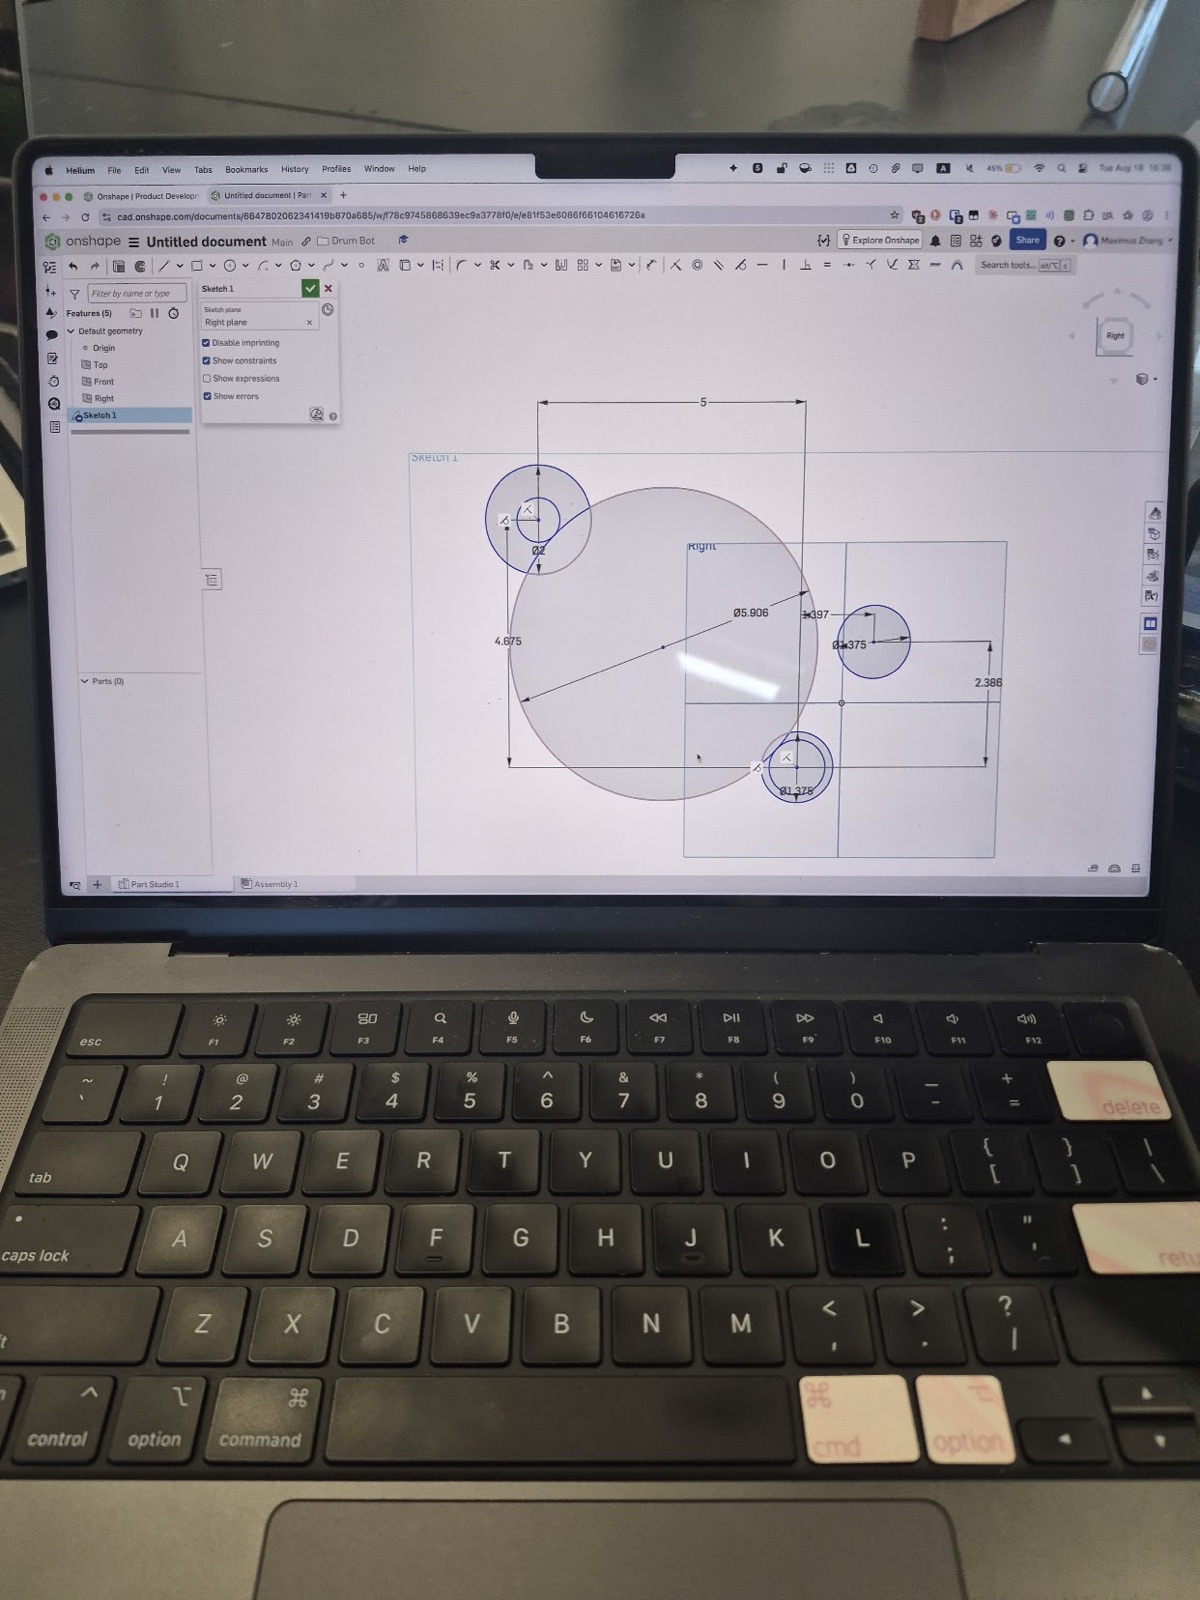
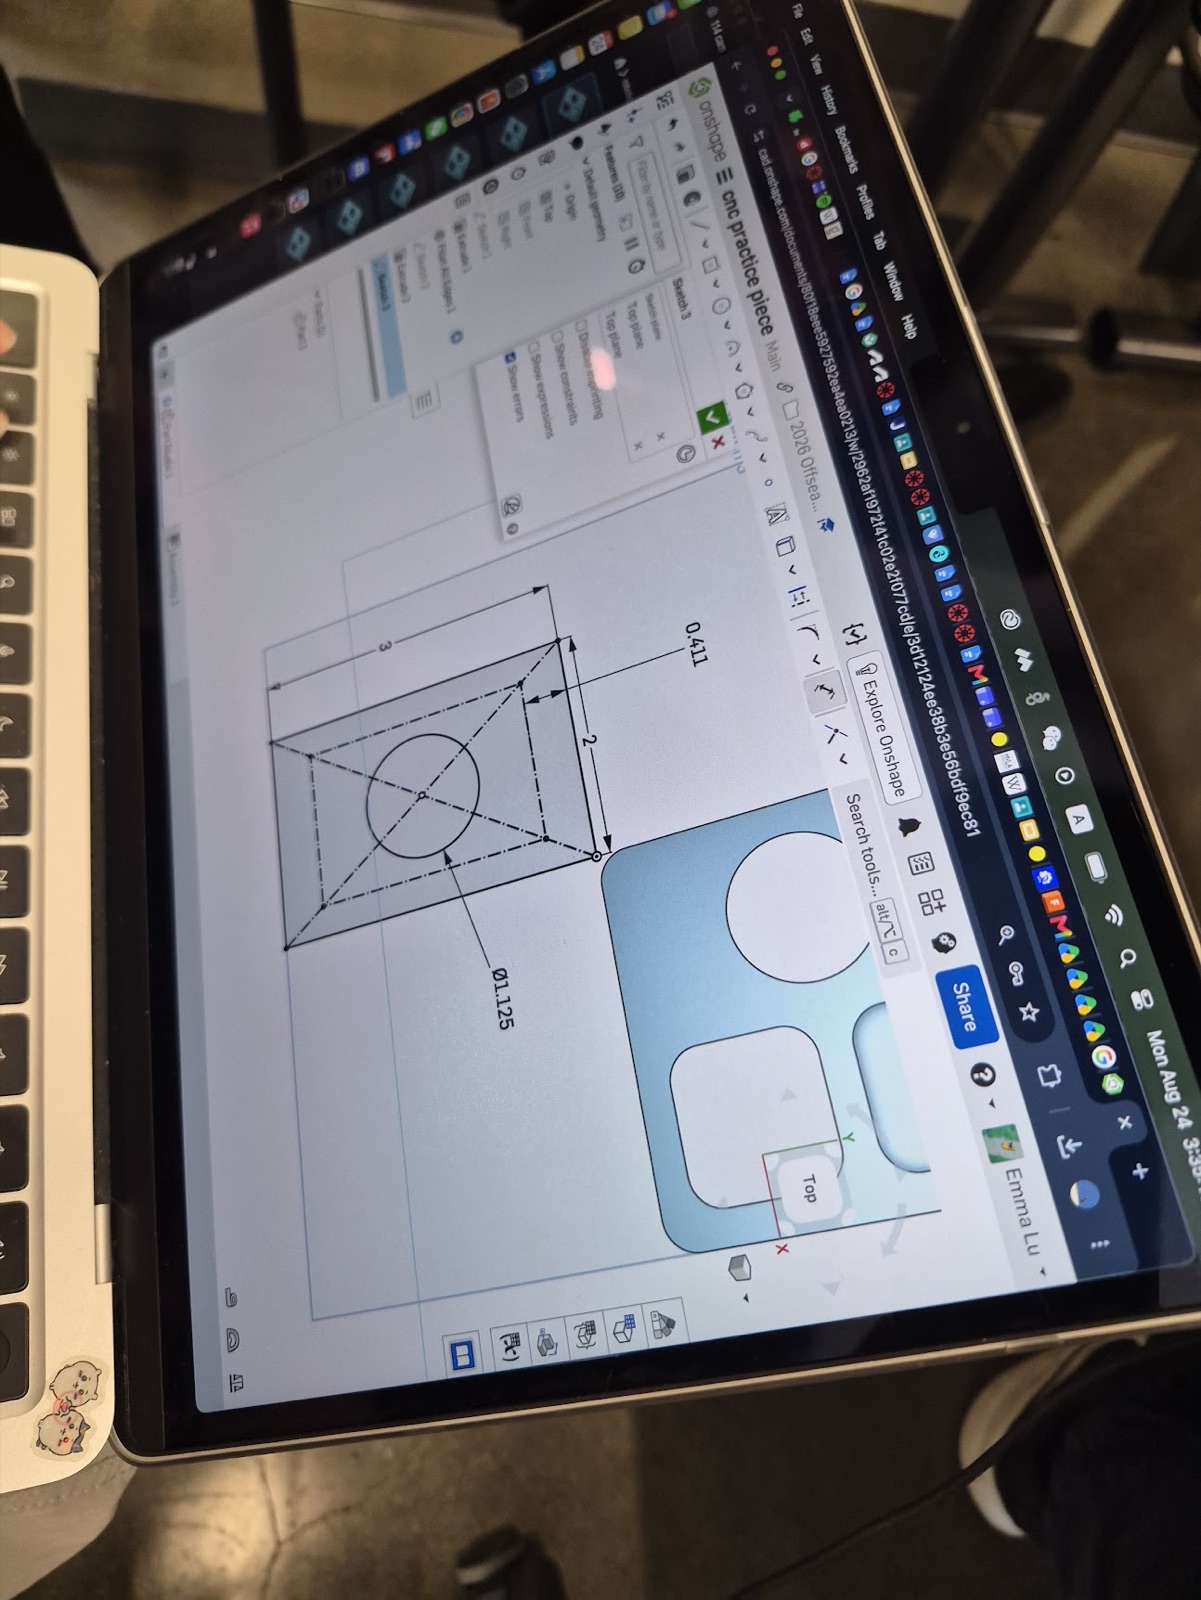
Learn Onshape well enough to model real robot structure from shop measurements.
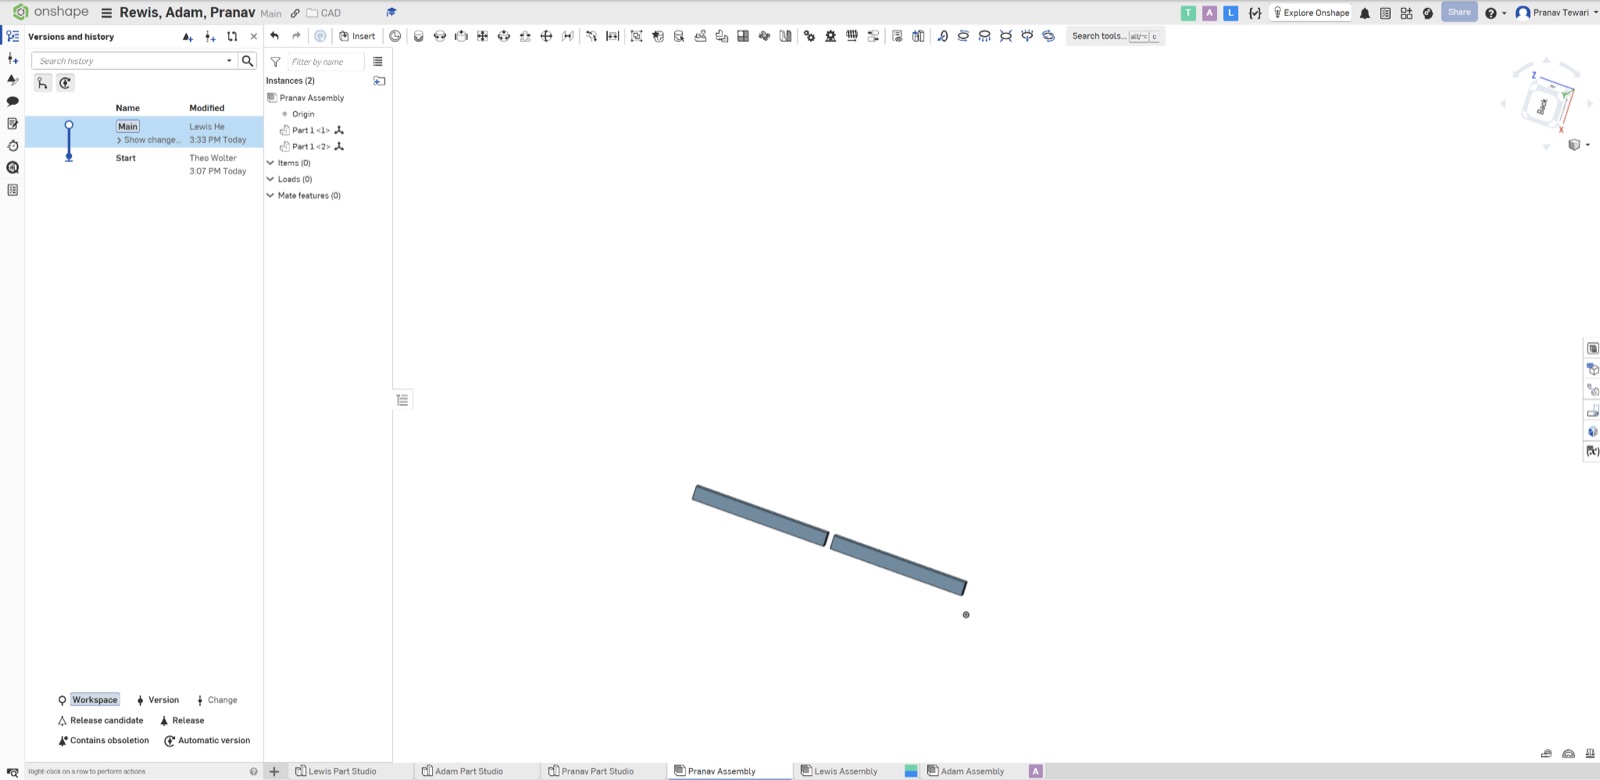
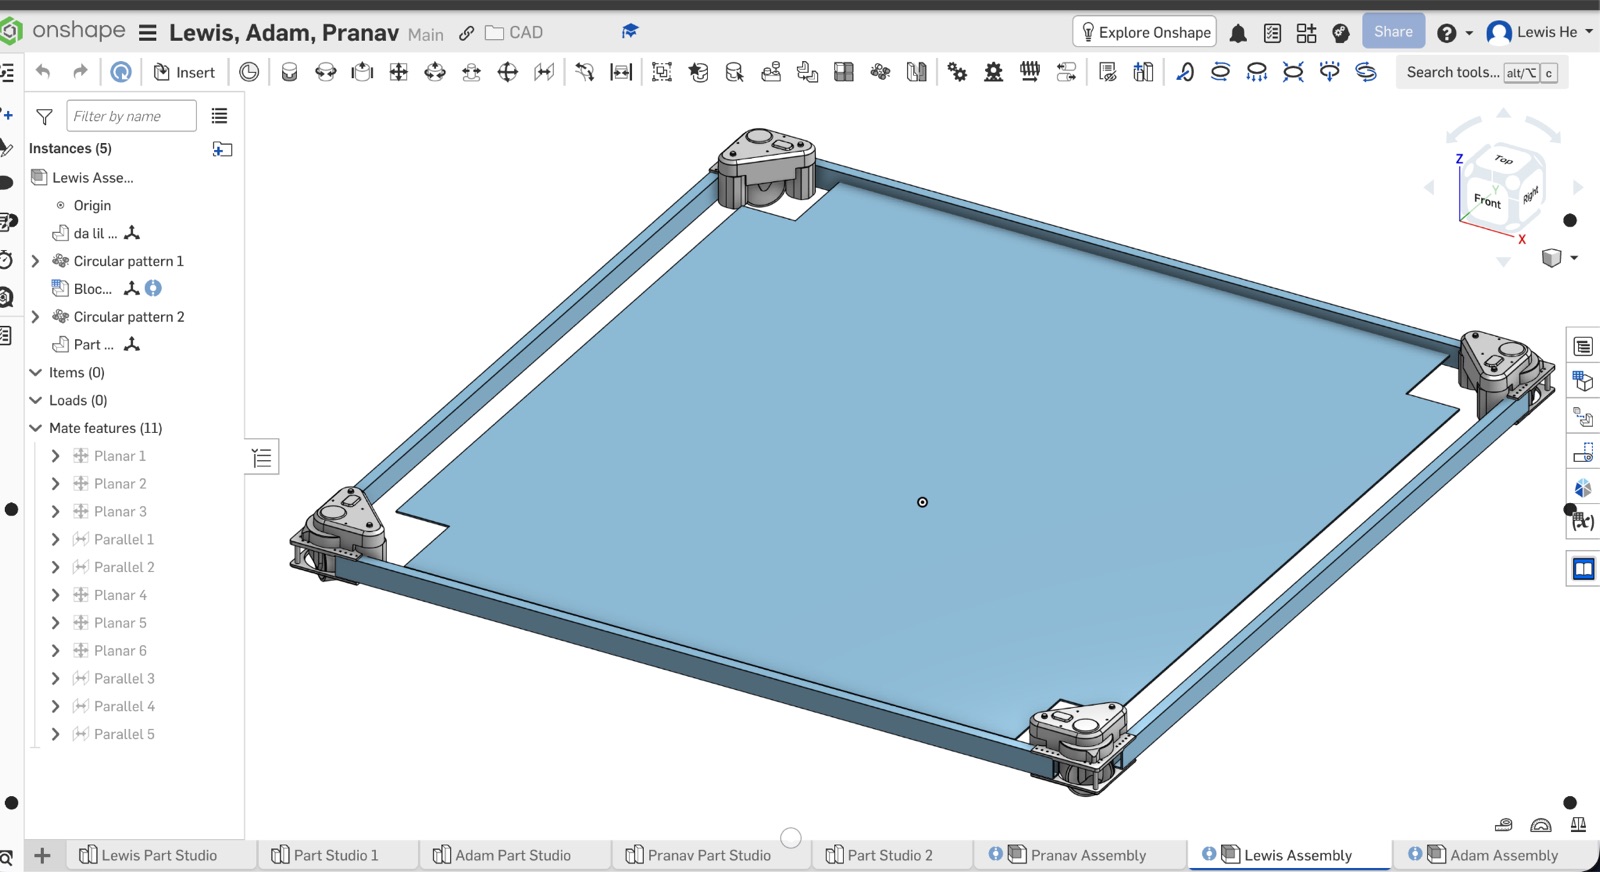
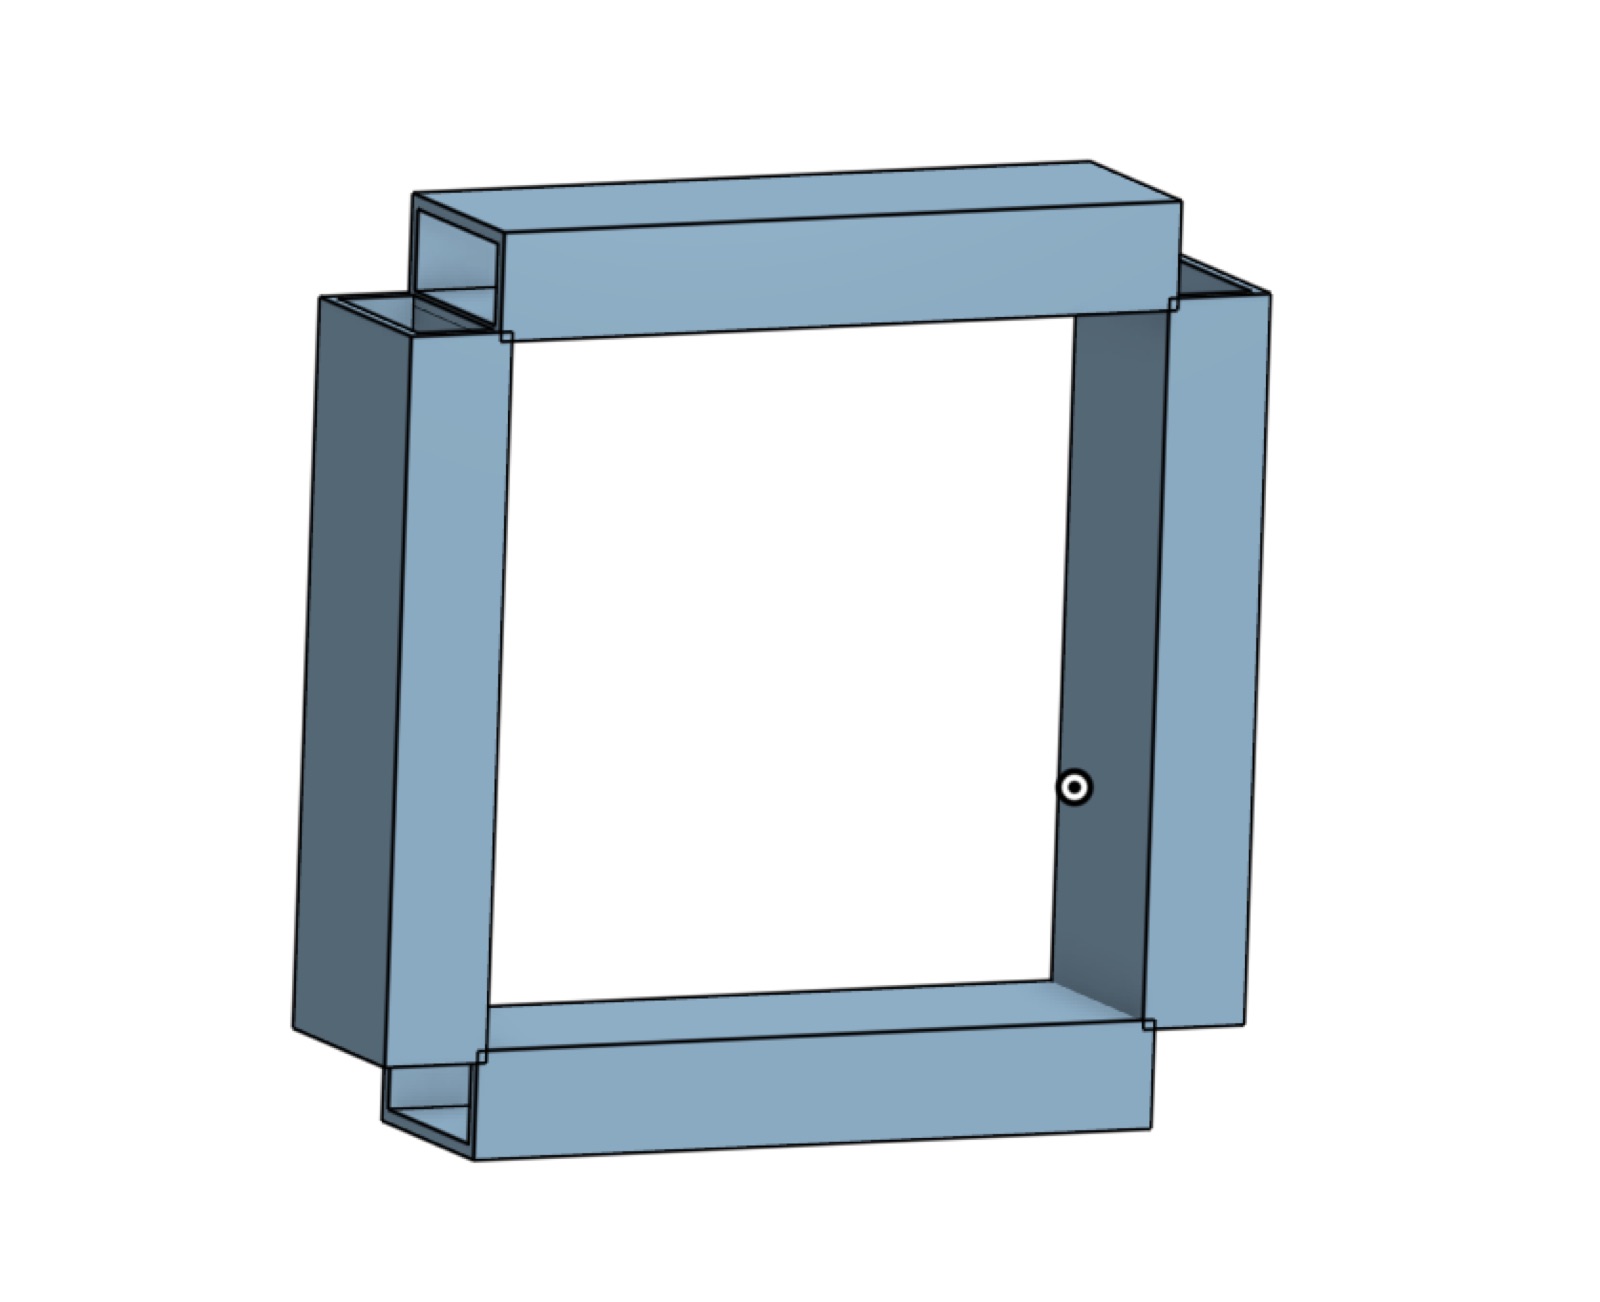
- Modeled the drive base. Four 1/8 inch side bars framing a square chassis with an imported swerve module at each corner.
- Hit a part alignment problem in the assembly, fixed it with planar and parallel mates after asking teammates, and finished the base CAD.
CAD is the handshake between design and build. If the model is wrong or misaligned, every shop downstream pays for it.
Overall reflection
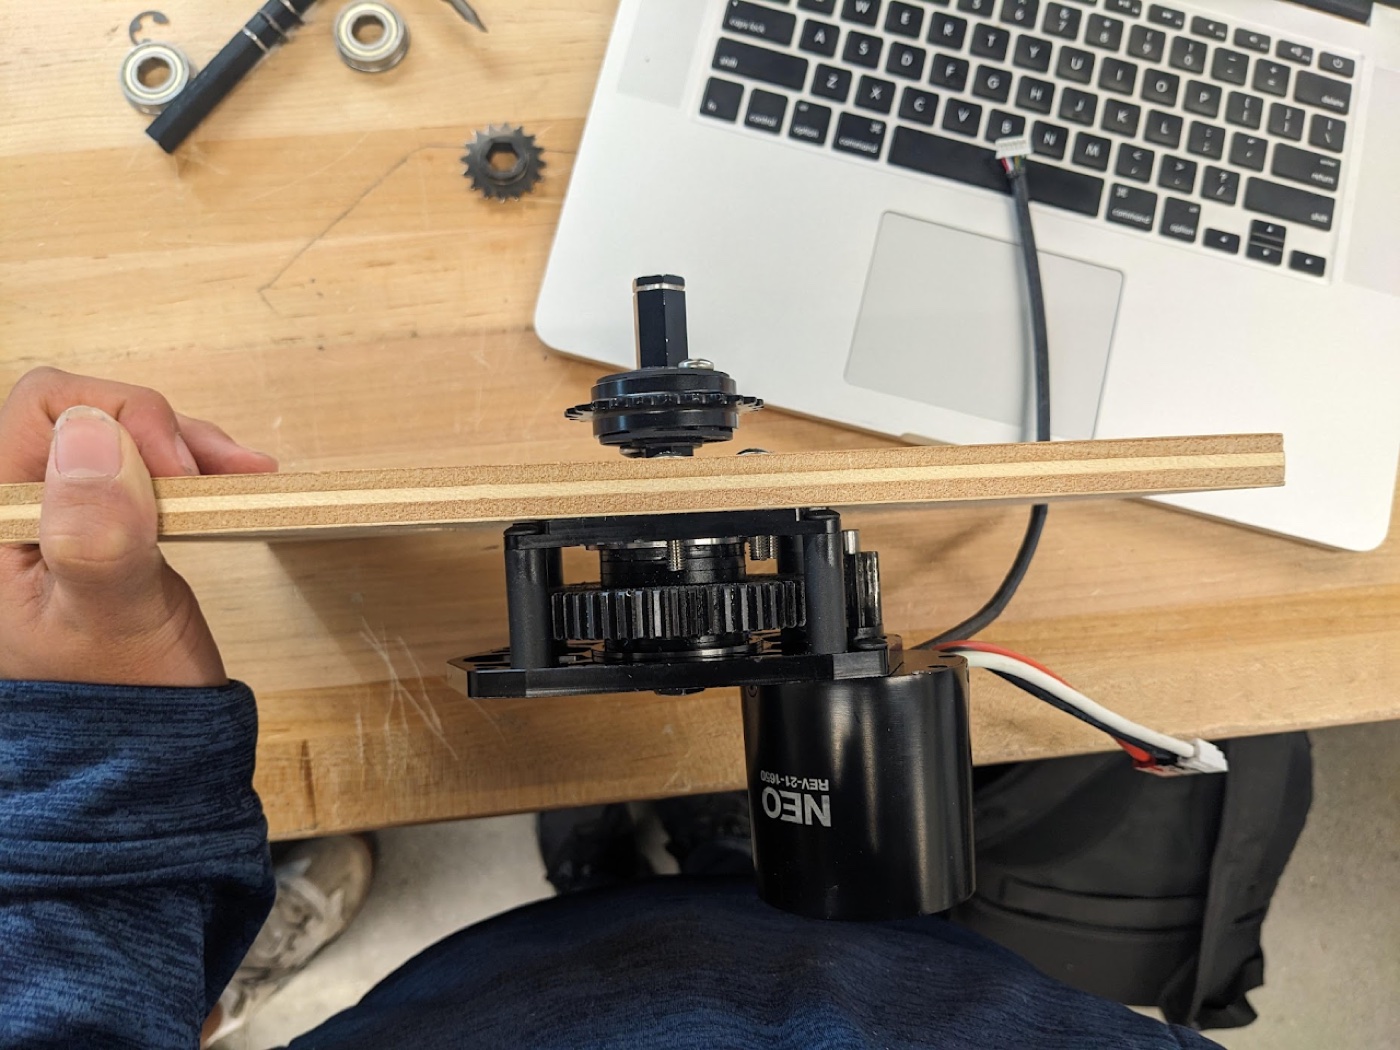
The seven rotations stopped being separate subjects partway through the quarter. The intake is the clearest example. I prototyped it in mechanical, cut its plates in CNC, wired the test bench in electrical, logged its motor behavior in code, machined its shafts, assembled its gearboxes, and modeled its mounting in CAD. One mechanism, seven skill sets.
When the robot disables itself during driver testing, the fault could be wiring, code or mechanics. The rotations are why I can tell those apart instead of guessing. My strongest takeaway is that evidence discipline, measuring, photographing and logging as I work, is what makes every one of these skills stack.
Next quarter
Primary, Code. I want to keep building on the PID and WPILib base from week 5. Code is also where the driver testing faults we saw in week 8 will actually get diagnosed.
Secondary, Assembly. It pairs with code because you cannot tune what you cannot build. The swerve rebuild taught me the mechanical side of every problem the code has to solve.

 program covers safety rights, obligations, protective gear and how to respond to emergencies. It taught me how to spot warning signs of an unsafe workplace, and why following the rules keeps injury counts down in warehouses, construction sites and tech shops.
  to design, simulate and test pneumatic, hydraulic and electrical control systems.